-12- G1014Z Combination Sander
2. Turn the knob approximately
1
⁄4
turn clock-
wise to move the belt towards the tracking
knob, counter-clockwise to move the belt
away.
3. Turn the machine on and off again quickly to
see if the tracking has improved. If not,
repeat step 1. If tracking is improved move
to step 4.
4. Now with the sander running, adjust the
knob to fine tune the belt tracking.
Belt Replacement
SECTION 5: ADJUSTMENTS
With the exception of Belt Tracking, adjustments
to your Combination Sander should be made with
the power off and the machine unplugged.
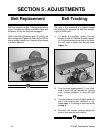
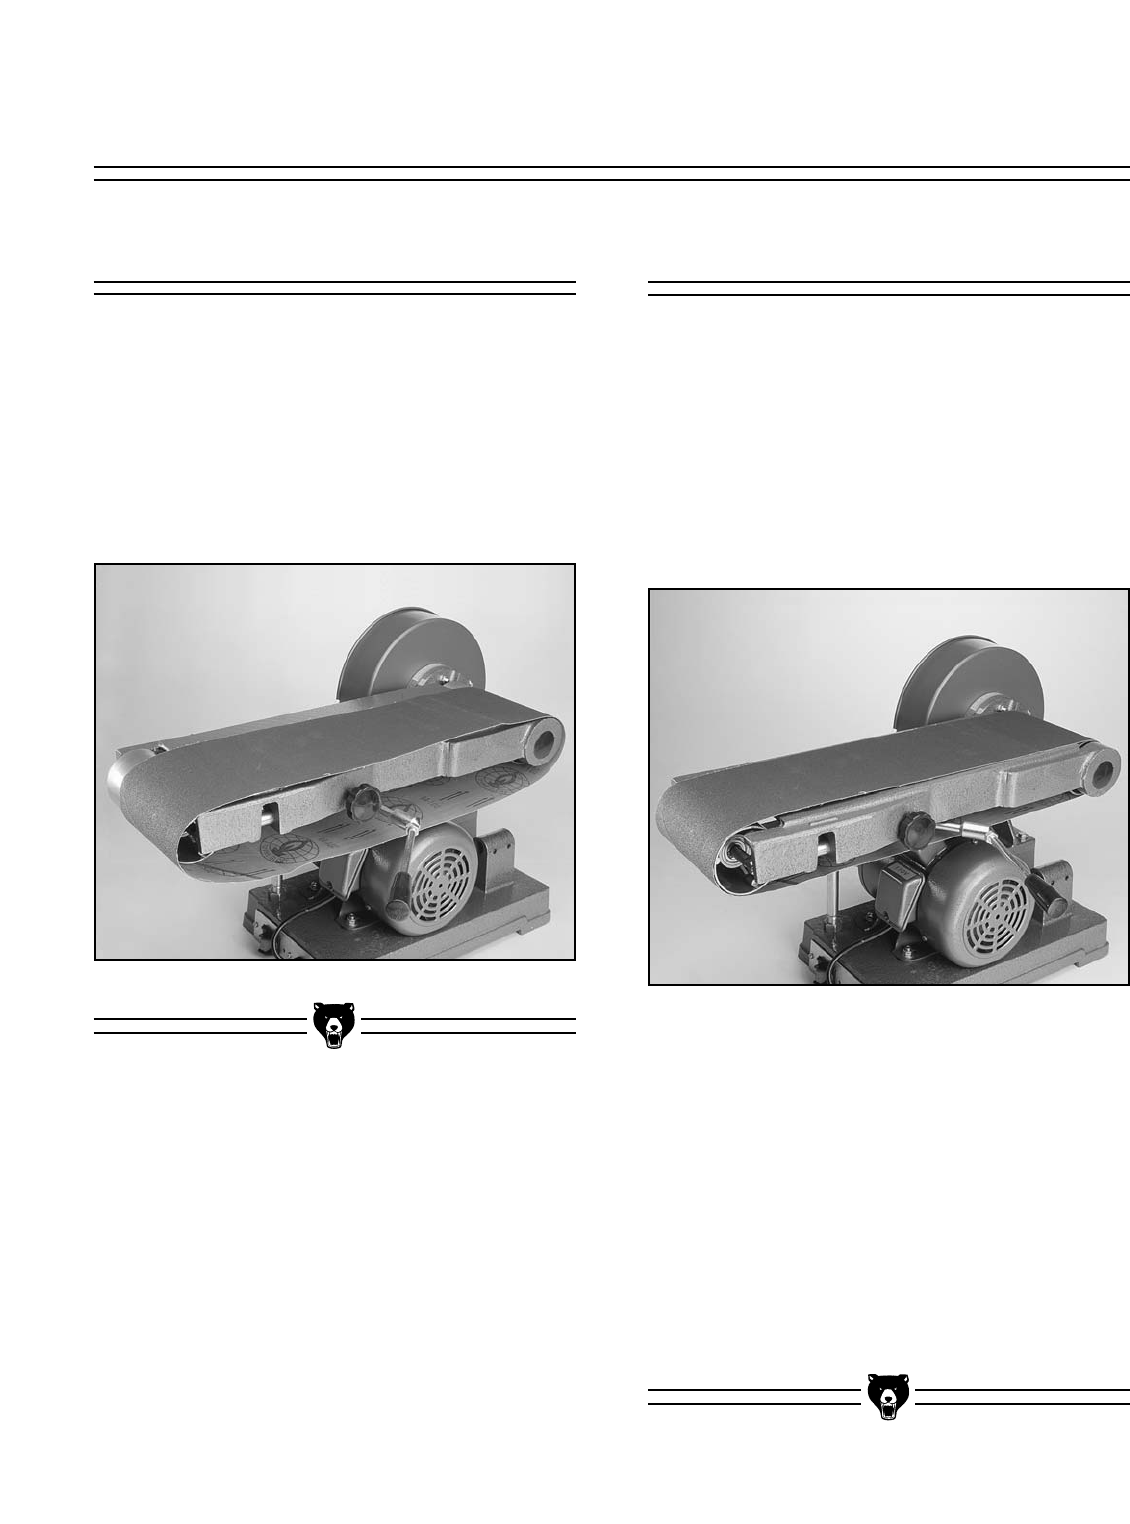
Unlock the Quick-Release Lever by pulling the
lever straight out. Figure 12. Slide the belt off the
rollers straight toward you. Reverse this process
to install a new belt.
Figure 12.
Belt Tracking
The goal of this procedure is to achieve proper
belt tracking that prevents the belt from wander-
ing off to either side.
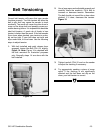
1. To adjust the tracking, quickly turn the
sander on and off. Observe the belt’s behav-
ior. If the belt moves to one side or the other,
you will need to adjust the tracking knob.
Figure 13.
Figure 13.


