"&-"
<)-&)=daadl8]^hZaBdgi^h^c\BVX]^cZ
5. Ijgci]ZX]^hZahdi]Vii]ZX]^eedgi^h[VX^c\
Z^i]ZgaZ[idgg^\]iVcYVlVn[gdbi]ZdeZgV"
idg#
Note: As the auger bit brings the chips up
through the center of the chisel, they will be
expelled through the chip port. Facing the
port either left or right allows clearance for
this action, especially when cleaning up the
center portion of the mortise.
6. I^\]iZci]ZX]^hZahaZZkZadX``cdWdgaZkZg
id iZbedgVg^an ]daY i]Z X]^hZa VhhZbWan ^c
eaVXZ#
7. Edh^i^dci]ZiVWaZ[ZcXZV\V^chii]ZWVX`d[
i]Z X]^hZa! addhZc i]Z X]^hZa haZZkZ adX`h!
i]ZcgdiViZi]ZX]^hZajci^ai]Z[aVihjg[VXZ^h
hfjVgZl^i]i]Z[ZcXZhZZFigure 16#AdX`
Wdi]i]ZX]^hZahaZZkZadX``cdWVcYaZkZgid
hZXjgZi]ZX]^hZaVhhZbWan[dgdeZgVi^dc#
Note: This will ensure that the sides of your
mortise are square.
TIP
Mortising auger bits operate under extreme
conditions. A small amount of pure beeswax
applied to the auger bit can aid in reducing
heat and expelling chips. It is important
that only a small amount is used and that
none is applied to the chisel. Beeswax
that comes in contact with workpiece sur-
faces can impede adhesion of glues and
finishes.
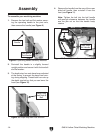
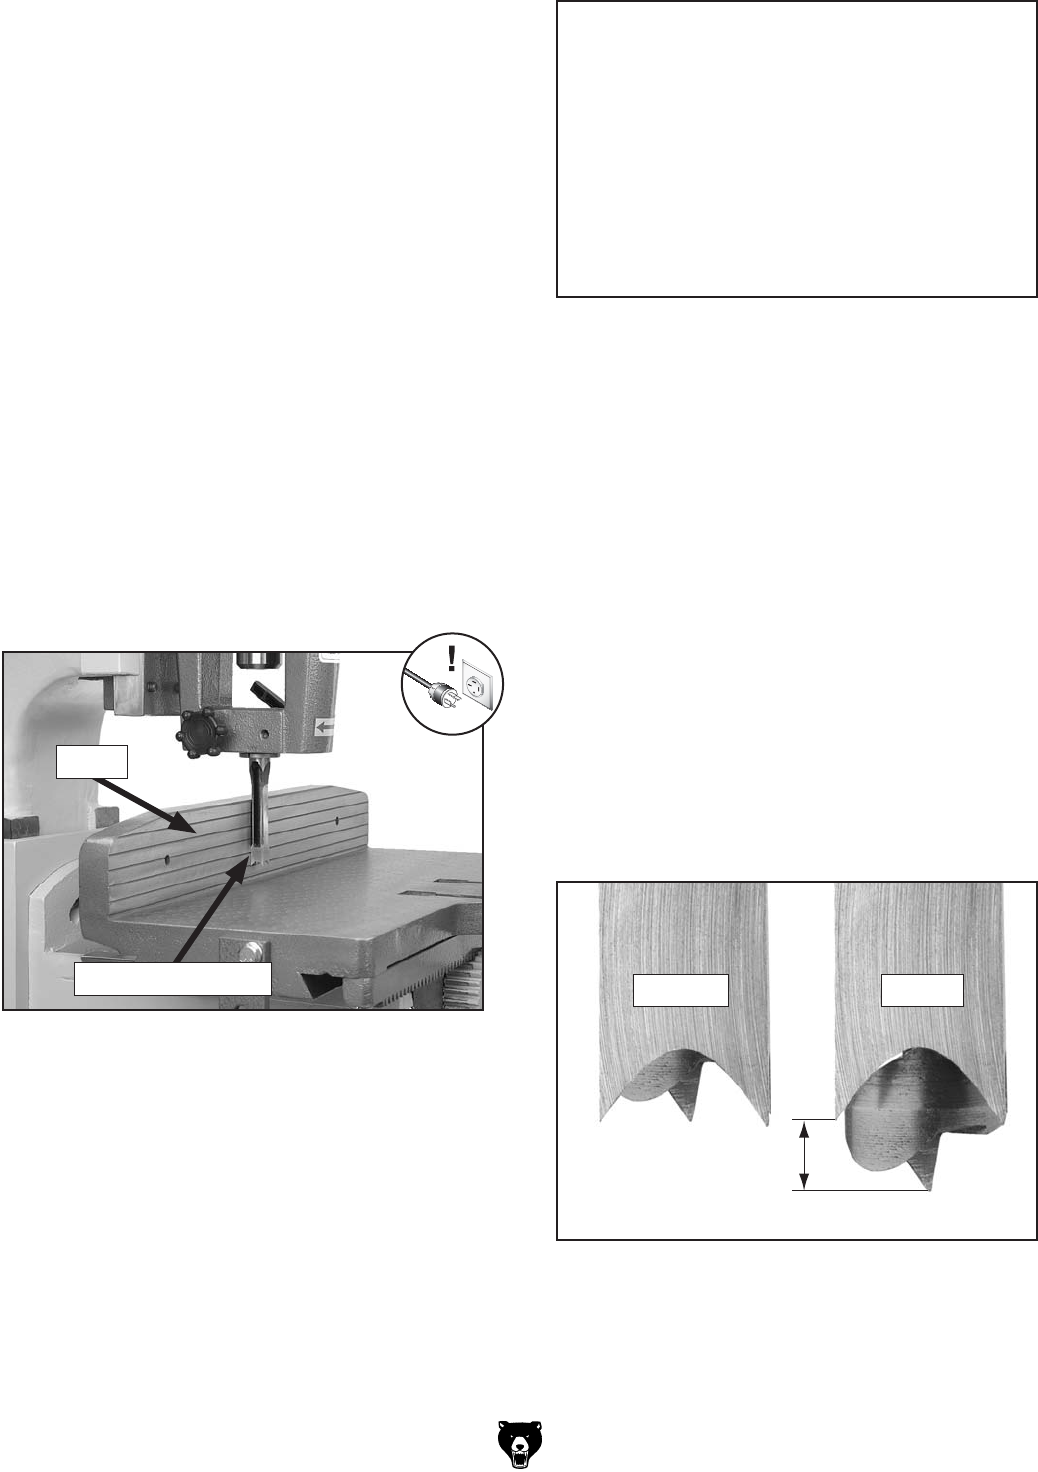
Figure 16.8]^hZahfjVgZYl^i]i]ZiVWaZ[ZcXZ#
;ZcXZ
;aVi8]^hZaHjg[VXZ
8. GdiViZ i]Z djiZgg^c\ d[ i]Z X]jX`XdjciZg"
XadX`l^hZidl^YZci]ZX]jX`_VlhZcdj\]id
VXXZeii]ZVj\ZgW^ih]Vc`#
9. >chZgii]ZVj\ZgW^ijei]gdj\]i]ZXZciZgd[
i]ZX]^hZaVcY^cidi]ZX]jX`jci^ai]ZXZciZg
i^ed[i]ZW^iZmiZcYh
&
¿&+
(
¿&+WZadli]ZX]^hZa
ed^cih! Vh h]dlc ^c Figures 17–18! i]Zc
^chZgii]ZX]jX``Zn^cidi]ZX]jX`VcYgdiViZ
^iXadX`l^hZ id[^gban i^\]iZci]Z X]jX`_Vlh
VgdjcYi]ZW^ih]Vc`#
Note: The auger bit makes the hole that the
chisel squares up—thus, the auger bit must
drill into the workpiece first. This setting pro-
vides enough clearance for the auger to bring
the chips up through the chisel and out the
chip port. Experience will be the best guide
as to what the correct distance should be for
your operation.
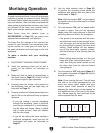
Figure 17.9^hiVcXZWZilZZcVj\ZgW^ied^ciVcY
X]^hZaed^cih#
>cXdggZXi 8dggZXi
&
¿&+
(
¿&+


