


-12-
G8749 Drum/Flap Sander
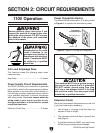
5. Turn the machine OFF.
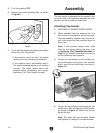
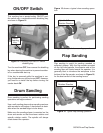
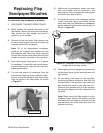
6. Remove the switch disabling key, as shown
in Figure 9.
7. Try to start the machine by flipping the paddle
switch up to the ON position.
—If the machine does not start, the switch
disabling feature is working as designed.
—If the machine starts, immediately stop it.
The switch disabling feature is not working
correctly. This safety feature must work
properly before proceeding with regular
operations. Call Tech Support for help.
Figure 9. Removing switch key from paddle
switch.
Assembly
The flap sander is designed to be mounted only
on the left side of the machine, whereas the drum
sanders can be mounted on either side.
Attaching Flap Sander
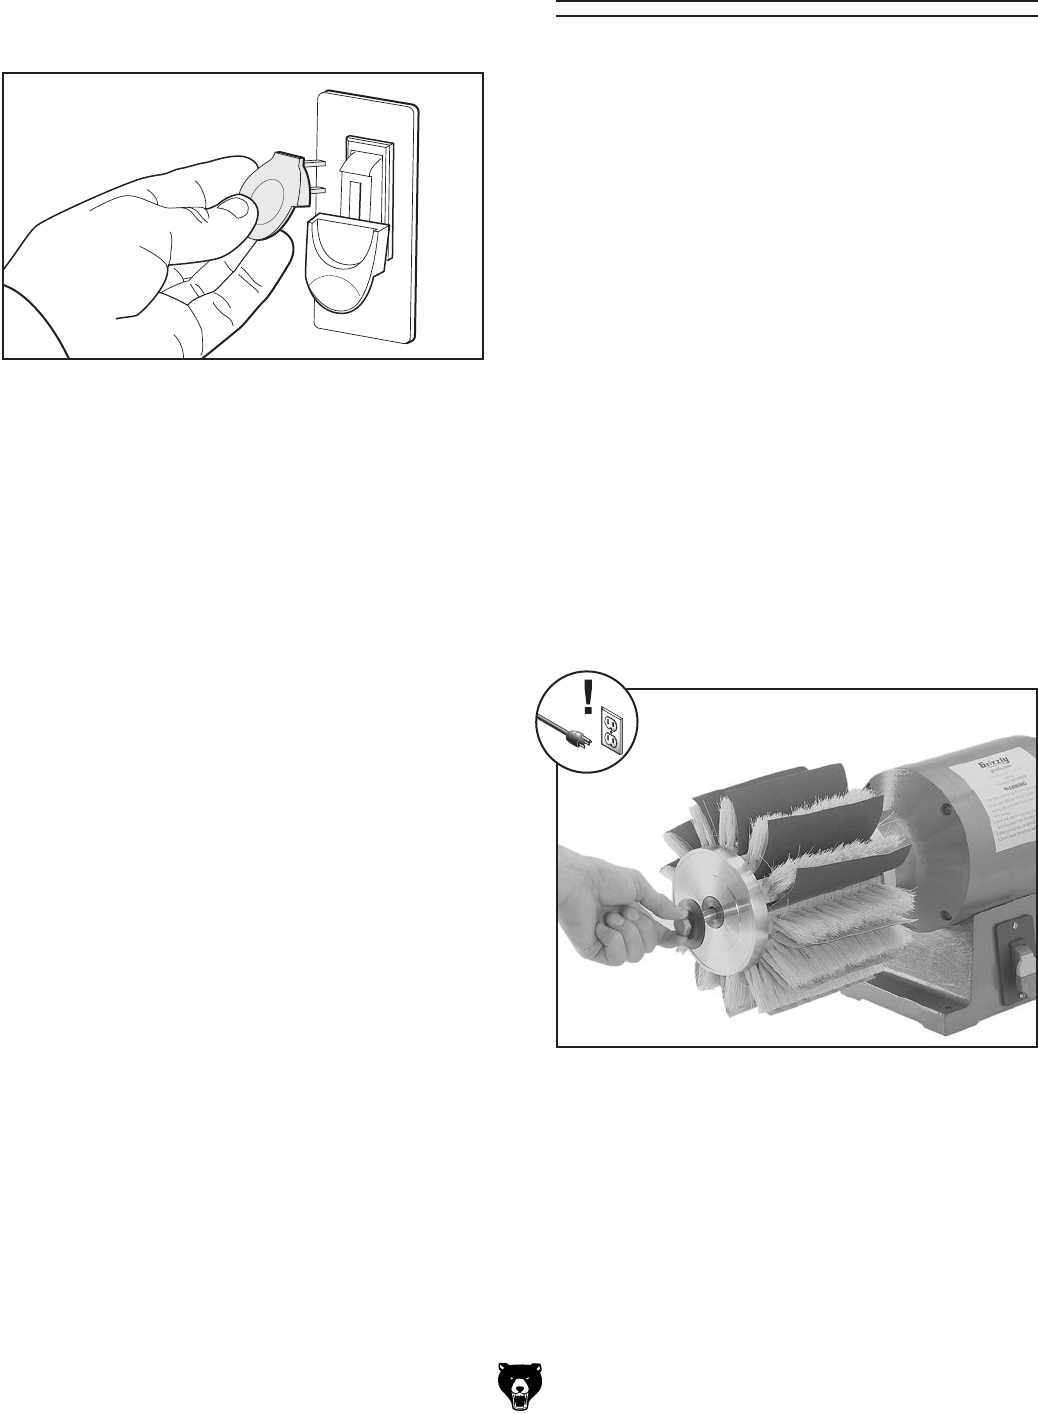
1. DISCONNECT SANDER FROM POWER!
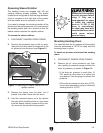
2. When removed from the shipping box, the
flap sander is held together by two tie wraps.
Hold the assembly together from top to bot-
tom, then remove the ties and store them for
future use.
Note: If the brushes should come loose
from the end plates during this step, refer
to Replacing Flap Sandpaper/Brushes on
Page 19 for detailed instructions on how to
put the assembly back together.
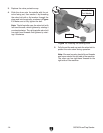
3. Position the flap sander so the sanding sur-
face of the paper is facing you, then carefully
slide it onto the left hand arbor, as shown in
Figure 10.
Figure 10. Installing flap sander.
4. Secure the flap sander by threading the flap
sander arbor bolt and flange into the spindle,
as shown in Figure 10. Make sure to fully
tighten the bolt.
Note: This arbor bolt has left-hand threads
and tightens by rotating it counterclockwise.