G8994 Variable Speed Jig Saw
-5-
BLADE INSTALLATION
Make certain the tool is unplugged while
installing the blade.
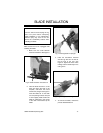
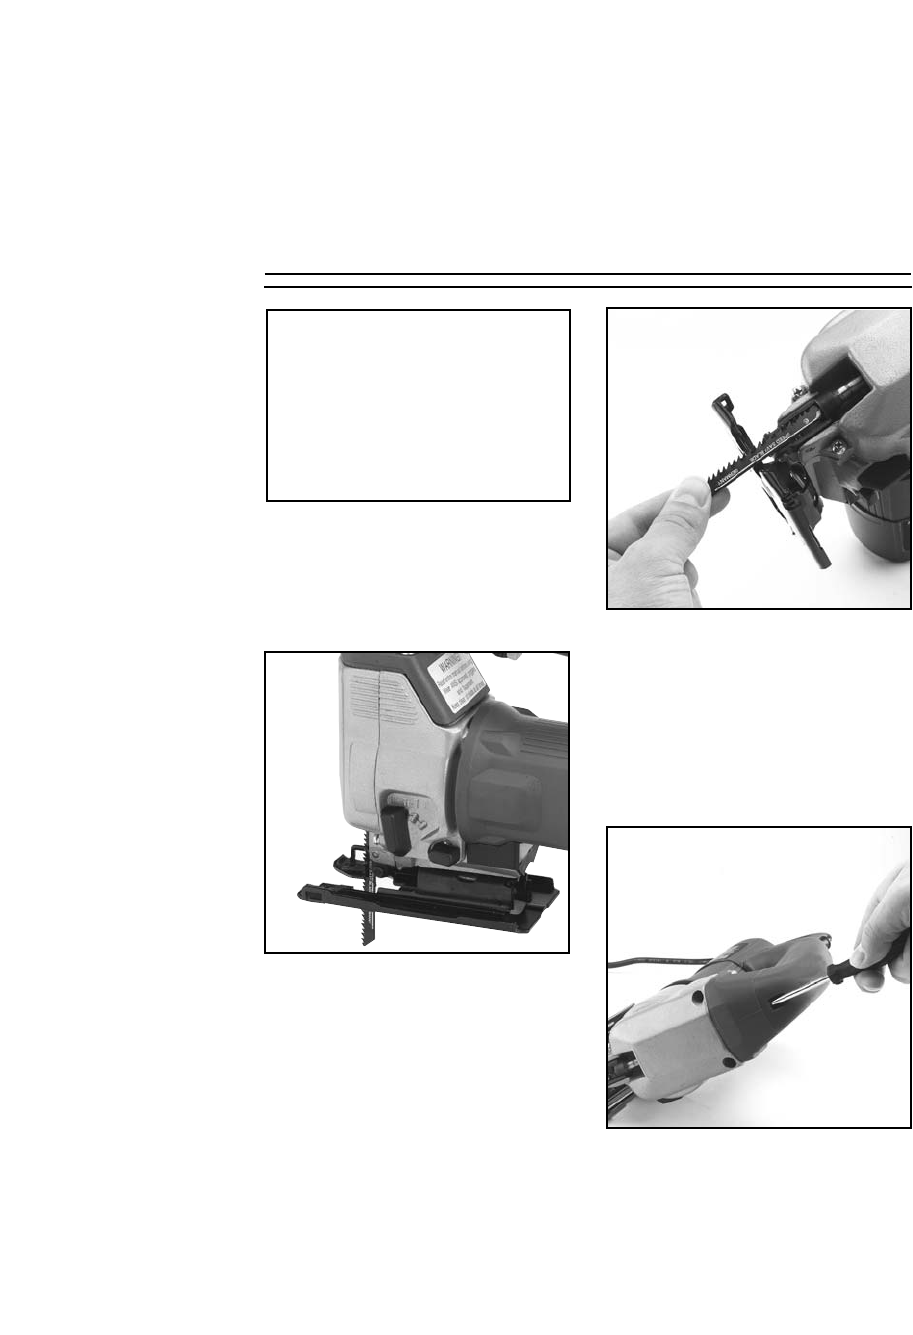
1. Make sure the Orbit Selector
switch is in Position III. See Figure 3.
Turn the switch off and unplug the Jig
Saw from power before attempting
blade installation or any adjustments.
Serious injury may occur if the unit
should be accidentally started while
installing the blade
Fig 3. Orbiter selection in Position III.
Fig 4. Inserting blade into plunger.
Fig 5. Tightening blade locking screw.
2. Take the blade and turn it so the
teeth are facing the side of the
footplate, and insert the mount
end into the plunger. See Figure 4.
Twist the blade 90˚ so the teeth
are now pointing forward, then pull
it down slightly. Make certain the
blade is positioned in the groove
of the roller which backs up the
blade.
3. Insert the screwdriver included
with this Jig Saw into the hole at
the top front of the saw. See
Figure 5. Tighten the screw while
making sure the blade stays in the
roller groove.
4. To remove the blade, reverse the
process described above.


