


G9984/G9985 Oscillating Belt Edge Sander -15-
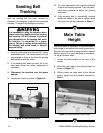
To replace the sanding belt:
1. Disconnect the machine from the power
source!
2. Lift the access door to allow easy access to
the sanding belt and the tensioning lever.
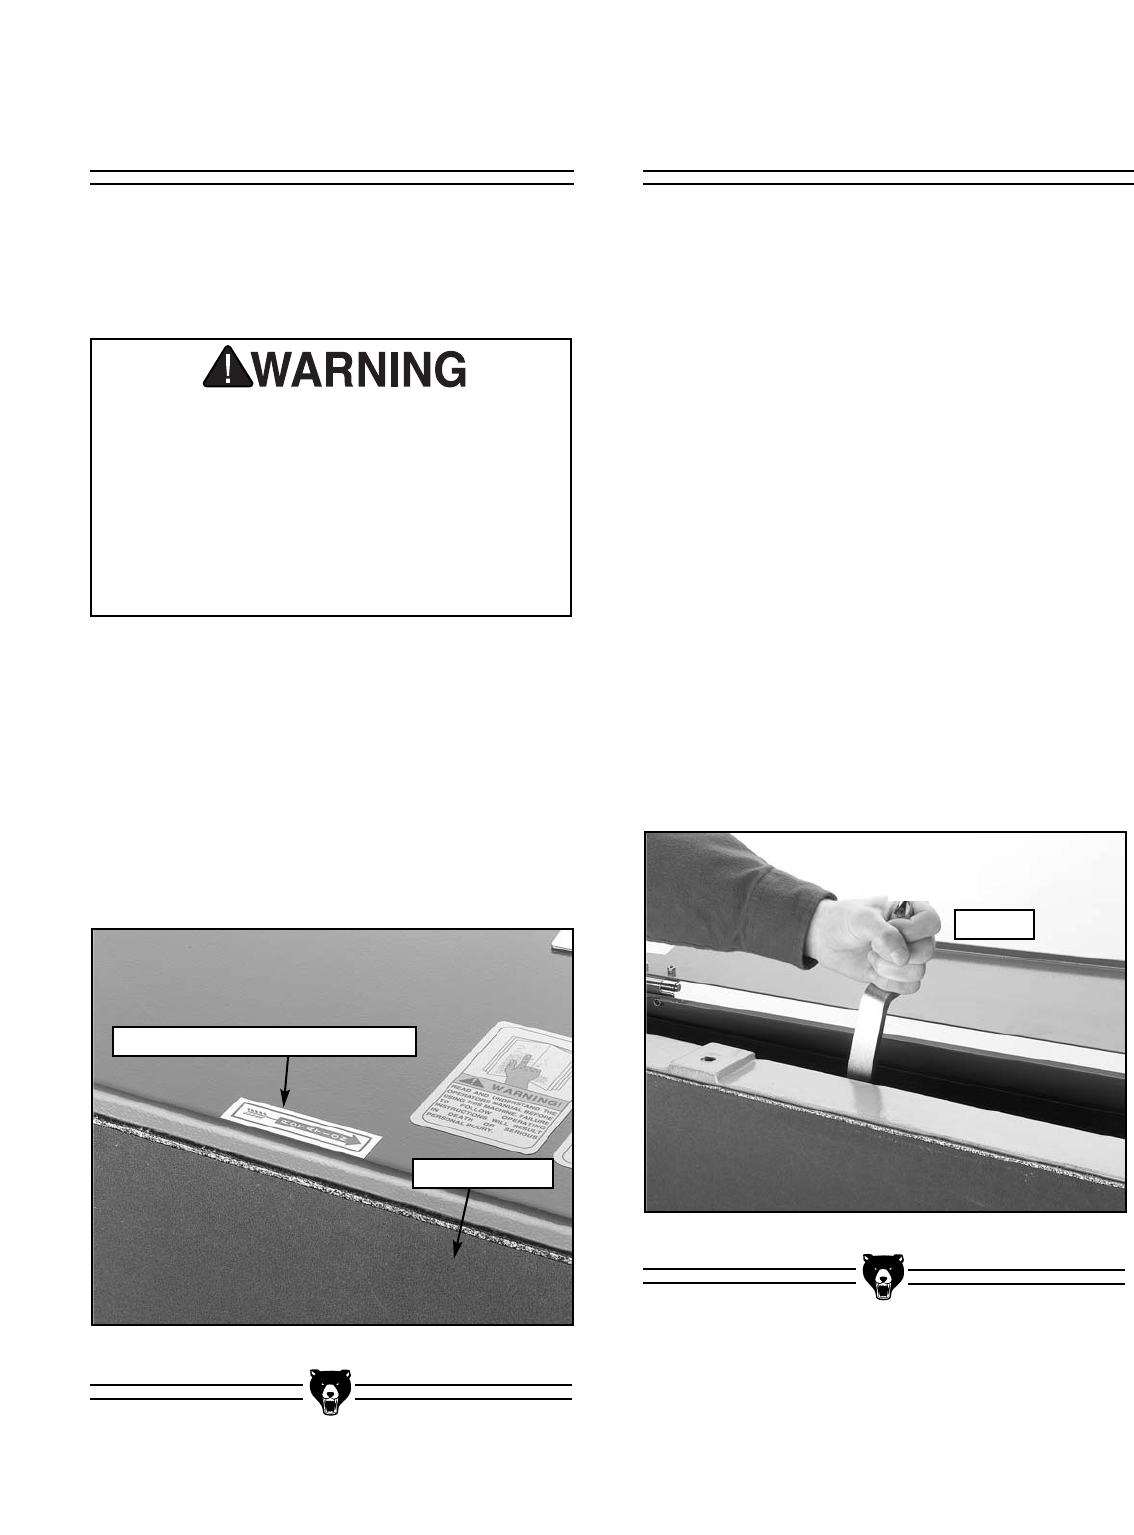
3. Shift the tension lever to the left to loosen the
sanding belt as shown in Figure 11.
4. Remove the old sanding belt and replace it
with a new one.
5. Make sure the directional arrow on the inside
of the sanding belt is pointing in the same
direction as the directional arrow on the
machine.
6. Shift the tension lever to the right to tension
the new sanding belt.
7. Adjust the sanding belt tracking (see next
section).
Sanding Belt
Replacement
Figure 11. Sanding belt tension lever.
It is necessary to plug the machine into a
power source to visually check the sanding
belt rotation. Do not attempt to perform any
adjustments to the sanding belt while the
machine is connected to a power source.
Failure to unplug before adjusting the
sanding belt could result in serious per-
sonal injury.
1. Press the ON switch and then the OFF switch
immediately after. The sander should run just
long enough to observe the direction of the
sanding belt.
2. The sanding belt should rotate in the same
direction as the arrow sticker in Figure 10.
3. If the sanding belt does not rotate in the cor-
rect direction, contact our Service Department
immediately.
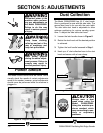
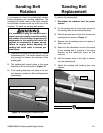
It is necessary to check the sanding belt rotation
before performing any sanding operations. The
sanding belt should rotate in the same direction
as the sticker located on the top of the top of the
machine. To check the sanding belt rotation:
Sanding Belt
Rotation
Figure 10. Sanding belt rotation arrow.
Sanding Belt Rotation Sticker
Sanding Belt
Loosen