


H3141 Heavy-Duty Planer
-5-
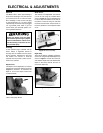
ELECTRICAL & ADJUSTMENTS
Electrical
The Model H3141 draws approximately 6
amps when operating at 110 volts. Be sure
your power source is 110 volts and capa-
ble of handling a 6 amp current. The plug
on the Model H3141 is a 2 prong double
insulated style and should only be plugged
into a grounded power outlet. If you are
unsure about your electrical system, con-
tact a qualified electrician.
Dust Bag
A dust collection bag is included with the
H3141 Planer. A significant amount of
shavings can be expelled from the planer
during operation. Attaching the dust bag
will reduce the amount of clean-up
required and will provide a safer environ-
ment for the operator.
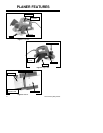
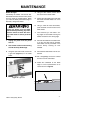
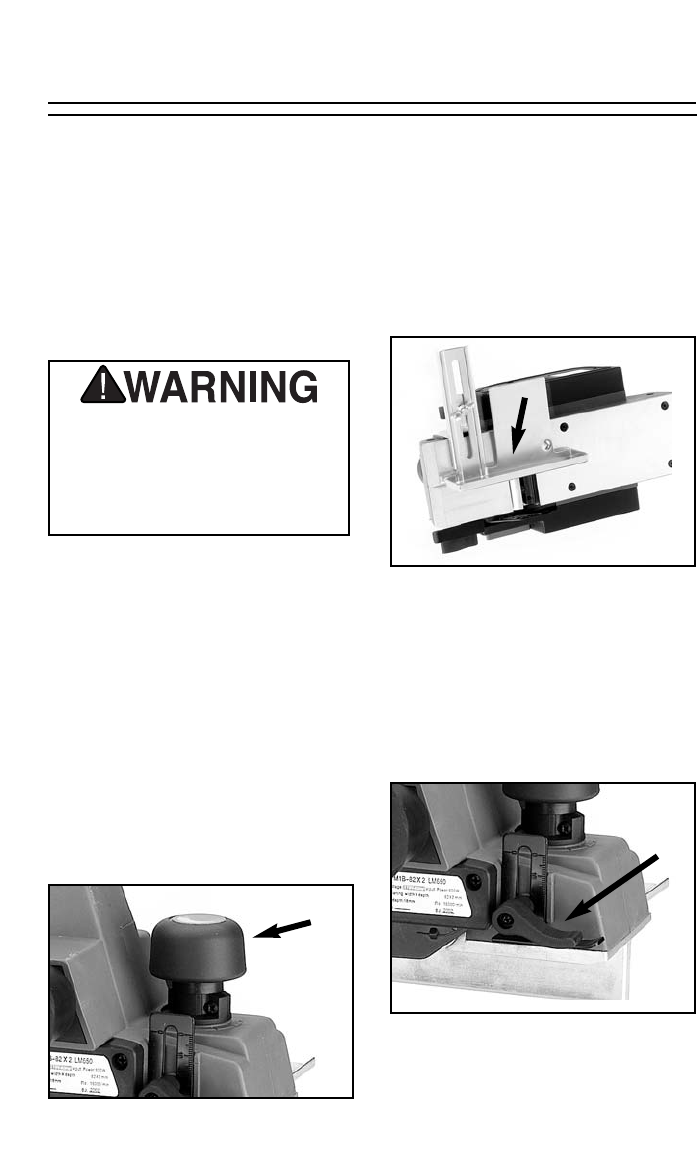
Depth Of Cut
The depth of cut is adjustable. To increase
the depth of cut turn the depth control knob
(Figure 4) clockwise. To decrease the
depth of cut turn the depth control knob
counterclockwise.
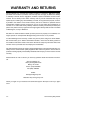
Width Of Cut
The width of cut is adjustable. The width of
cut can be set using the included fence
shown in Figure 5. Use the threaded knob
to secure the fence bracket to the side of
the planer. Loosen the wing nut and slide
the fence back and forth. Use the scale on
the fence bracket to set the desired width
of cut.
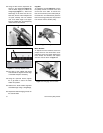
Depth Stop
The final cut depth on rabbeting operations
can be set using the adjustable depth stop
shown in Figure 6. Loosen the lock lever
and slide the depth stop to the desired final
depth on the scale. Re-lock the lever to
secure the depth stop.
Unplug the planer from the power
source before performing any adjust-
ments or maintenance. Failure to fol-
low this warning could result in seri-
ous personal injury.
Figure 4. Depth control knob.
Figure 5. Fence assembly.
Figure 6. Depth stop.