


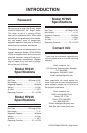

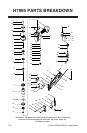
H7945/H7946/H7995 26° Angle Nailer
-12-
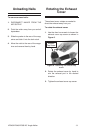
Replacing
Pistons/O-Rings
If you need to replace piston parts in your
nailer, you can purchase a piston repair kit
from Grizzly: call 1-800-523-4777.
The Piston Repair Kit part number for
Model H7945 is PH7945090; the Piston
Repair Kit part number for Model H7946
is PH7946090; the Piston Repair Kit part
number for Model H7995 is H7995090.
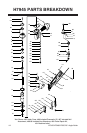
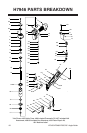
Refer to the parts breakdown during this
procedure to identify parts and their loca-
tions inside the nailer.
4. Push the top of the piston down with
your finger as far as it will go; this will
push the piston driver into the nose of
the nailer.
5. Insert a stiff rod or wire of the same
diameter as your nails into the dis-
charge area of the nose and use it
to push the piston driver up until the
piston head clears the top of the cyl-
inder. (Be careful not to scratch the
discharge area or the piston cylinder.)
6. Grip the piston head by hand and
remove the piston assembly from the
cylinder.
7. Clean all metal parts with an auto-
motive grade solvent. Clear all ports
and blow the solvent away with com-
pressed air.
8. Replace any part that shows damage
of heavy wear. Relubricate the tool.
9. Apply a thin film of the nailer lubricat-
ing oil on the new O-ring and place
it on the new piston. Install any other
parts included in the piston repair kit.
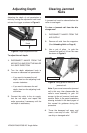
10. Insert the new piston in the cylinder.
Make sure that the grooves on the
piston driver align with those in the set
plate at the bottom of the cylinder.
Note: DO NOT force the piston into
the cylinder! If the piston is not easily
inserted, double-check the alignment
of the piston driver with the grooves on
the set plate.
12. Put the cylinder seal back on the top
rim of the cylinder.
13. Make sure that the cap gasket is in
place, then secure the cap to the nailer
body by tightening the 4 cap screws.
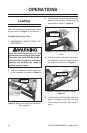
To replace a piston and O-ring(s):
1. DISCONNECT NAILER FROM THE
AIR SUPPLY!
2. Remove all nails from the magazine.
3. Remove the four screws that secure
the nailer cap, then remove the cylin-
der cap and cylinder seal.
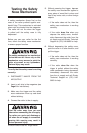
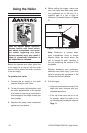
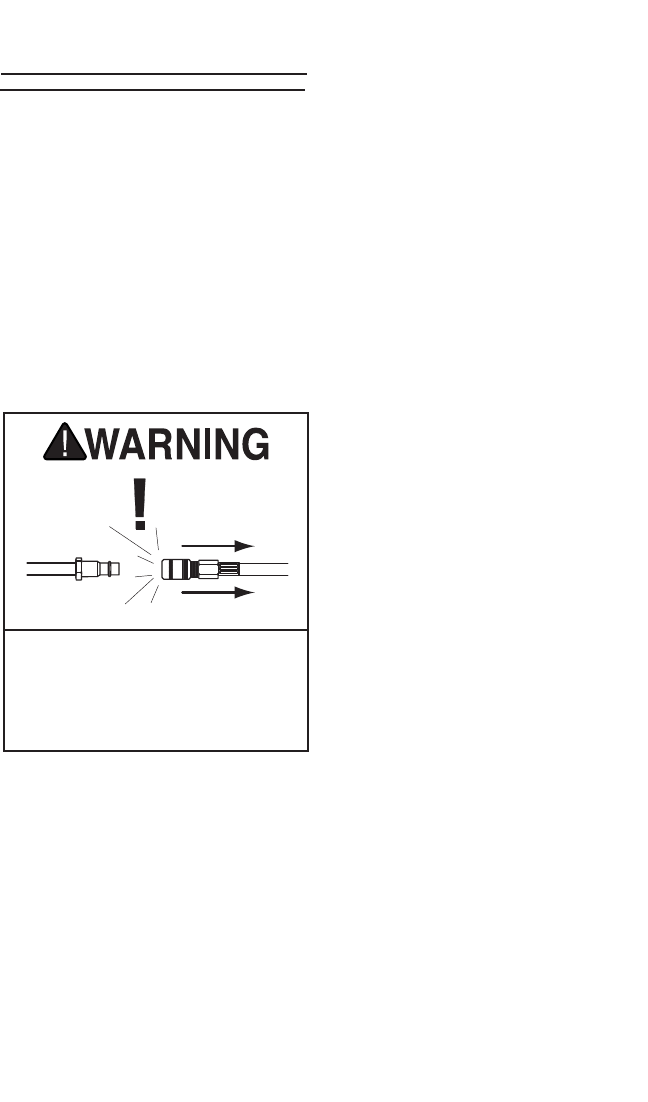
Always disconnect the air supply
from the nailer whenever servicing!
During maintenance, a nailer con-
nected to air may fire accidentally,
causing serious personal injury!