


Model H8233 3-Piece Framing/Brad Nailer & Stapler Kit
-12-
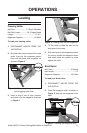
Clearing Jammed
Nails/Staples
Depending on the type of stock and nails
you are using, it may be necessary to
adjust the depth of nail penetration for your
framing nailer.
To adjust the depth for your framing
nailer:
1. DISCONNECT NAILER FROM THE
AIR SUPPLY!
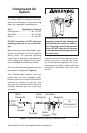
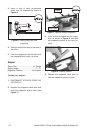
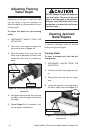
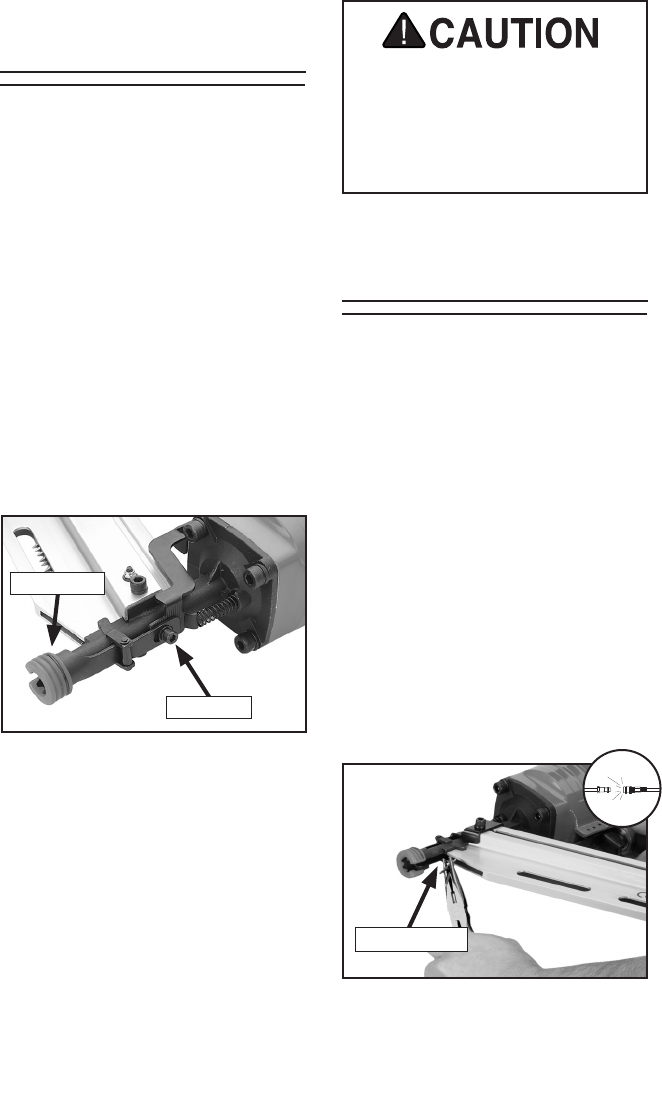
2. Use a 4mm hex wrench to loosen the
cap screw shown in Figure 10.
3. Move the safety nose away from the
nailer body to decrease nail depth, and
toward the nailer body to increase nail
depth.
Adjusting Framing
Nailer Depth
4. Re-tighten the cap screw, then connect
the nailer to the air supply and test the
nail depth.
5. Repeat Steps 2–4, if necessary, until
the nail depth is satisfactory.
Figure 10. Loosening cap screw for depth
adjustment.
Safety Nose
Cap Screw
DO NOT attempt to adjust the depth on
your brad nailer. The nose of the brad
nailer is not designed to be adjusted.
Doing so could cause the safety nose
mechanism to malfunction and cause
personal injury.
A jammed nail/staple must be cleared
before using the tool again.
Framing Nailer
To clear a jammed nail from the dis-
charge area:
1. DISCONNECT NAILER FROM THE
AIR SUPPLY!
2. Pull back and latch the magazine push-
er.
3. Remove the nail stick from the maga-
zine.
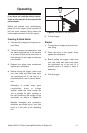
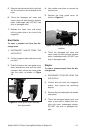
4. Locate the opening in the underside of
the nailer safety nose (see Figure 11).
Figure 11. Nose opening for clearing a
jammed nail.
Nose Opening