23. WARNING! The warnings, cautions, and instructions discussed in this
instruction manual cannot cover all possible conditions and situations that may
occur. It must be understood by the operator that common sense and caution
are factors which cannot be built into this product, but must be supplied by the
operator.
ASSEMBLY INSTRUCTIONS
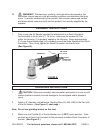
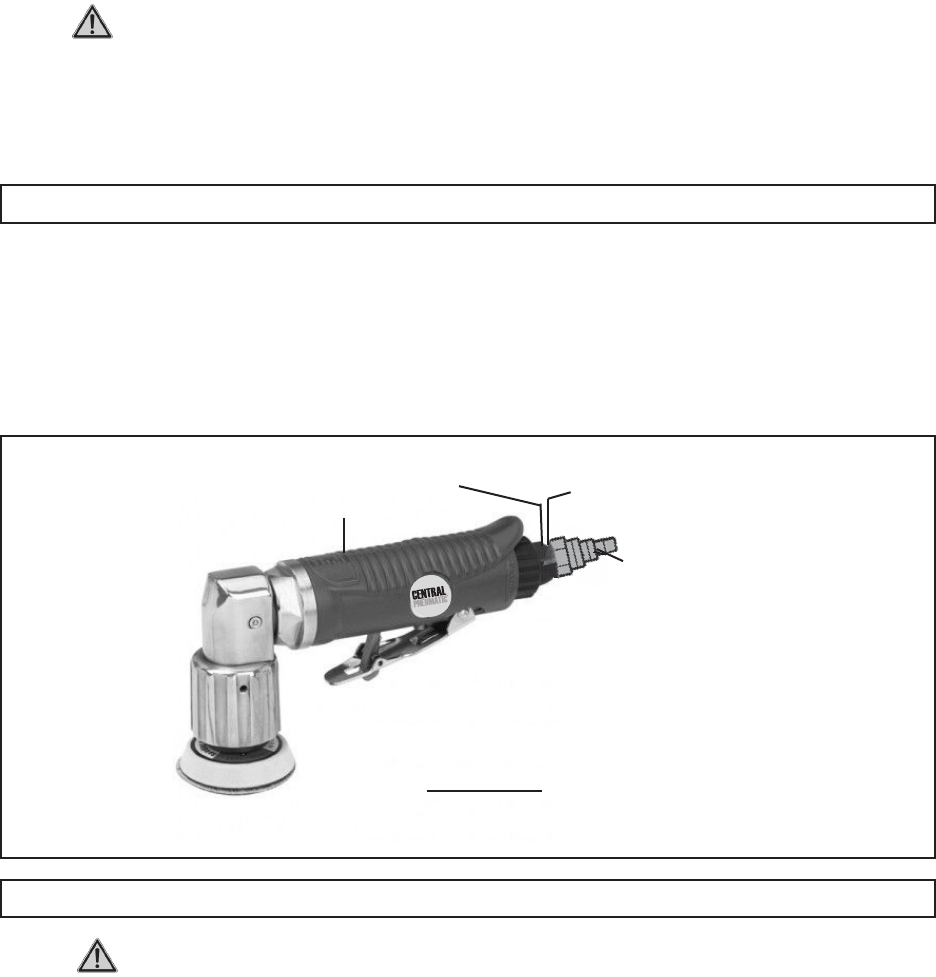
1. Prior to use, the Air Sander requires the attachment of a Quick Connector
(not included) to its Air Inlet (7). To do so, make sure the screen Air Filter
within the Housing (1) is properly seated in the Housing. Wrap approximately
3” of pipe thread sealer tape (not included) around the male threads of the Quick
Connector.Then,rmlytightentheQuickConnectorintotheAirInlet.
(See Figure B.)
SKU 93629 For technical questions, please call 1-800-444-3353 PAGE 5
OPERATING INSTRUCTIONS
1. CAUTION! Whenever possible, secure smaller workpieces in a vise or with
clamps (neither included) to avoid damage to the workpiece and/or personal
injury.
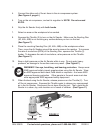
2. Attach a 2” diameter, self-adhesive, Sanding Disc (46, 46A, 46B) to the Pad (44)
of the Air Sander. (See Figure C, next page.)
Note: Do not use grinding wheels on this tool.
3. Make sure the Throttle (2) of the Air Sander is in its OFF (open) position. Then,
connect an air hose (not included) to the previously installed Quick Connector of
the tool. (See Figure C.)
HOUSING (1)
FIGURE B
AIR INLET
(7)
AIR FILTER
(NOT SHOWN)
QUICK
CONNECTOR
(NOT INCLUDED)


