Page 7SKU 45949
Assembly
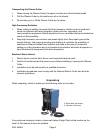
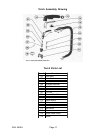
1. Assembly the platform stand and attach the wheels using the supplied hardware.
2. Place the Plasma Cutter on the Platform Stand and secure with the supplied
hardware.
3. Attach the Pull Handle to the Plasma Cutter with the supplied hardware.
4. Install a 3-prong, 220 VAC power connector with at least a 35 amp capacity. This
should only be done by a licensed electrician.
Operation
WARNING: This product, when used for welding and similar applications, produces
chemicals known to the State of California to cause cancer and birth defects (or other
reproductive harm). (California Health & Safety Code 25249.5, et seq.)
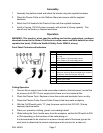
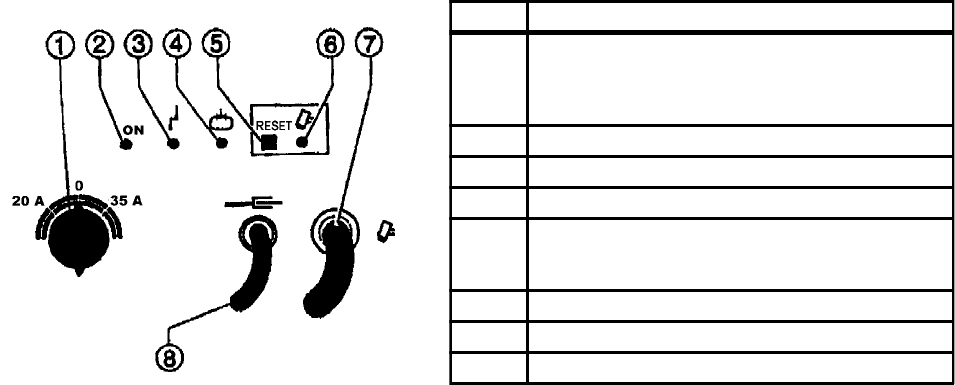
Front Panel Controls and Indicators
Cutting Operation
1. Connect the air supply hose to the manometer located on the back panel, and set the
air pressure to 60 PSI. The air supply should have an in-line moisture filter.
2. Check the Plasma Torch. Replace or clean the nozzle and electrode if worn or dirty.
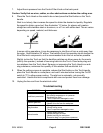
3. Clamp the Plasma Cutter Ground Cable Clamp to the bare metal workpiece.
4. With the On/Off switch set to “O”, plug the power cord into the 220 VAC (35 amp
capacity) electrical outlet.
5. Place your protective clothing, gloves, and welding helmet.
6. While holding the Torch handle away from the workpiece, set the On/Off switch to 20A
or 35A depending on the hardness of the metal being cut.
It is recommended to do a test cut on a piece of scrap metal of the same type as the
work piece to determine the correct amperage and air pressure for a clean cut.


