


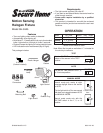
2
598-1161-03
CAUTION: To Avoid Fire Or Burn Hazards:
• Allow fixture to cool before touching. The bulb and
the fixture operate at high temperatures.
• Keep fixture at least 1" (2.5 cm) from combustible ma-
terials. Do not aim at objects closer than 3 ft. (1 m).
• Use only T3, 250W (max.) tungsten halogen 120
VAC lamps.
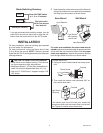
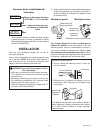
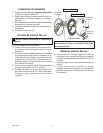
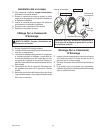
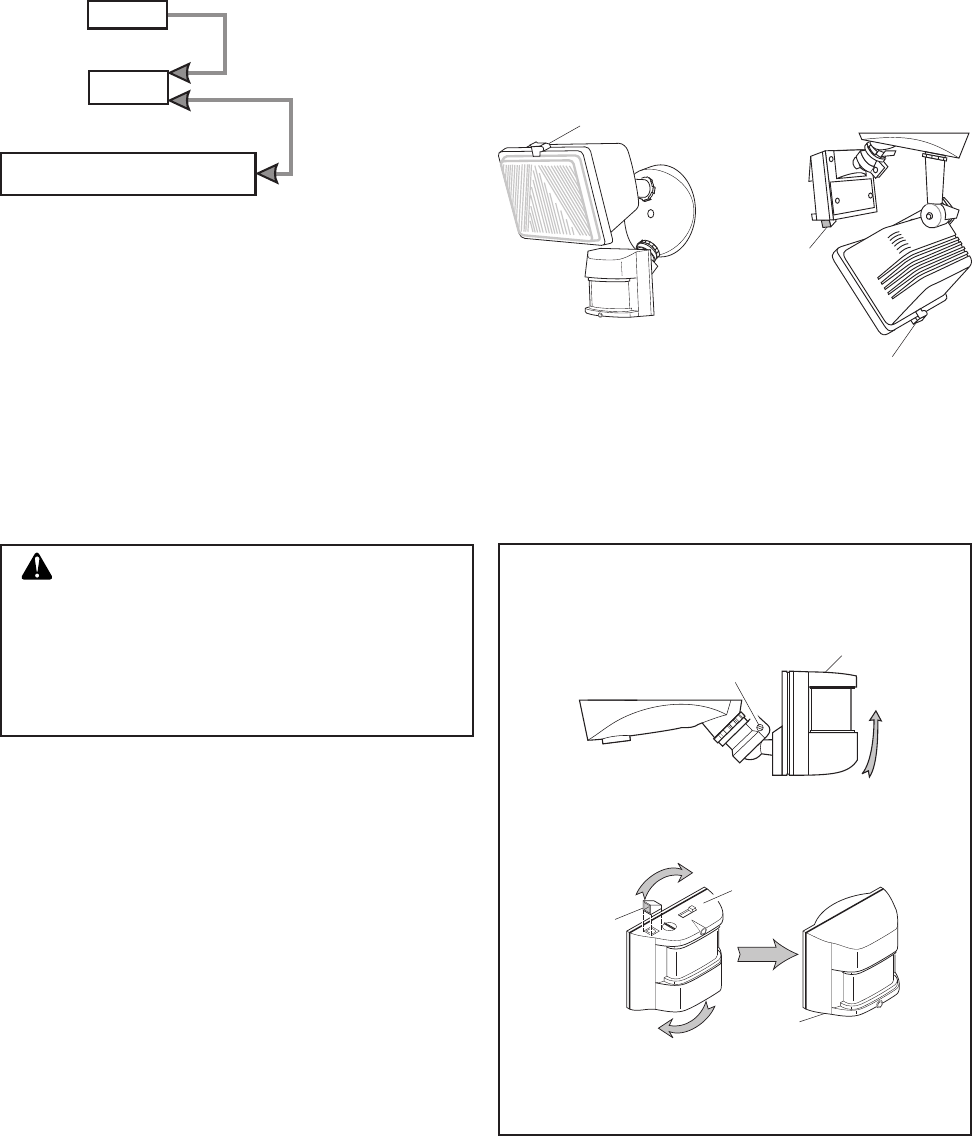
For eave mount only:
❒ Swing the sensor head towards the clamp screw
joint.
If the sensor pops out of the ball joint, loosen the
clamp screw and push the sensor back into the ball
joint. Tighten the clamp screw when done.
❒ Then rotate the sensor head clockwise 180° so
the controls face down.
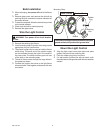
Controls
For under eave installation, the sensor head must be
rotated as shown in the next two steps for proper operation
and to avoid the risk of electrical shock. Also for proper
under eave operation, remove the protective backing
from the light shield and stick on as shown below.
Controls
Controls
Clamp Screw
Lens Retainer
Light Shield,
with opening
at this side
❒ Note the position of the various parts of the fixture for
the type of installation for your application and adjust
the lamp head and sensor as shown below.
Lens Retainer
Light Shield
Opening
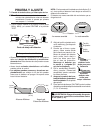
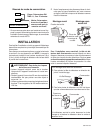
INSTALLATION
For easy installation, select an existing light operated
by a wall switch for replacement.
For best performance, mount the fixture about 8 feet
(2.4 m) above the ground. NOTE:
If fixture is mounted
higher than 8 ft. (2.4 m), aiming the sensor down will reduce
coverage distance.
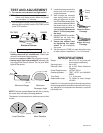
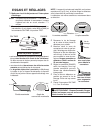
Move ON-TIME Switch
to 1, 5, or 10 minutes
Mode Switching Summary
Flip light switch
off for one second
then back on*
MANUAL MODE
AUTO
TEST
* If you get confused while switching modes, turn the
power off for one minute, then back on. After the cali-
bration time the control will be in the AUTO mode.
Eave Mount Wall Mount