


English
14
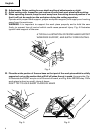
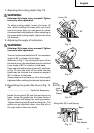
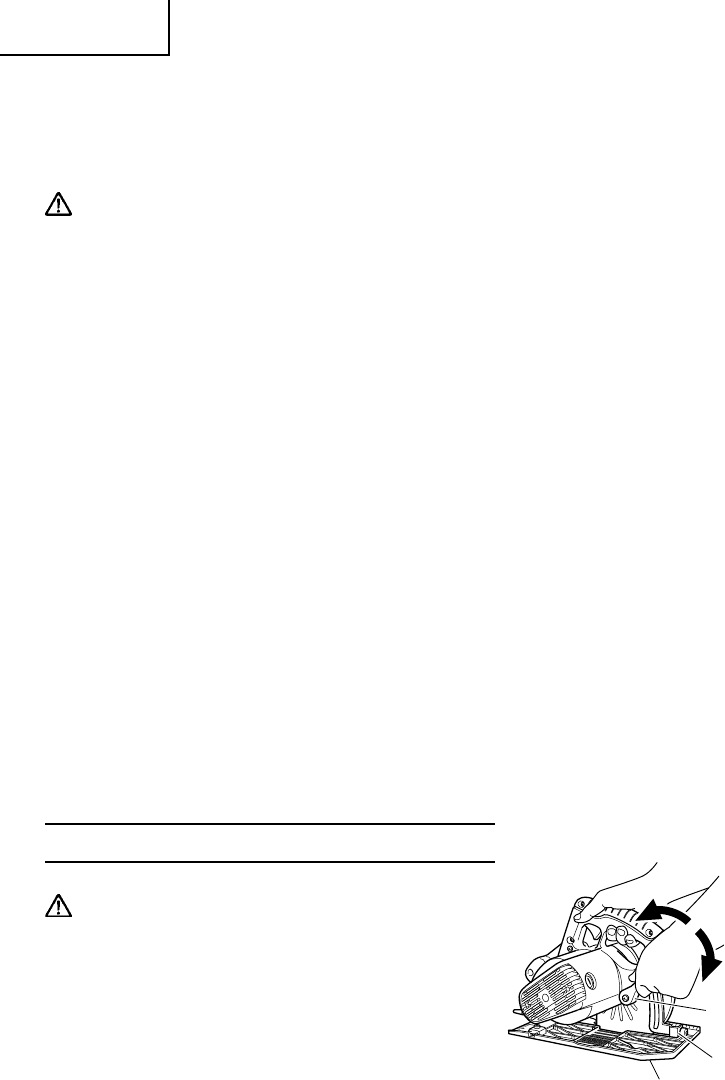
7. Check if lever (A)s are tightened.
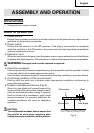
If the lever (A) to adjust cutting depth (Fig. 10) and lever (A) to adjust angle of inclination
(Fig. 11) are loose, injury can result. Make sure that they are tightened securely.
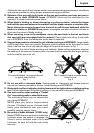
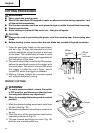
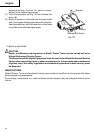
8. Check performance of safety cover
WARNING: Make absolutely sure that the safety cover is not fixed. Also, check and
see if it can move smoothly. If the saw blade is kept exposed injury can result.
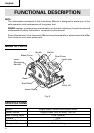
The lower guard (refer to Fig. 8) serves to protect your body from coming into contact with
the saw blade. Make absolutely certain that the cover smoothly performs to cover the saw
blade. If the safety cover should not move smoothly, never use it without repairing it.
In such a case, get in touch with the store where you bought the circular saw or the
HITACHI Authorized Service Center for necessary repair.
9. Eye protection
When you use the tool, make certain that you wear eye protection.
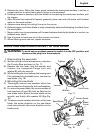
10. Check if saw blade is tightened
Refer to [mounting and dismounting the saw blade] in Page 17, and make sure that the
flange bolt is tightened securely.
11. Check for proper operation of the brake (C7BD2 only).
Your saw has an automatic electric brake which is designed to stop the blade from
coasting in about 3 seconds, after you release the trigger switch. It is useful when making
certain cuts in wood where a coasting blade would result a wide imprecise cut.
Occasionally, under certain conditions, the brake will not function properly and won't
stop the saw in the 3 seconds discussed above.
If this condition persists, turn the saw on and off four or five times. If the brake still does
not stop the blade in about 3 seconds, the problem may be worn brushes. Replace the
brushes and try the saw again. If the problem still persists, have the tool serviced at a
HITACHI AUTHRIZED SERVICE CENTER.
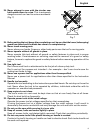
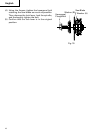
ADJUSTSING THE SAW PRIOR TO USE
WARNING:
To avoid serious accidents, ensure the switch
is in OFF position, and disconnect the plug from
the receptacle.
Lever (A)
Loosen
Tighten
Link
Base
Fig. 10