


9
English
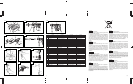
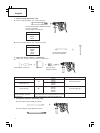
13 mm drill chuck ass’y (includes chuck wrench) and chuck (for drilling in steel or wood).
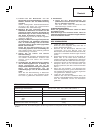
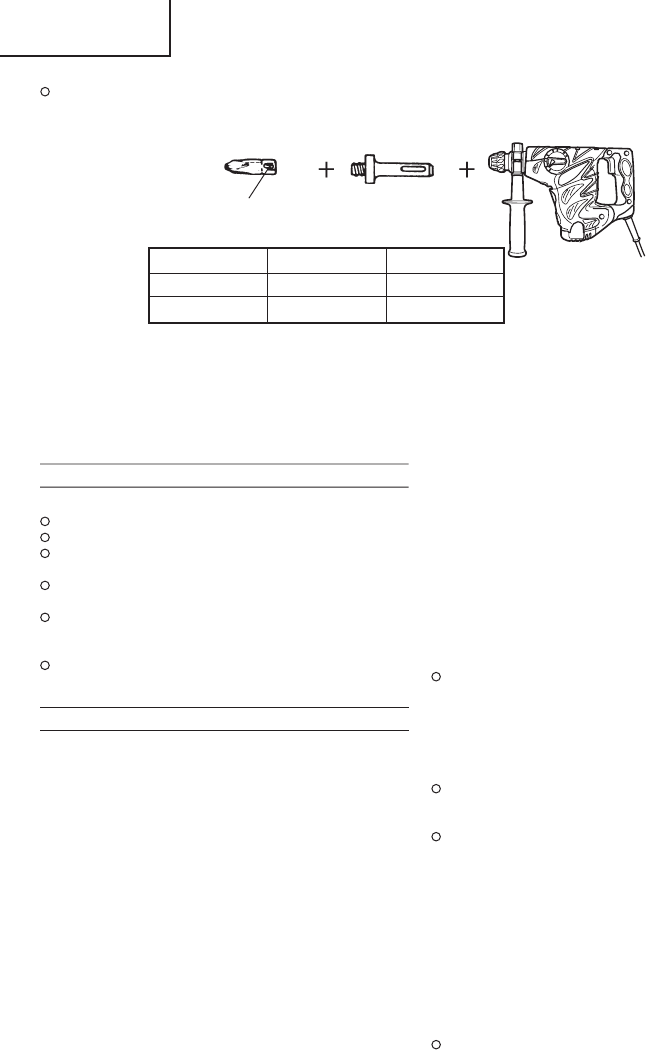
10. Driving Screws (rotation only)
Chuck adapter (D)
(SDS-plus shank)
Bit No. Screw Size Length
No. 2 3 – 5 mm 25 mm
No. 3 6 – 8 mm 25 mm
11. Hammer grease A
500 g (in a can)
70 g (in a green tube)
30 g (in a green tube)
Optional accessories are subject to change without notice.
Bit No.
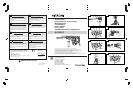
APPLICATIONS
Rotation and hammering function
Drilling anchor holes
Drilling holes in concrete
Drilling holes in tile
Rotation only function
Drilling in steel or wood
(with optional accessories)
Tightening machine screws, wood screws
(with optional accessories)
Hammering only function
Light-duty chiselling of concrete, groove digging
and edging.
PRIOR TO OPERATION
1. Power source
Ensure that the power source to be utilized conforms
to the power requirements specified on the product
nameplate.
2. Power switch
Ensure that the power switch is in the OFF position.
If the plug is connected to a receptacle while the
power switch is in the ON position, the power tool
will start operating immediately, which could cause
a serious accident.
3. Extension cord
When the work area is removed from the power
source, use an extension cord of sufficient thickness
and rated capacity. The extension cord should be
kept as short as practicable.
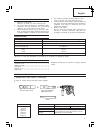
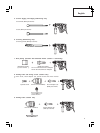
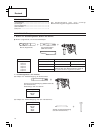
4. Mounting the drill bit (Fig. 1)
CAUTION
To prevent accidents, make sure to turn the switch
off and disconnect the plug from the receptacle.
NOTE
When using tools such as bull points, drill bits, etc.,
make sure to use the genuine parts designated by
our company.
(1) Clean the shank portion of the drill bit.
(2) To attach a drill bit (SDS-plus shank), fully pull the
grip in the direction of the arrow as shown in Fig.
1 and insert the drill bit as far as it will go while
manually turning.
(3) By releasing the grip, the drill bit will be secured.
(4) To remove the drill bit, fully pull the grip in the
direction of the arrow and pull out the drill bit.
5. Installation of dust cup (Optional accessories) (Fig.
2)
When using a rotary hammer for upward drilling
operations attach a dust cup to collect dust or
particles for easy operation.
Installing the dust cup
Use the dust cup by attaching to the drill bit as
shown in Fig. 2.
When using a bit which has big diameter, enlarge
the center hole of the dust cup with this rotary
hammer.
CAUTION:
The dust cup is for exclusive use of concrete drilling
work. Do not use them for wood or metal drilling
work.
Dump particles after every two or three holes when
drilling.
6. Selecting the driver bit
Screw heads or bits will be damaged should an
inappropriate bit for the screw diameter be employed
to drive in the screws.
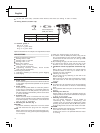
7. Selecting the function mode
You can switch functions to the 3 modes of
“hammering only, “rotation + hammering”, and
“rotation only” by turning the change lever while
pressing the push button. Set the ▲ mark position
of the change lever to that of the mode to be used.
CAUTION:
Before operating the change lever, check and make
sure that the motor has stopped.
A failure can occur if it is operated while the motor
is running.