— 6 —
English
SAFETY — Continued
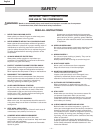
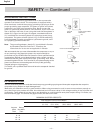
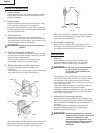
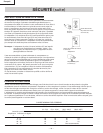
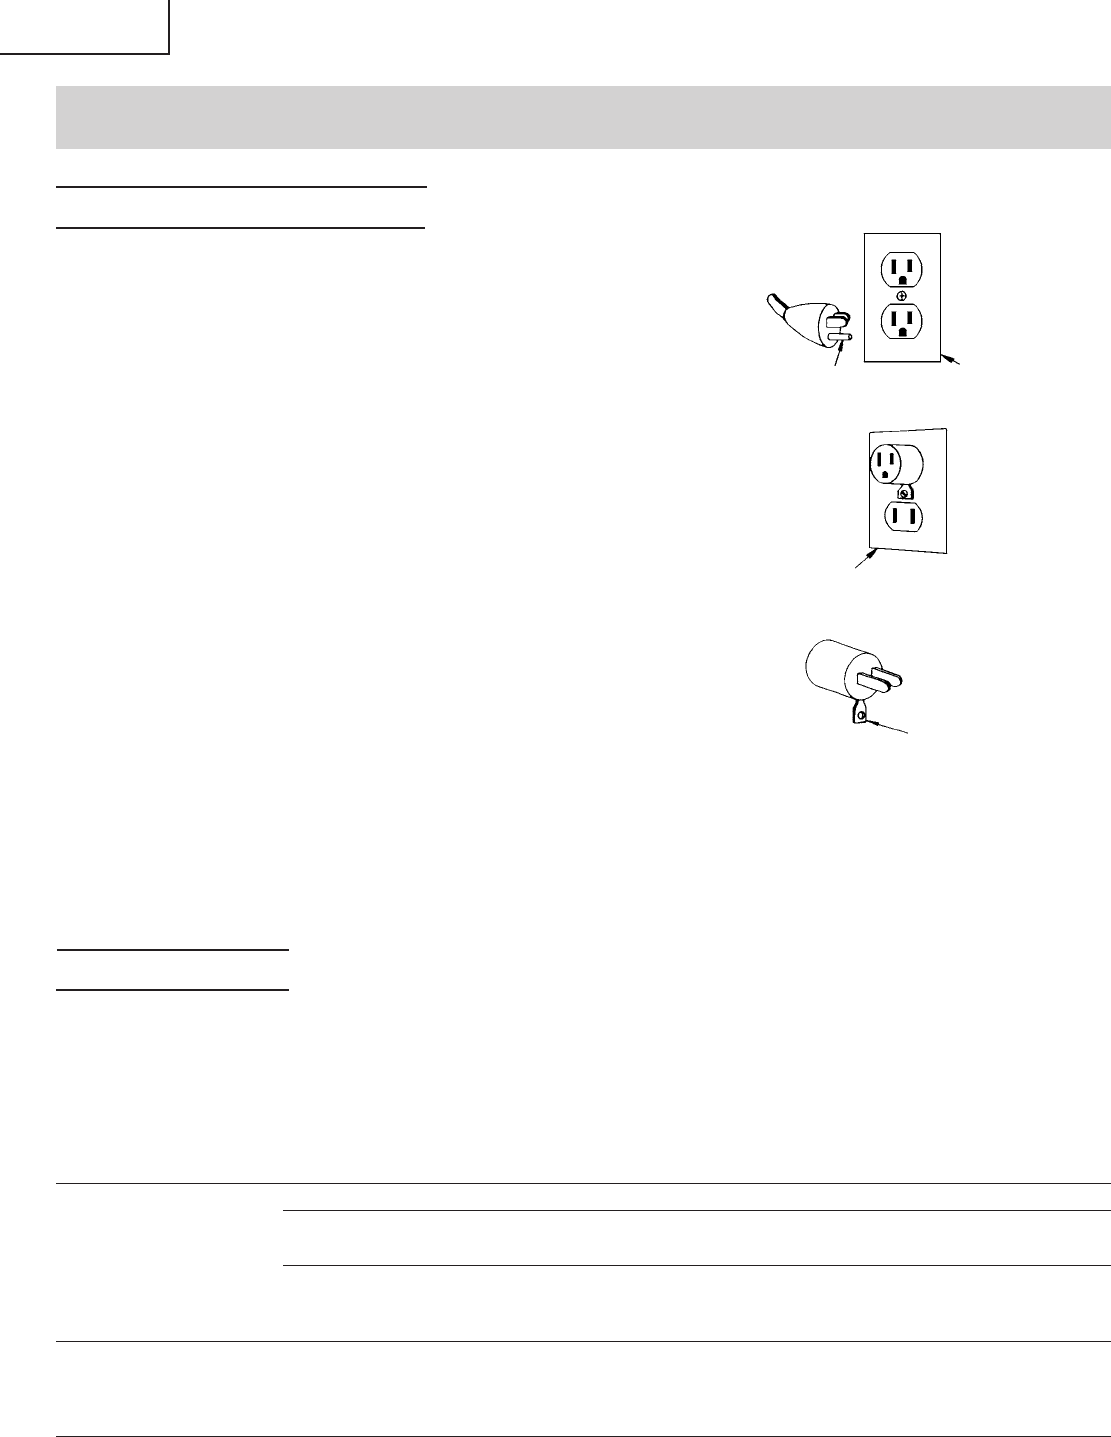
Ground
Blade
Cover of Grounded
Outlet box
(A)
Cover of Grounded Outlet box
(B)
Adapter
Grounding Means
(C)
GROUNDING INSTRUCTIONS
This compressor should be grounded while in use to protect the
operator from electric shock. The compressor is equipped with a
three-conductor cord and three-prong grounding type plug to fit the
proper grounding type receptacle. The green (or green and yellow)
conductor in the cord is the grounding wire. Never connect the
green (or green and yellow) wire to a live terminal. If your unit is for
use on less than 150 volts, it has a plug that looks like that shown in
sketch (A) in Figure on the right. An adapter, see sketches (B) and
(C), is available for connecting sketch (A) type plugs to two-prong
receptacles. The green-colored rigid ear, lug, or the like extending
from the adapter must be connected to a permanent ground, such
as a properly grounded outlet box.
Note: The grounding adaptor, sketch (C), is prohibited in Canada
by Canadian Electrical Code Part 1. Therefore, the
instructions for its use are not applicable in Canada.
We recommend that you never disassemble the compressor or try to
do any rewiring in the electrical system. Any repairs should be
performed only by HITACHI Service Centers or other qualified service
organizations. Should you be determined to make a repair yourself,
remember that the green colored wire is the “grounding” wire. Never
connect this green wire to a “live” terminal. If you replace the plug on the
power cord, be sure to connect the green wire only to the grounding
(longest) prong on a 3-prong plug.
If in doubt, call a qualified electrician and have the receptacle checked
for ground.
EXTENSION CORD
Use only three-wire extension cords that have three-prong grounding-type plugs and three-pole receptacles that accept the
compressor’s plug. Replace or repair damaged cord.
Make sure your extension cord is in good condition. When using an extension cord, be sure to use one heavy enough to
carry the current your product will draw. An undersized cord will cause a drop in line voltage resulting in loss of power and
overheating. Table shows the correct size to use depending on cord length and name plate ampere rating. If in doubt, use
the next heavier gage. The smaller the gage number, the heavier the cord.
MINIMUM GAGE FOR CORD SETS
Total Length of Cord in Feet (Meter)
0 – 25 26 – 50 51 – 100 101 – 150
(0 – 7.6) (7.9 – 15.2) (15.5 – 30.5) (30.8 – 45.7)
Ampere Rating AWG
More Not More
Than Than
0 – 6 18 16 16 14
6 – 10 18 16 14 12
10 – 12 16 16 14 12
12 – 16 14 12 Not Recommended


