— 14 —
English
MAINTENANCE
NOTE:
The information contained in this Manual is designed to assist you in the safe maintenance of
the Stapler.
Some illustrations in this Manual may show details or attachments that differ from those on
your own Stapler.
MAINTENANCE AND INSPECTION
Read section titled “SAFETY” (pages 4 – 6).
WARNING
ⅷ Disconnect air hose and remove all staples from
Stapler when:
1) doing maintenance and inspection; and
2) clearing a jam.
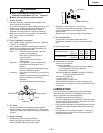
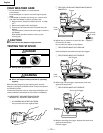
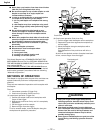
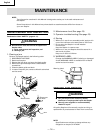
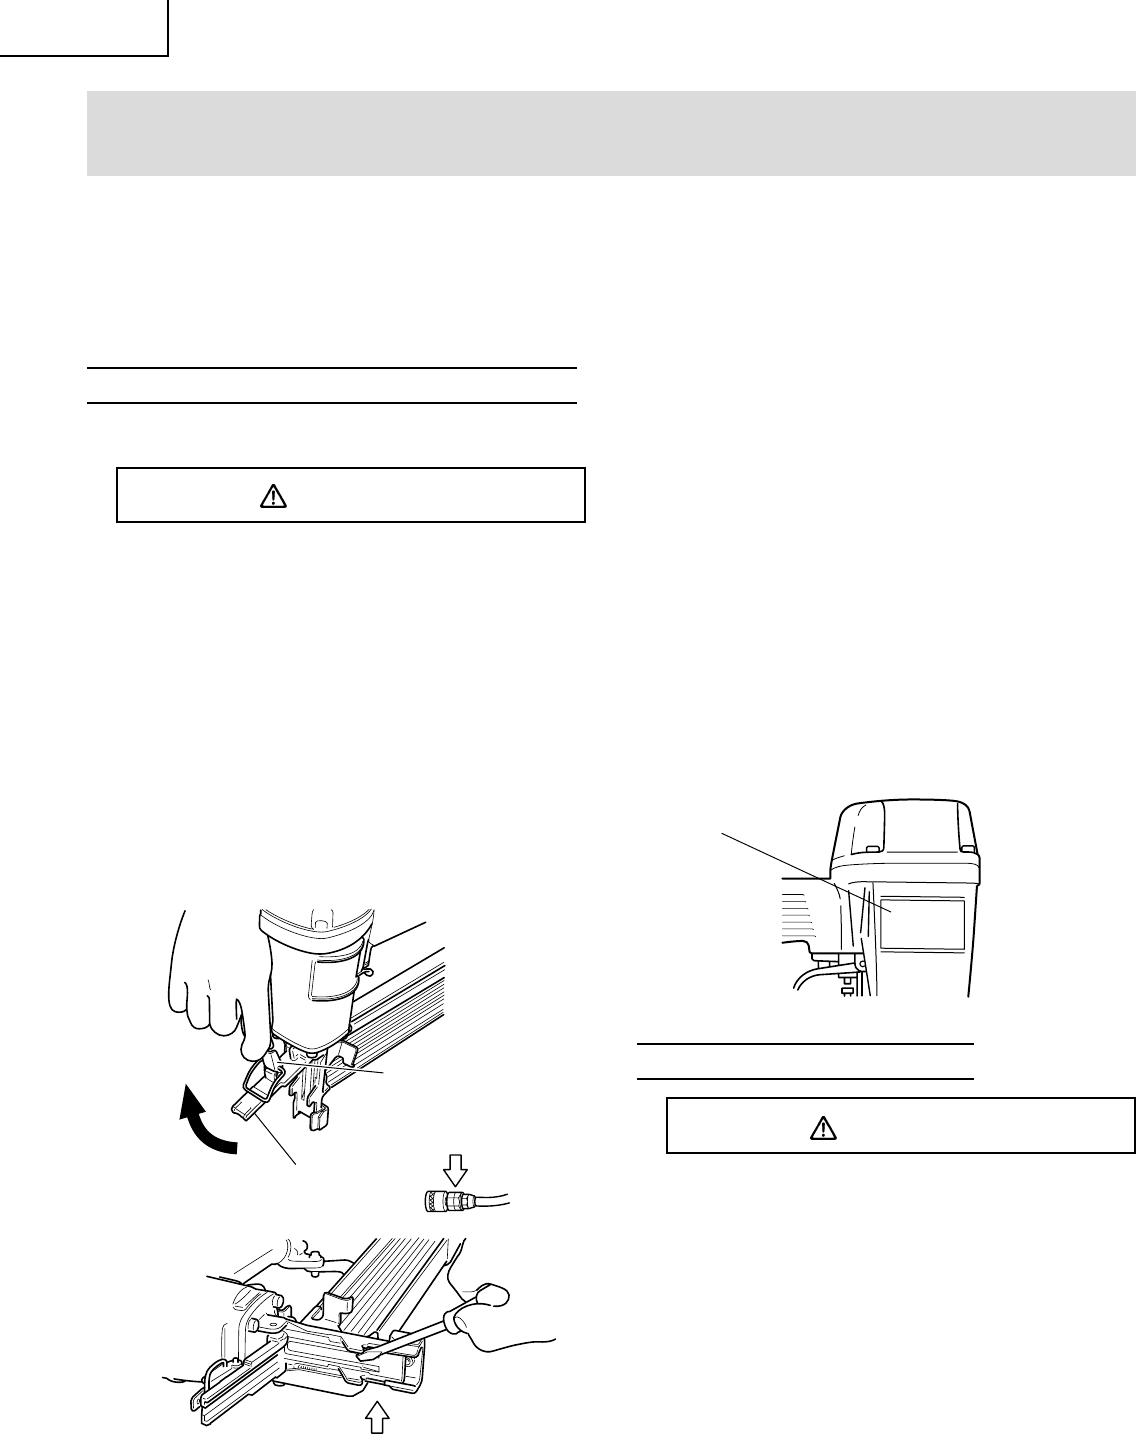
1. Clearing a jam
Remove a jammed staple in the following order:
1 DISCONNECT AIR HOSE.
2 Remove all staples.
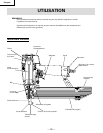
3 Release the lock lever and open the blade guide.
4 Remove the jammed staple with a slotted-head
screwdriver.
5 Close the blade guide and latch.
6 In case of frequent jam, contact a Hitachi authorized
service center.
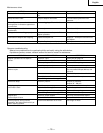
2. Maintenance chart (See page 15)
3. Operator troubleshooting (See page 15)
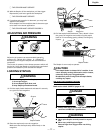
4. Storing
⅜ When not in use for an extended period, apply a thin
coat of the lubricant to the steel parts to avoid rust.
⅜ Do not store the Stapler in a cold weather
environment.
Keep the Stapler in a warm area.
⅜ When not in use, the Stapler should be stored in a
warm and dry place.
Keep out of reach of children.
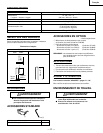
5. WARNING LABEL
Change the WARNING LABEL if missing or damaged.
A new WARNING LABEL is available from a Hitachi
authorized service center.
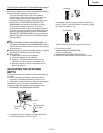
SERVICE AND REPAIRS
WARNING
ⅷ Only service personnel trained by Hitachi,
distributor or employer shall repair the Stapler.
ⅷ Use only parts supplied or recommended by
Hitachi for repair.
All quality Staplers will eventually require servicing or
replacement of parts because of wear from normal use.
NOTE:
Specifications are subject to change without any
obligation on the part of HITACHI.
Lock
Lever
Blade Guide
Disconnect
air hose
3
1
Warning Label
4


