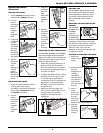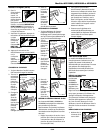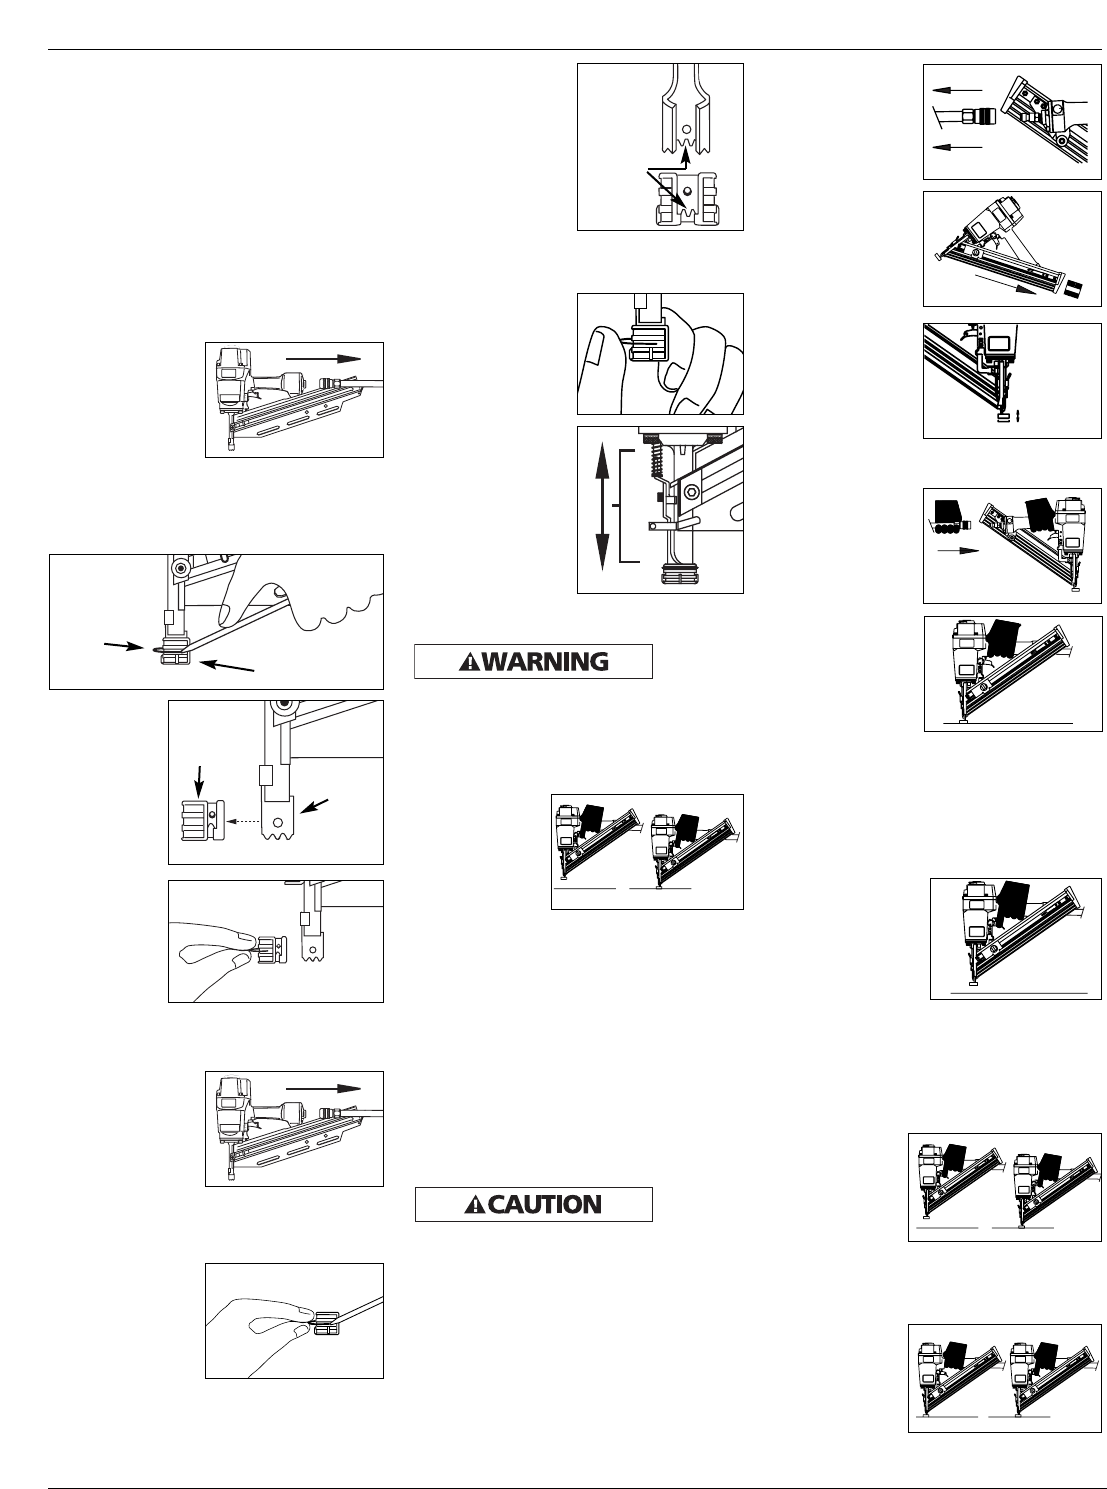
4. Carefully place
no-mar tip over
the end of
work contact
element.
Position tip
onto WCE
making certain
serrated gooves
on each piece are in line and fit
snugly together.
5. Position
retaining ring
on no-mar tip
and press firmly
in place.
6. Check that the
WCE and
trigger move up
and down
freely without
sticking or
binding.
Operational Modes
Always
know the
operational mode of the nailer before
using. Failure to know the operational
mode could result in death or serious
personal injury.
SINGLE CYCLE MODE
This method is
recommended
for precise nail
placement. This
mode requires
the trigger to
be pulled each time a nail is driven. The
nailer can be actuated by depressing the
WCE against the work surface followed
by pulling the trigger. Or the nailer can
be actuated by pulling the trigger and
then depressing the WCE against the
work surface.
The trigger must be released to reset
the tool before another nail can be
driven.
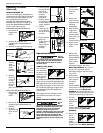
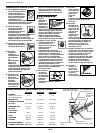
WORK CONTACT ELEMENT (WCE)
Check
the
operation of the Work Contact Element
(WCE) trip mechanism before each use.
The WCE must move freely without
binding through its entire travel
distance. The WCE spring must return the
WCE to its fully extended position after
being depressed. Do not operate the
nailer if the WCE trip mechanism is not
operating properly. Personal injury may
occur.
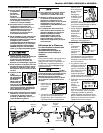
1. Disconnect
the air supply
from the
nailer.
2. Remove all
nails from the
magazine (see
Loading/
Unloading).
3.
Make sure the
trigger and
work contact
element (WCE)
move freely up
and down
without sticking or binding.
4. Reconnect air
supply to the
nailer.
5. Depress the
Work Contact
Element (WCE)
against the
work surface
without
pulling the trigger. The nailer
MUST NOT OPERATE. Do not use
the tool if it operates without
pulling the trigger. Personal injury
may result.
6. Remove the
nailer from the
work surface.
The Work
Contact
Element (WCE)
must return to its original down
position. The nailer MUST NOT
OPERATE. Do not use the tool if it
operates while lifted from the work
surface. Personal injury may result.
7. Pull the
trigger and
depress the
work
contact
element (WCE) against the work
surface. The nailer MUST NOT
OPERATE.
8. Depress the
Work
Contact
Element
(WCE)
against the work surface. Pull the
trigger. The nailer MUST OPERATE.
Operating The Nailer
(Continued)
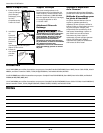
NO-MAR DECKING TIP
The no-mar decking tip is designed to
eliminate marks caused by the serrated
work contact element (WCE). The no-
mar tip may be removed if not
required (See REMOVING NO-MAR
DECKING TIP). Use tool in single cycle
mode (SEE OPERATIONAL MODES)
when no-mar tip is in place.
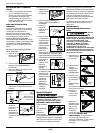
REMOVING NO-MAR DECKING TIP
1. Disconnect air
supply from
nailer.
2. Remove all fasteners from
magazine (See UNLOADING THE
NAILER).
3. Remove no-mar tip retaining ring.
4. Pry no-
mar tip
away
from the
work
contact
element.
5. Replace
retaining
ring onto
no-mar
tip, then
store tip
in safe
place for future use.
INSTALLING NO-MAR DECKING TIP
1. Disconnect air
supply from
nailer.
2. Remove all fasteners from
magazine (See UNLOADING THE
NAILER).
3. Remove
retaining ring
from no-mar
tip.
Operating Instructions
4
Movement
2
1
1
2
Retaining
Ring
No-Mar Tip
Work
Contact
Element
No-
Mar
Tip
Grooves
2
1


