


16 – English
MAINTENANCE
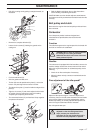
Inspecting and adjusting the drive
belt
• The drive belt is fully enclosed and well-protected from
dust, dirt and mechanical damage when cutting.
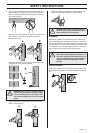
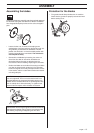
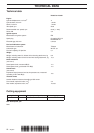
• Check the drive belt adjustment by feeling with your
fingers as illustrated. A correctly adjusted drive belt
should have about 5 mm of movement.
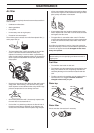
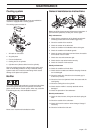
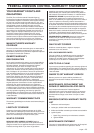
• To adjust the drive belt, loosen both the screws (A) holding
the bar one turn anticlockwise.
• Turn the adjuster screw (B) clockwise at the same time as
you feel with your fingers how the drive belt is adjusted.
When there is about 5 mm of movement on the drive belt
this is adjusted correctly and you can then tighten both
screws holding the bar.
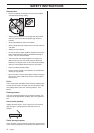
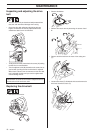
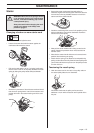
Replacing the drive belt
• Release the belt tension.
• Remove the blades.
• Remove the clutch cover by loosening the screws A and
B.
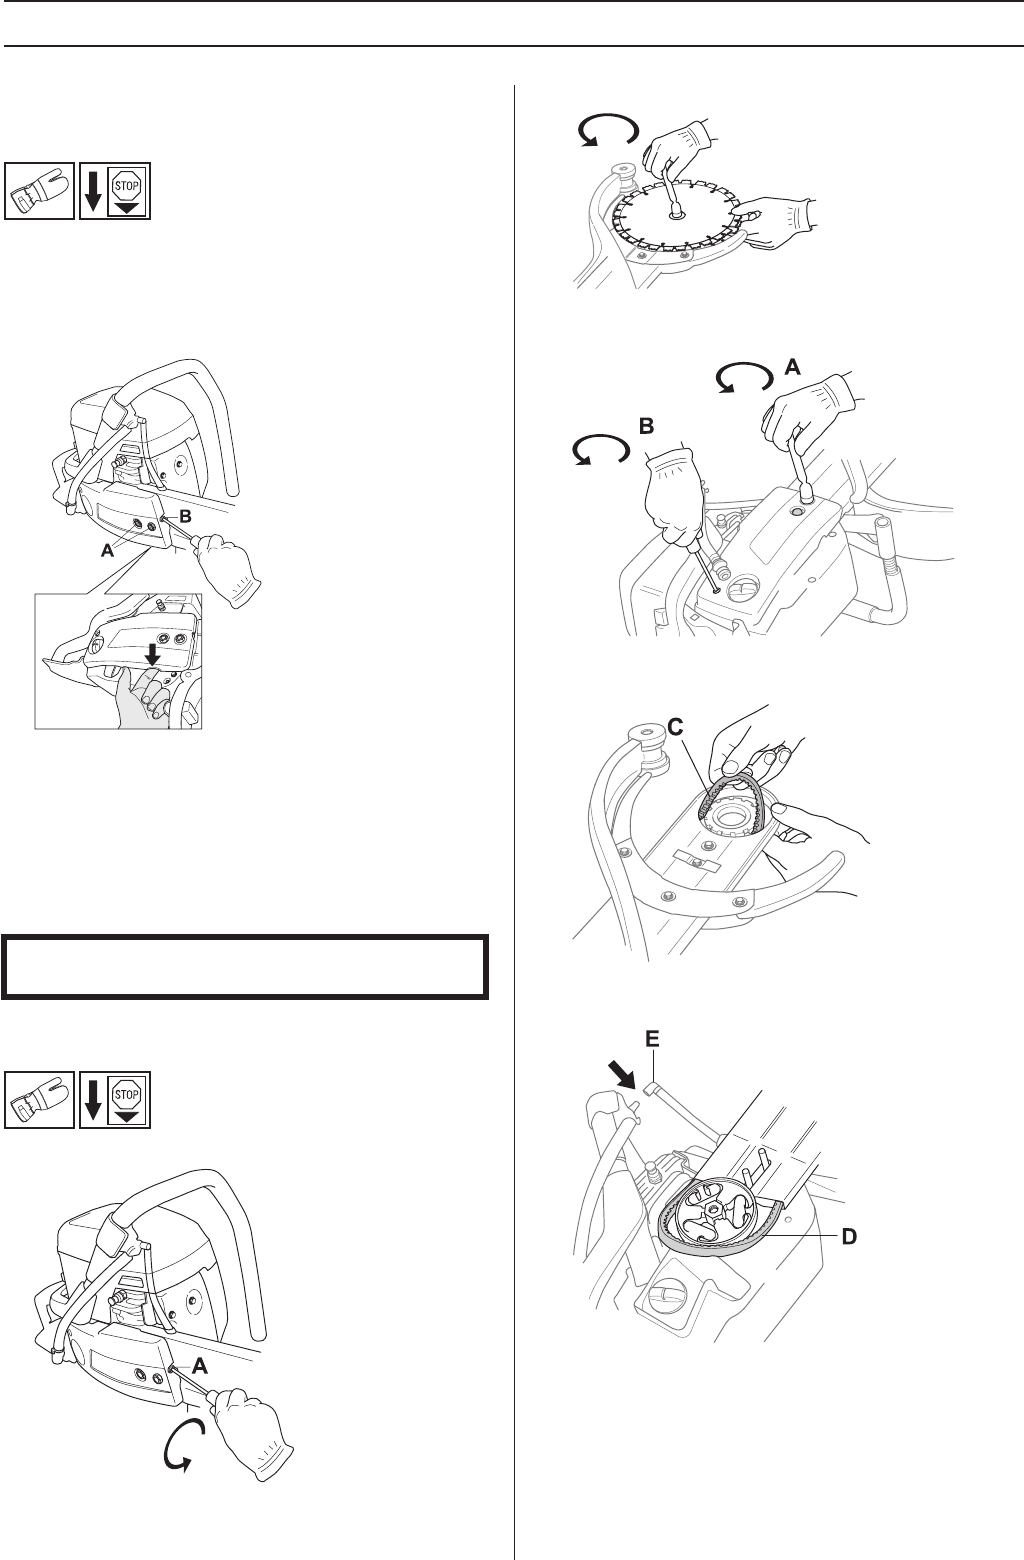
• Remove the drive belt from the nose of the cutting arm
(C).
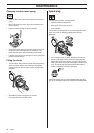
• Loosen water hose (E). Slide back the bar and remove the
drive belt around the clutch (D).
IMPORTANT! A new drive belt must be readjusted after one
or two tanks of fuel have been used.