14
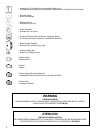
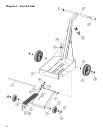
• The Handle must be attached. Place Handle
in position and securely tighten Knobs.
• Check the engine oil level. Service before using. Refer
to the engine operation manual for detailed information.
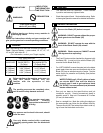
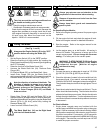
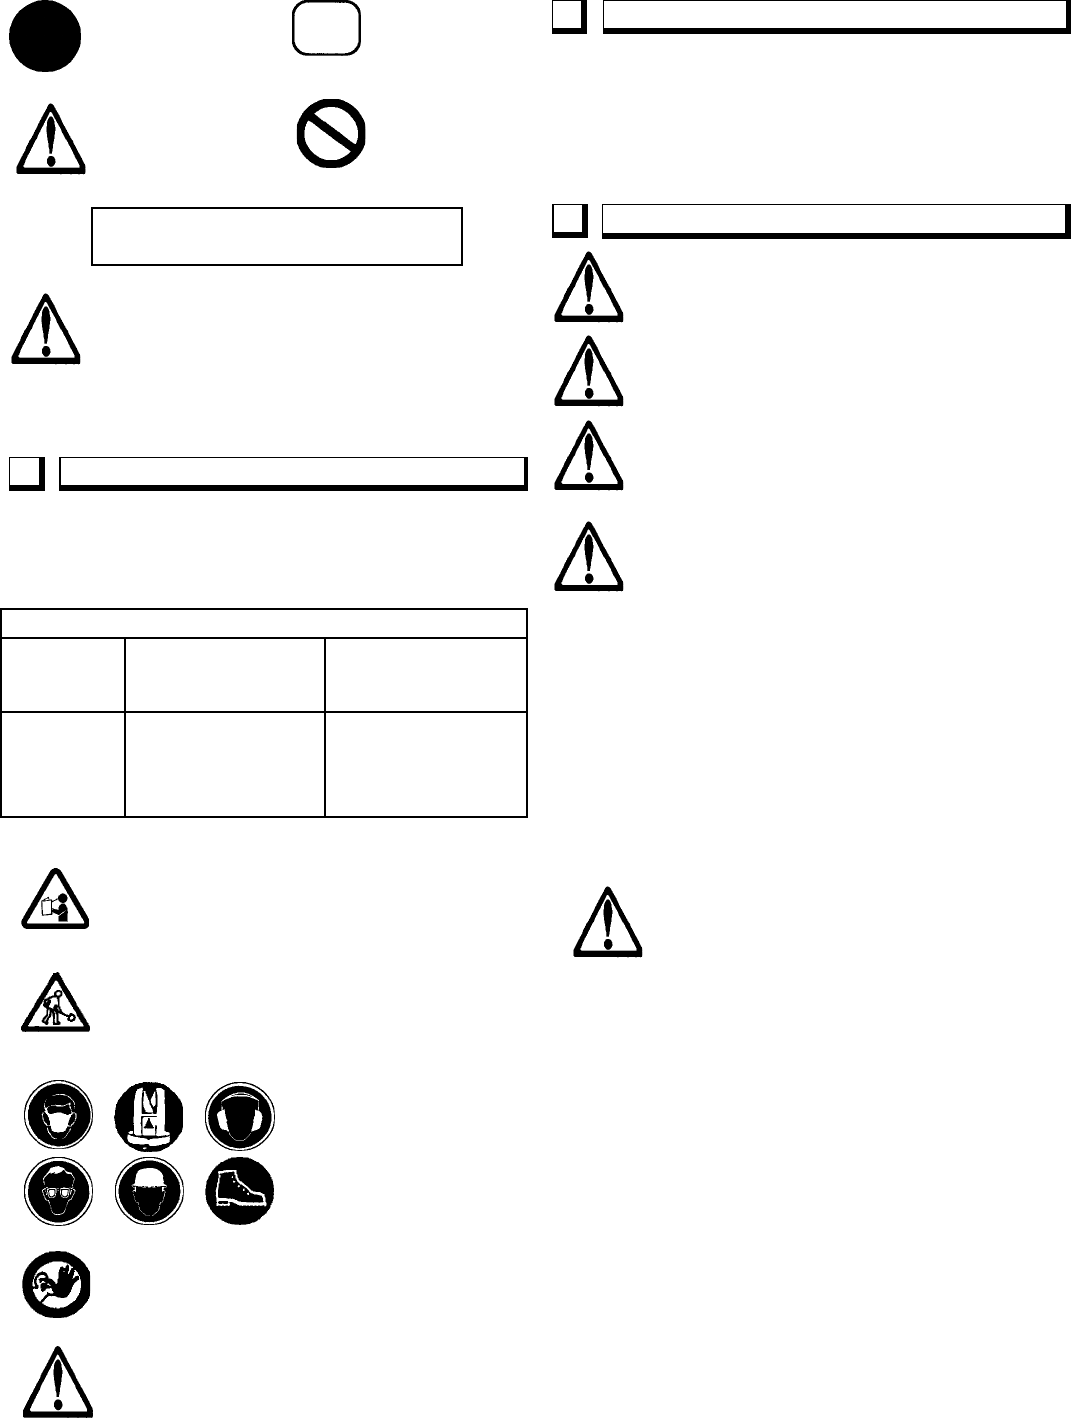
These signs will give
advice for your safety
Before leaving our factory every machine is
thoroughly tested.
Follow our instructions strictly and your machine will
give you long service in normal operating conditions.
MANDATORY
INDICATION
INFORMATION
INSTRUCTION
WARNING
PROHIBITION
Use: Wet sawing of old and new concrete and asphalt.
Tools: Diamond blades — water cooled, Ø: 10", 12", 14",
18" and 20" with Arbor Ø - 1"
(For information, contact your Target supplier)
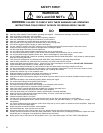
Before starting up the machine, make sure you
read this entire manual and are
familiar with the operation of this
machine.
The working area must be completely clear,
well lit and all safety hazards removed.
The operator must wear
protective clothing
appropriate to the work he
is doing.
Any persons not involved in the work, should
leave the area.
Use only blades marked with a maximum
operating speed greater than the bladeshaft
speed.
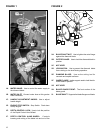
Remove the Blade (2E) before transport.
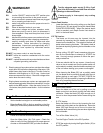
WARNING: DO NOT operate without the proper
blade guard over the Blade! (2E)
WARNING: DO NOT operate the saw with the
front of the Blade Guard (2H) raised!
WARNING: Blade exposure CANNOT exceed
180 degrees when operating!
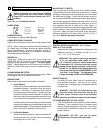
• The Front Pointer must be checked for alignment with
the Blade (2E). It must be in line with the Blade (2E)
mounted on the Blade Shaft (2I).
• For WET SAWING, be sure the water jets in the blade
guard water tubes are open and that each side of the
Blade (2E) has an adequate supply of water. Test the
water supply for pressure and quantity (flow) before
starting to saw.
WATER FLOW from 2-1/2 to 5 gallons of water
per minute MUST flow over the blade to
properly cool it and to get maximum blade
life. DO NOT use conventional (wet) diamond
blades without water!
• Saw only as deep as the specifications and job
conditions require. Sawing excessively deep is
wasteful–avoid it! Step cut in increments of 2 inches
(50 mm) for best results.
• Saw in a straight line. Mark the cutting line clearly so
the saw operator can follow the line without difficulty.
The saw should NOT be twisted from side to side try-
ing to force the blade back on the line.
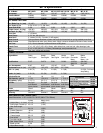
CUTTING DEPTHS
MAXIMUM MC18
BLADE SIZE BLADE DEPTH MAXIMUM DEPTH
(To Collar) (To Depth Stop)
10" (250mm) 2 3/4" (68mm) 2 1/2" (62mm)
12" (300mm) 3-3/4" (93mm) 3-1/2" (87mm)
14" (350mm) 4-3/4" (118mm) 4-1/2" (112mm)
18" (450mm) 6-3/4" (164mm) 6-1/2" (158mm)
1 Features
3
General Instructions
2 Assembly


