


6
immediately. Do not operate the
machine!
Dispose of the packing in an
environmentally friendly manner.
Clean all rust protected surfaces with
a mild solvent.
Requirements for machine
assembly:
-Philips screwdriver
-22mm wrench
-17mm wrench
-10mm wrench
-8mm wrench
-pair of work gloves
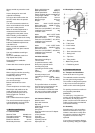
Stand assembly:
The four legs have been folded
before shipment.
To assemble the stand:
- unfold the four legs ( J, Fig 2) and
tighten the nuts securely.
- insert the short crossbeams and
tighten the nuts.
Fig 2
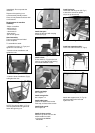
- insert the short crossbeams (Fig 3)
and tighten the nuts
Fig 3
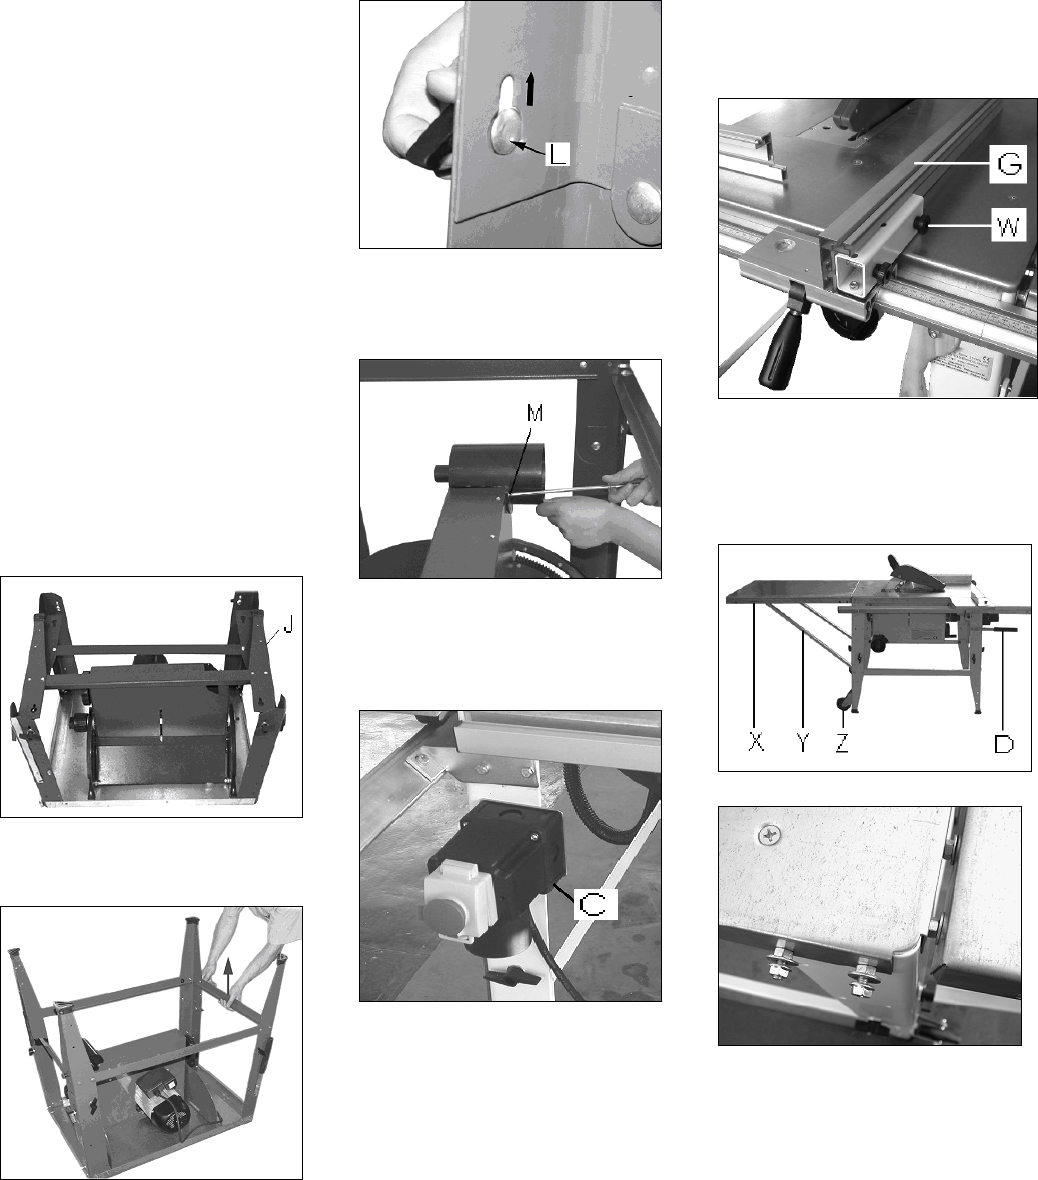
NOTE: The carriage bolts (L, Fig 4)
must be positioned in the groove to
fasten through wing nut.
Fig 4
Install dust port:
Attach the dust port with 3 taping
screws (M, Fig 5).
Fig 5
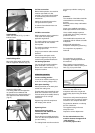
Install switch:
Fit the switch (C, Fig 6) on the left
front leg, using two M4 self-locking
nuts and two M4X60 screws.
Fig 6
Install saw blade:
See chapter 7.1
Install raving knife:
See chapter 7.2
Install table insert:
Position the table insert into the
Table top, and lock with 6 screws.
Install blade guard:
See chapter 7.3
Install rip fence carrier:
Attach the rip fence carrier to the
machine table front with
-2 Carriage bolts M6X20
- 2 Nuts M6
Install rip fence:
Use 2 bots and wing nuts (W, Fig 7)
to attach the aluminium profile
(G) to the rip fence body
Fig 7
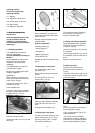
Install rear extension table:
Fit the rear table extension (X, Fig 8).
Fig 8
Fig 9
Attach two support arms (Y, Fig 10).
Adjust the table to be level and
tighten the nuts.