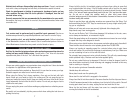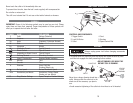
CONNECTING FLEXIBLE SHAFT TO TOOL
(MODELS 840168 AND 840169)
Never bend the flexible shaft with a radius of less than 6”
when operating. Please store the flexible shaft in the designated compartment
of the tool box when not in use.
Not for use with router bits. Use with router bits with
cause kickback.
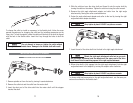
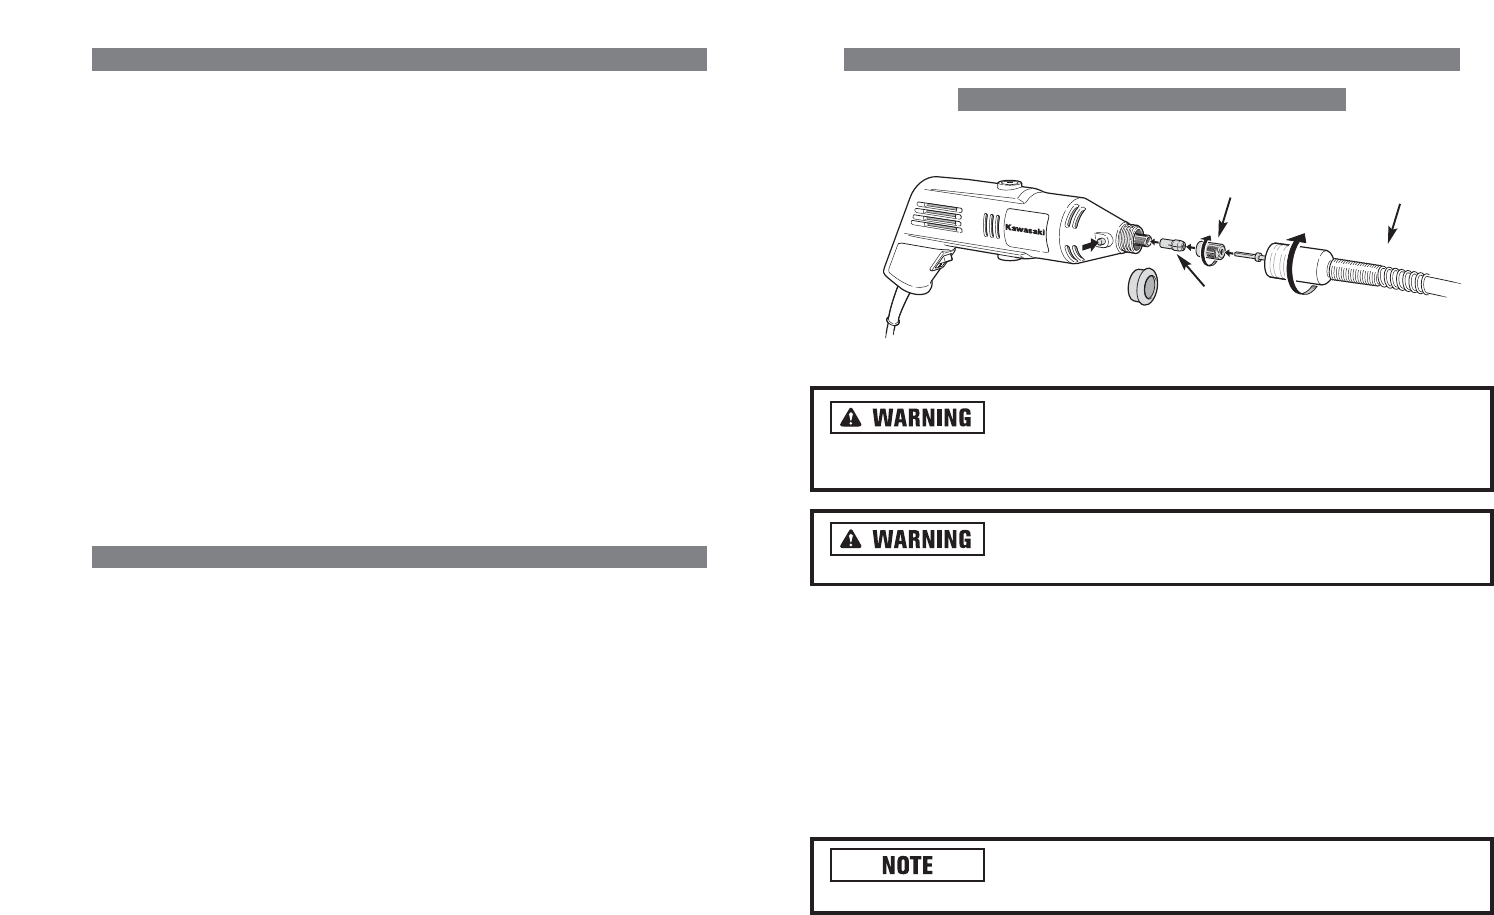
1. Remove spindle nut and collet nut from the tool by turning them counterclockwise.
2. Remove the collet from motor shaft.
3. Insert flexible shaft inner cable into the motor shaft until the stopper touches the
motor shaft.
4. Thread flexible shaft collet nut onto the motor shaft by turning it clockwise.
Tighten with collet wrench.
5. Thread flexible shaft nut onto the tool housing by turning it clockwise.
Only tighten flexible shaft nut finger tight. DO NOT use
pliers or wrench.
16
COLLET SIZES
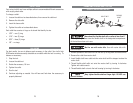
Your rotary tool kit may have multiple collets to accommodate different accessories
with varying shank sizes.
To change a collet:
1. Loosen the collet nut as described above, then remove the collet nut.
2. Remove the old collet.
3. Insert the loose collet.
4. Tighten the collet nut as described above.
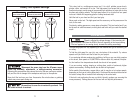
Each collet has a series of rings on its shank that identify its size.
• 1/32” – one (1) ring
• 1/16” – two (2) rings
• 3/32” – three (3) rings
• 1/8” – no rings
BALANCING
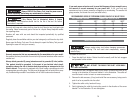
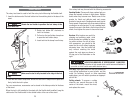
For best results, be sure to balance each accessory in the collet. Your tool’s high
RPM makes imbalances easily detectable as a wobble while the tool is running. To
balance an accessory:
1. Stop the tool.
2. Loosen the collet nut.
3. Rotate the accessory 1/4 turn.
4. Tighten the collet.
5. Run the tool.
6. Continue adjusting as needed. You will hear and feel when the accessory is
properly balanced.
15
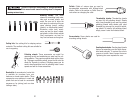
COLLET
COLLET NUT
FLEXIBLE
SHAFT


