


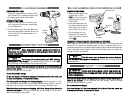
IINNSSTTAALLLLIINNGG DDRRIILLLL BBIITT IINNTTOO KKEEYYLLEESSSS CCHHUUCCKK
BBeeffoorree iinnsseerrttiinngg aa ddrriillll bbiitt oorr ootthheerr aacccceessssoorryy,,
make sure the forward/reverse
and trigger lock lever is in the center
““OOFFFF””
position to prevent accidental starts
that may result in injury.
DD
oo nnoott aatttteemmpptt ttoo ttiigghhtteenn ddrriillll bbiittss ((oorr aannyy ootthheerr aacccceessssoorryy)) bbyy ggrriippppiinngg tthhee
ffrroonntt ooff tthhee cchhuucckk aanndd t
tuurrnniinngg tthhee ttooooll oonn..
This may cause personal injury
and/or damage to the chuck.
WWhheenn rreemmoovviinngg tthhee bbiitt ffrroomm tthhee ttooooll,, aavvooiidd ccoonnttaacctt wwiitthh sskkiinn aanndd uussee pprrooppeerr
ppr
rootteeccttiivvee gglloovveess wwhheenn ggrraassppiinngg tthhee bbiitt oorr aacccceessssoorryy..
Accessories may be hot
after prolonged use.
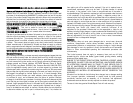
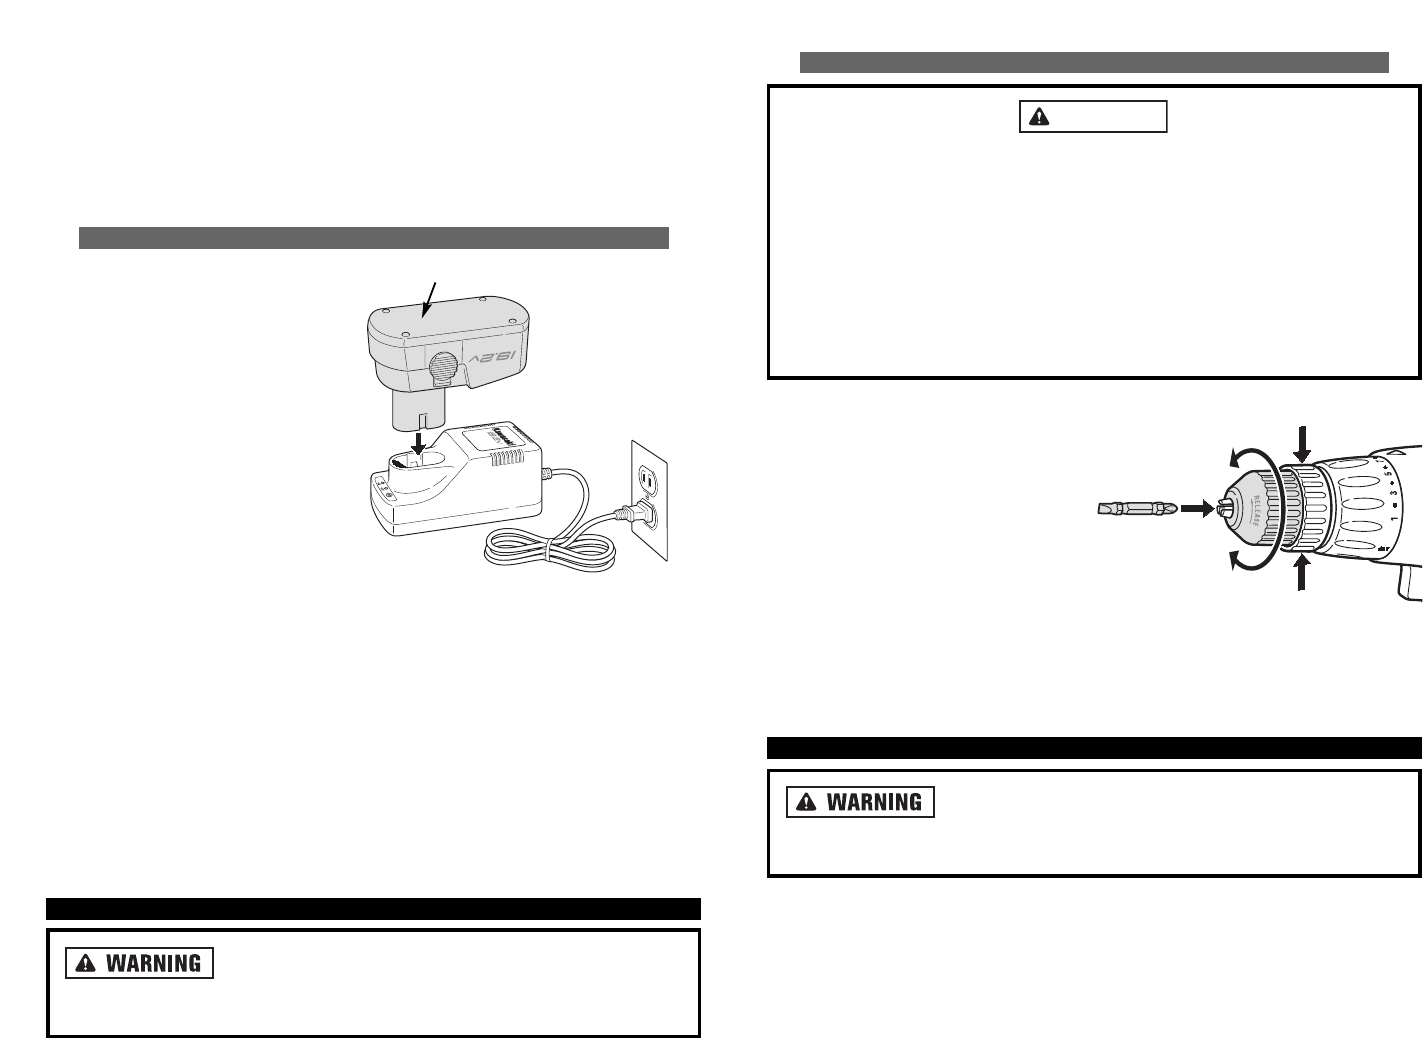
1. Hold the rear end of the chuck in
one hand and use the other hand to
rotate the front end in a counter-
clockwise direction to open the jaws
of the chuck.
2. Insert the shank of the bit (or other
accessory) fully into the keyless
chuck, taking care to keep the bit in
the center of the jaws of the chuck.
3. Turn the front end of the chuck clockwise to hold the bit in place.
4. Tighten securely by turning the front end of the chuck clockwise while holding
the rear end.
OOPPEERRAATTIINNGG TTHHEE DDRRIILLLL
NNeevveerr ttaappee tthhee ttrriiggggeerr sswwiittcchh ddoowwnn ttoo pprroovviiddee ccoonnttiinnuu--
oouuss hhiigghh ssppeeeedd..
The tool may fail under such conditions causing fire or
personal injury.
WARNING
TThhee bbaatttteerryy ppaacckk aanndd cchhaarrggeerr hheeaatt dduurriinngg cchhaarrggiinngg..
Place the charger on a flat,
non-flammable surface away from flammable materials with at least four inches of
clearance to allow proper air circulation around the charger and battery pack.
WWhheenn tthhee bbaatttteerryy ppaacckk rreeqquuiirreess rreecchhaarrggiinngg,, aa 1
1 hhoouurr cchhaarrggee aalllloowwss tthhee ttooooll ttoo
ooppeerraattee aatt ffuullll ppoowweerr..
A charging indicator light on the charger will illuminate to
show that charging is taking place.
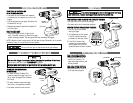
CCHHAARRGGIINNGG BBAATTTTEERRYY PPAACCKK UUSSIINNGG OONNEE HHOOUURR CCHHAARRGGEERR ##669900550077
CCHHAARRGGEE BBAATTTTEERRYY PPAACCKK::
1. Plug the charger into the nearest
120 volt electrical outlet. The
step of the battery has positive
and negative terminal markings
on it. Align the markings with
the identical markings on the top
of the charger base. Insert the
battery pack into base. Pack will
not insert properly if reversed.
2. Make sure the trigger on the
Cordless Drill is in the
““OOFFFF””
position and remove the battery
pack from the Cordless Drill.
3. If, when first inserting the battery pack, the red
““OONN””
button does not light up,
press the “SET” button on the charger. When the battery is charging, the red
light is
““OONN””
.
4. After approximately one hour of charging, the red indicator light should go
““OOFFFF””
and the green light should come
““OONN””
. The green light indicates that the
battery is fully charged.
5. When fully charged, reattach battery pack onto Cordless Drill, making certain
latches fasten securely. Cordless Drill will not operate properly if the battery pack
is not seated properly.
AASSSSEEMMBBLLYY
BBee aawwaarree tthhaatt tthhiiss ttooooll iiss aallwwaayyss iinn aann ooppeerraattiinngg ccoonnddiittiioonn
bbeeccaauussee iitt ddooeess nnoott hhaavvee ttoo bbee
pplluuggggeedd iinnttoo aann eelleeccttrriiccaall oouuttlleett..
Always turn
the switch
““OOFFFF””
and remove the battery pack before changing bits.
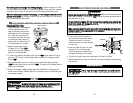
13 14
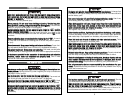
HOLD HERE
HOLD HERE
RELEASE
GRIP
BATTERY PACK
BATTERY
CHARGER