


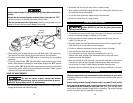
• Guide back and forth over the work piece in a steady motion.
• When cutting avoid tilting the Angle Grinder in the cutting plane. Ensure the cut-
ting wheel has a clean cutting edge.
• To cut hard stone a diamond cutting wheel is recommended.
• Do nut use cutting wheel for rough grinding.
MAINTENANCE AND CLEANING
Always UNPLUG the tool from the power source before
cleaning or maintenance.
• The armature and motor are the heart of the power tool. Exercise care to ensure
they do not become damaged or effected by oil or water.
• Inspect the carbon brushes regularly and replace them when they are worn.
(about 1/3 of the way up)
• Regularly inspect all mountings and screws and ensure they are properly tight-
ened. Failure to do so may result in serious damage.
• Consult an authorized maintenance service agent in event of damage.
• Clean and dust the Angle Grinder after each use.
• Use compressed air to blow out any accumulated dust or grit. Tiny
particles from metal grinding often accumulate inside your tool and could
create an electrical shock hazard.
• Never use solvents or harsh chemicals. Use only mild soap and a damp cloth to
clean the tool. Never let any liquid get inside the casing. Never immerse any
part of the tool in a liquid. Always keep the ventilation openings clear.
• Regularly clean the ventilation slots in your tool using a soft brush or dry cloth.
ACCESSORIES
Use only accessories that are recommended by the manufacturer for your model.
Accessories that may be suitable for one tool may become hazardous when used on
another tool.
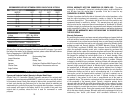
Always attach grounded (3-prong) extension cords to grounded (3-hole) outlets.
If you must use an extension cord, be sure that the gauge is large enough to carry
the amount of current necessary for your power tool. If not, your tool may experi-
ence a loss of power, excessive voltage drop or overheating. The smaller the gauge
number, the heavier the cord (see table on next page).
14
Always allow the Angle Grinder to come up to full speed before touching any
surface.
Always take the tool away from the workpiece before turning the tool “OFF”.
Let the tool come to a complete stop before setting it down.
This tool operates best under light pressure. Exerting heavy pressure will not
speed up the work and may cause damage to the motor.
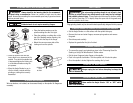
• When starting hold the Angle Grinder firmly with both hands. One hand on the
rear handle or the motor housing and the other hand on the side handle.
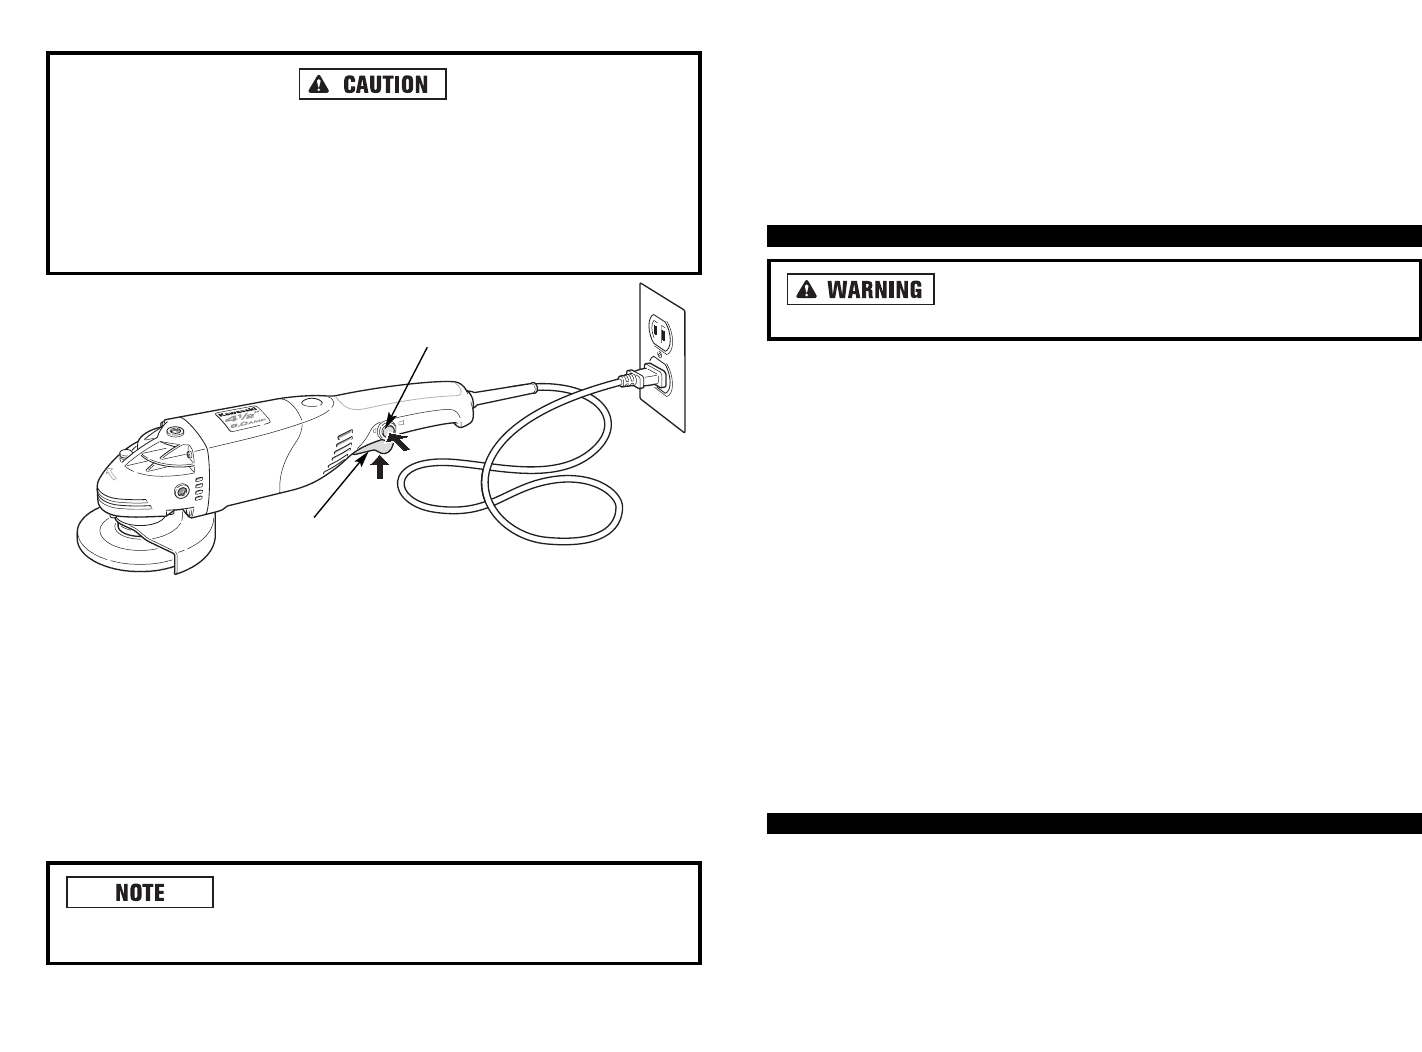
• The switch can be locked in the “ON” position, a convenience for long grinding
operations.
• To turn the Angle Grinder “ON” without locking it, apply pressure to the switch
button. When pressure is released, the switch button snaps to the “OFF” position.
• To lock th switch “ON”, press the switch button forward and press the lock button.
• To unlock the switch, simply press and release the lock button. Switch is spring
loaded and will snap back automatically.
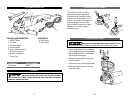
USING THE ANGLE GRINDER:
For best tool control, material removal and minimal
loading, keep the angle between the disc and the work surface at approxi-
mately 30° when grinding and 10°-15° when sanding.
• Do not cover exhaust vents when the Angle Grinder is in use. This may cause
damage to the motor and reduce efficiency.
13
ON/OFF
SWITCH
LOCK-ON
BUTTON