


English
16
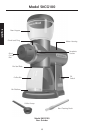
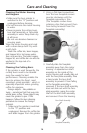
7. Once the burr-shaft assembly is
in the motor housing, rotate
the assembly until it falls into
place. When correctly positioned,
the burr-shaft assembly cannot
be rotated.
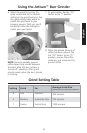
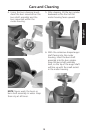
8. Place the faceplate assembly onto
the motor housing. Make sure the
numbers on the grind level ring
are positioned across the top of
the assembly. Using your fingers,
tighten the faceplate screws by
turning them clockwise. Alternate
tightening the screws, keeping
them even – do not completely
tighten one screw before
tightening the other.
9. After the faceplate screws have
been finger-tightened, use a
flat-head screwdriver to tighten
them until snug.
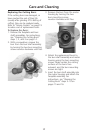
10 . Place the burr grinder upright. It is
now ready for use.
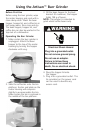
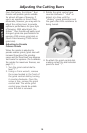
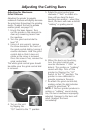
Adjusting The Cutting Burrs
For Wear
The cutting burrs are made of
high-quality stainless steel for
exceptional longevity. After
prolonged use, however, the burrs
might require adjustment to
compensate for wear. If your grinds –
especially espresso – are not as fine
as they used to be, an adjustment
probably needs to be made.
Please see “Adjusting the Cutting
Burrs” on page 11 for information on
adjusting the burrs to provide
maximum grind fineness.
Care and Cleaning