


11 GB
Commissioning / Rectifying faults
To switch OFF:
j Set the ON / OFF switch
8
to position “0”.
m Blow count:
The Electric Tacker PET 23 VARIO is designed for
30 blows per minute.
m Continuous Operating Time:
The Electric Tacker PET 23 VARIO is designed for
15 minutes of continuous operation at the maximum
blow count. Allow the appliance to cool down suffi-
ciently after such a tasking.
Q
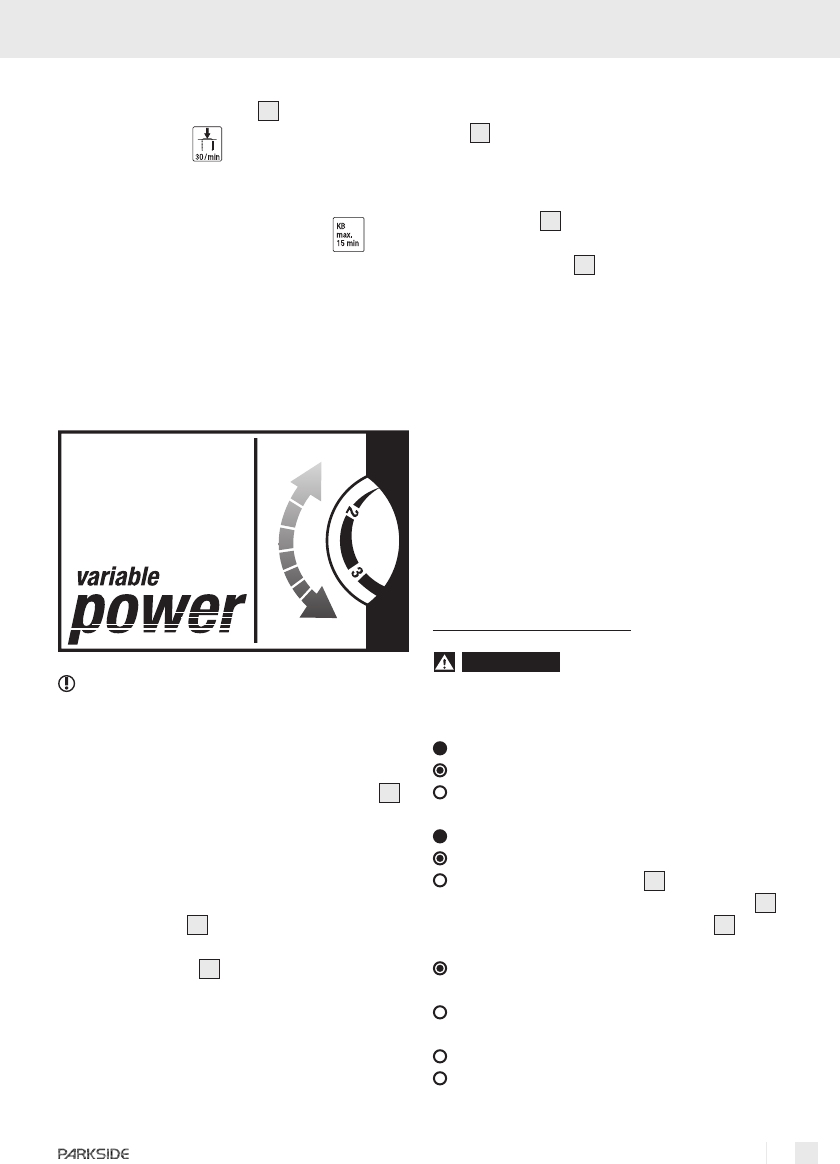
Setting the impact force
A tip!
j Select the lowest impact force required for
stapling.
j You can set the impact force at any value between
“1” (lowest impact force) and “7” (highest im-
pact force) using the impact force controller
6
.
Q
Stapling
j Switch on the tool.
j Press the nose
4
on the spot where you wish
to staple.
j Press the trigger
2
.
j Adjust the impact force to suit the materials,
staples or nails.
Redriving:
Note: Use this function if you discover that some
already-driven staples or nails have not ended up
flush in the material. Redriving must be carried out
directly at each staple or nail. If you do not lift the
nose
4
when doing this then no further staple or
nail will be loaded into the driving position.
j Drive the required staple or nail and press the
nose piece
4
once more on to the next redriv-
ing position.
j Press the trigger
2
as often as necessary until
the staple or nail is flush with the substrate.
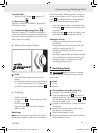
Examples of use:
j Fastening a covering to the seat of a chair
(see Fig. B).
j Fixing a skirting at the joint between the wall
and floor covering (see Fig. C).
j Stretching and stapling a canvas to a frame
(see Fig. D).
j Attaching a protective film to insulation material
when installing thermal insulation (see Fig. E).
j Attaching fixings for components in a wall
cladding system (see Fig. F).
Q
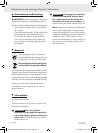
Rectifying faults
WARNING!
Before you clean or maintain
the device always pull the mains plug out of the
mains socket.
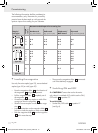
= Fault
= Cause
= Remedy
The tool does not work properly.
A staple or nail is blocking the tool.
Open the magazine slider
7
. This should re-
lease the pretension. Take off the front plate
3
with the hexagonal socket screw key
10
.
Remove the staple or nail.
A staple or nail has been incorrectly driven into
the material.
Remove the incorrectly driven staple or nail
with pincers or pointed pliers.
Select suitable staples or nails.
Set the required impact force that will correctly
drive the staples or nails.
PET23_ELECTRIC STAPLE GUN_Content_LB4.indd 11 25.04.2008 9:19:16 Uhr