


12 GB
Preparing for use
surfaces, slots for letters or butt jointed connections,
notches, tongue and groove joints etc.
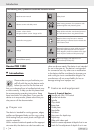
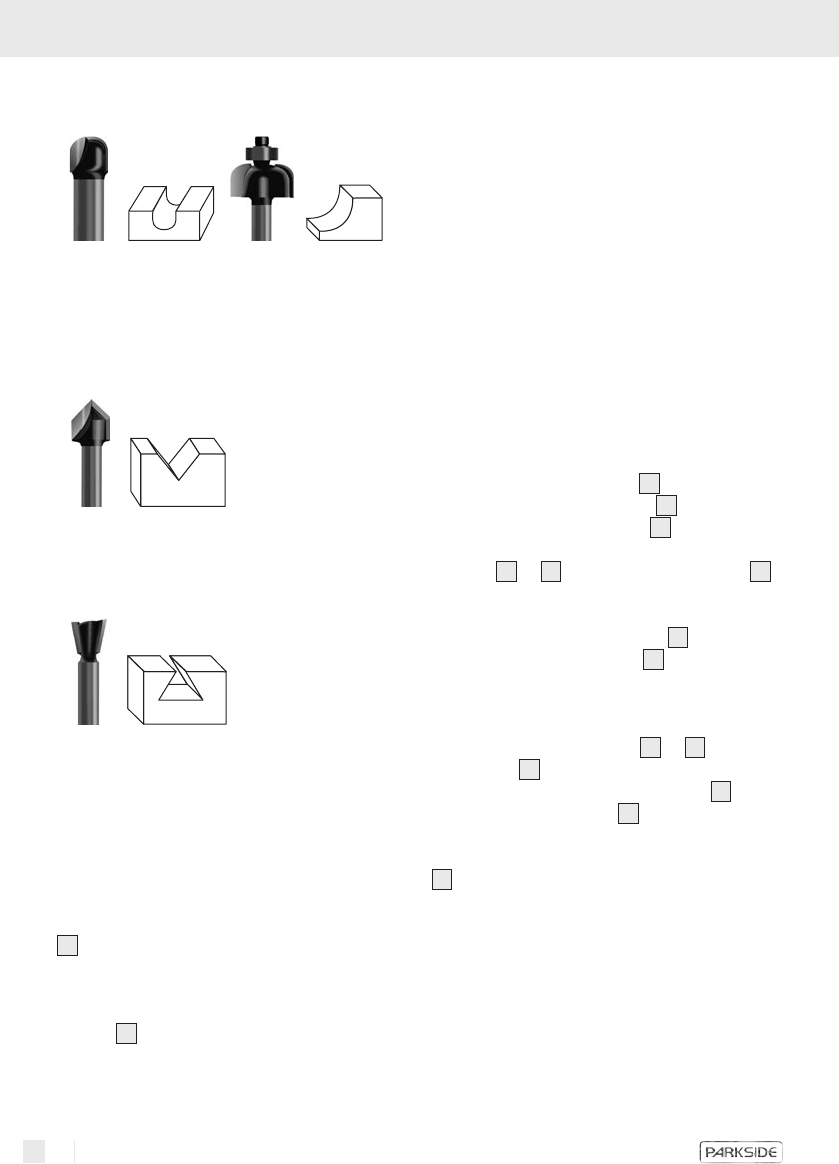
Cove cutter bit / cove cutter bit with bearing:
Cove cutter bits are used for edge profiling (e.g.
concave edges), for constructing bureaux (hinged
connections with concave profiles), for making dec-
orative grooves, for texturing surfaces, for cutting
juice channels etc.
V-slot cutter bit:
V-slot cutter bits are almost universal in application.
They are suitable for example for making (orna-
mental) grooves, bevelling or engraving script etc.
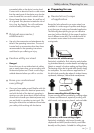
Dovetail cutter bit, with two cutting edges:
Particularly suitable for cutting strong dovetails for
making furniture or boxes, e.g. for drawer runners
(see Fig. G).
Q
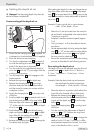
Inserting a router bit
Attention! Do not press the spindle lock button
2
before the motor has come to a standstill, other-
wise there is the risk of damage.
Attention! Tighten the tightening nut with the
spanner
37
only after a router bit has been insert-
ed. Failure to observe this advice may result in
damage to the collet.
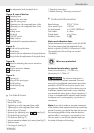
1. Selecting the router bit
Select a router bit appropriate to the material and
suitable for the purpose. Router bits made from high
speed steel (HSS) are suitable for machining soft
materials, such as plastic or softwood. Carbide-tipped
router bits (HM) are suitable for machining hard
materials, such as hardwood or aluminium.
Note! Use only routing tools with an allowable
speed at least as high as the highest no-load speed
of the device! The shank diameter of the router bit
must correspond with that of the collet!
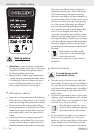
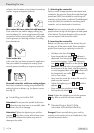
2. Inserting the router bit
Before carry out any work on the device, first pull
the plug out of the mains socket. Wear protective
gloves when inserting or replacing a router bit.
j Fold down the chip shield
4
.
j Press the spindle lock button
2
and keep it
depressed. Turn the spindle
3
if necessary by
hand until it engages. Tighten the tightening
nuts (
18
or
19
) by hand on to the spindle
3
.
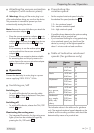
j Note: All the router bits in the supplied router
bit set have an 8 mm shank. Use the tightening
nut with integrated 8mm collet
19
for these and
the integrated 6 mm collet
18
for router bits
with a 6 mm shank.
j Now insert the router bit. At least 20 mm of its
shank must be inserted.
j Tighten the tightening nut (
18
or
19
) with the
spanner
37
.
j Now release the spindle lock button
2
.
j Fold up the chip shield
4
.
Note: Tighten the tightening nut with the spanner
37
only after a router bit has been inserted.
Q
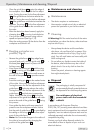
Connecting a dust / chip
vacuum extraction device
Danger! Protect yourself during your work by
wearing a dust mask and use a suitable dust / chip
vacuum extraction device.