


GB/IE/CY
12
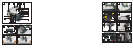
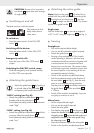
Blade guard
2
:
The Blade guard
2
must be in place whenever
you operate the saw.
Push stick
12
:
The supplied push stick
12
serves as an extension
to your hand when feeding the workpiece into the
saw (for use see fig. F).
Always use the push stick
12
if the distance between
the guide fence
1
a and the blade
4
is ≤ 120 mm.
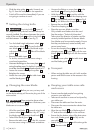
Safety ON / OFF switch with AUTO-OFF
16
:
The switch operates using an integrated low volt-
age relay. This means that the machine cannot
come on again automatically after a power supply
failure. The machine must be restarted using the
ON / OFF switch
16
. The machine can be
switched off immediately by pressing down the
switch cover.
Overload switch / overload protection
(Reset
17
) (Fig. H)
If the machine is overloaded, the protection mecha-
nism automatically switches the machine off.
The machine can only be switched back on again
by first pressing the reset switch
17
and then the
ON / OFF switch
16
.
j If there is still an overloading problem, check
whether:
- very hard wood was being sawn too quick-
ly (feed speed)
- there has been a drop in speed / a rise in
power consumption
- very moist wood was being sawn (high
braking effect)
- the machine is choked with saw dust
- the saw blade is blunt
Vacuum dust extraction connection
2a
&
20
:
j If you are working in an enclosed space you
must use a suitable vacuum dust extraction de-
vice (see Fig. F). If you are not working with a
vacuum dust extraction device then the dust
will collect inside the housing and must be re-
moved after 30 minutes of operation (maximum).
j You can connect the vacuum dust extraction
device to the vacuum dust extraction connection
2a
or the vacuum dust extraction connection
20
or to both, as you like.
j Connect a special vacuum extraction device or
a sawdust extraction system to the vacuum dust
extraction connection
2a
and / or vacuum dust
extraction connection
20
.
j Use the appropriate extraction adapters
21
and
22
(see Fig. B).
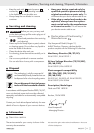
Q
Assembly
j Attach the blade guard
2
to the riving knife
3
. The underside of the blade guard
2
must
be horizontal and lie flat on the saw table
5
/
workpiece with the saw blade
4
moving free-
ly beneath it.
j Mount the guide fence
1
and / or the mitre
guide
8
into the guide slots
6
, depending
on the type of work you are doing.
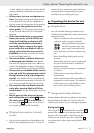
Q
Operation
WARNING!
The voltage must agree with that
shown on the machine rating plate (equipment shown
as 230 V can also be connected to 220 V). The
electrical circuit must be fitted with 16 A protection.
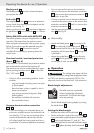
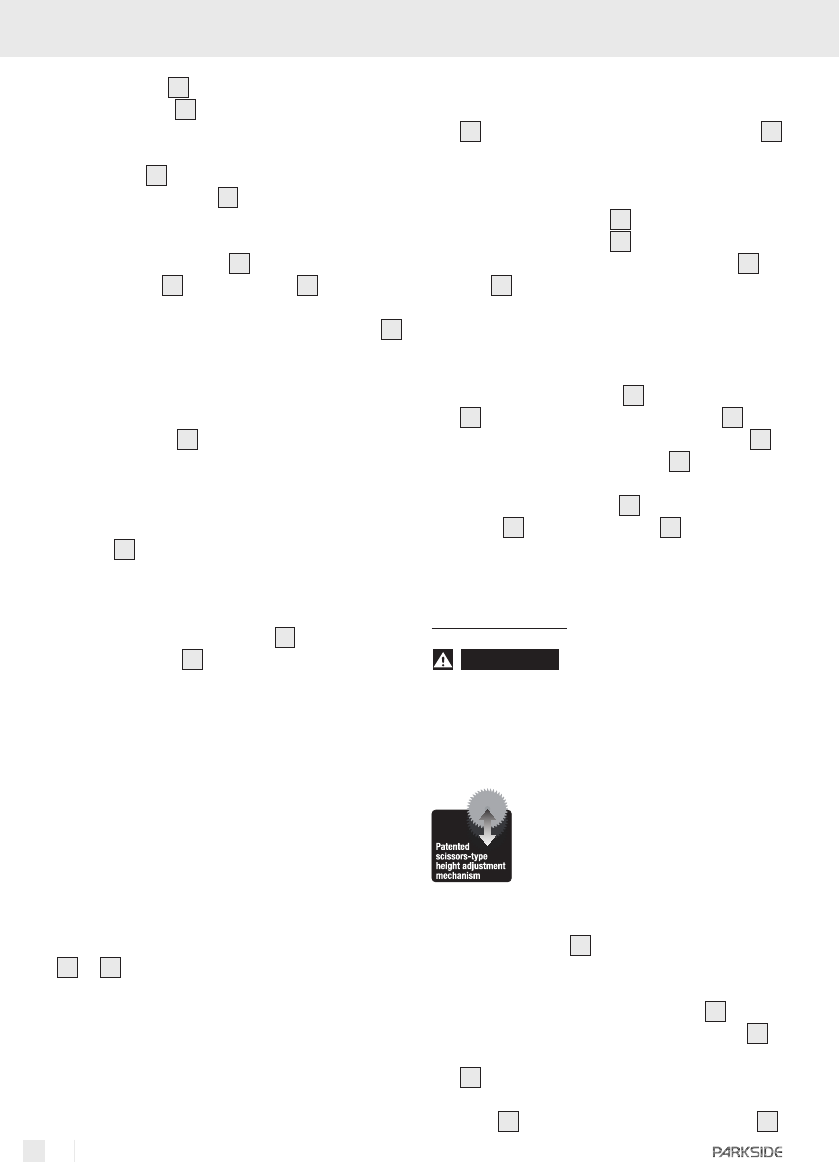
Blade height adjustment:
The table saw has a patented
scissors-type height adjustment
mechanism. This allows the height
to be set precisely.
j Set the blade height (cutting depth) by turning
the hand wheel
14
.
Setting the blade angle:
j Release the safety lock thumb knob
13
.
j Set the inclination angle of the saw blade
4
using the blade angle adjustment thumb knob
18
to any angle between 0° and 45°. The
desired angle can be read off the blade angle
scale
15
. Tighten the safety lock thumb knob
13
.
Preparing the device for use / Operation