Cobramatic
®
Owner’s Manual - page 6
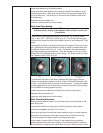
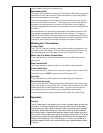
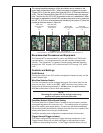
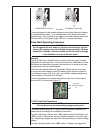
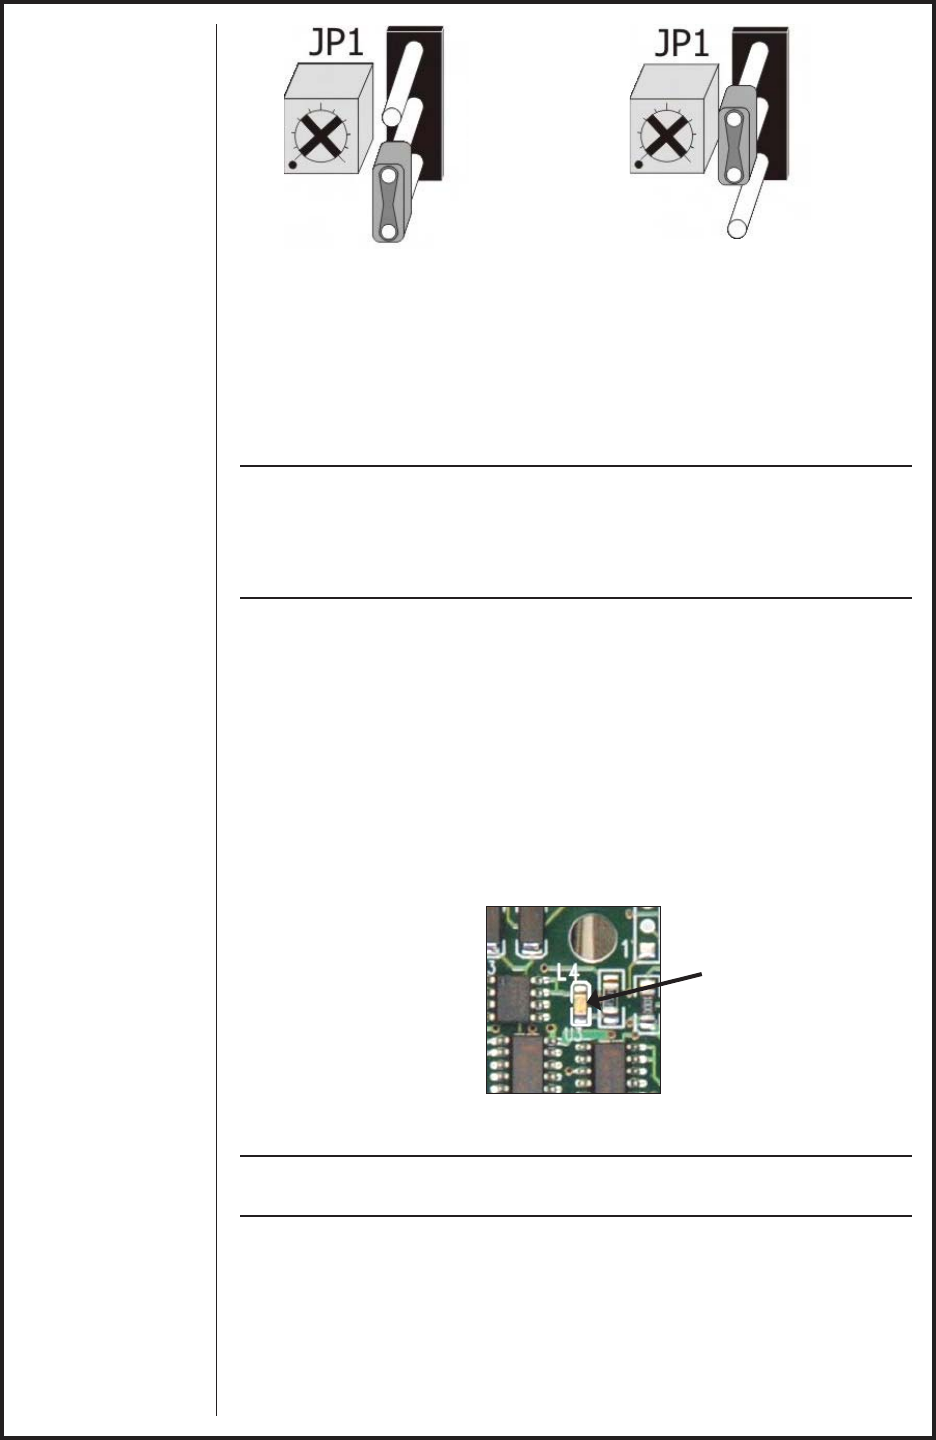
Timing adjustment for the variable settings are as follows: Move the jumpers
to variable setting location. Turn potentiometer screw (Small flat or cross-
head) half way. Upon release of gun trigger, count time between yellow Gas
Solenoid LED (L1) and green Trigger LED (L3). Adjust as necessary.
Posa Start Operating Procedure
CAUTION:
Do not operate this wire feeder on a power source having a high-fre-
quency (HF) starting circuit until the high frequency feature has been
turned off or disabled. Failure to disable the HF will result in damage
to the PosaStart circuitry of the main board.
General
The Posa Start Run-in Speed Control, located on the front panel, provides
adjustment for slow wire run-in. Once the arc has been established, the wire
feed speed is automatically changed from the slow run-in speed to the weld-
ing speed set on the gun potentiometer.
The Posa Start feature allows the Cobramatic
®
feeder and gun to be used
in conjunction with constant current DC welding power sources of open cir-
cuit voltage in excess of 55 volts - also, any constant voltage welding power
source capable of a minimum of 50 amps.
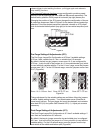
Once the PosaStart circuit has transferred from slow run-in to weld speed,
the blue LED (L4) illuminates (Figure 7).
CV/CC Posa Start Operations
NOTE:
CV Posa Start does not need welding voltage sensing lead.
The default factory setting is CV mode. Attach Cobramatic
®
cabinet to CV
power source according to the installation instructions.
Turn the Cobramatic
®
cabinet to the “ON” position and the Posa Start to the
“OFF” position. Adjust power source to desired voltage for your weld condi-
tion. Depress gun trigger and adjust wire feed speed at gun to match voltage
setting.
Turn the Posa Start switch to the “ON” position. Depress gun trigger and,
Middle/Bottom: 0-5 sec. Top/Middle: 2 sec fixed
Figure 6b
Blue LED
when PosaStart engages.
L4
Figure 7


