


30
Lower the handle fully and lock it in the lowered position
by pushing in the stopper pin. Square the side of the
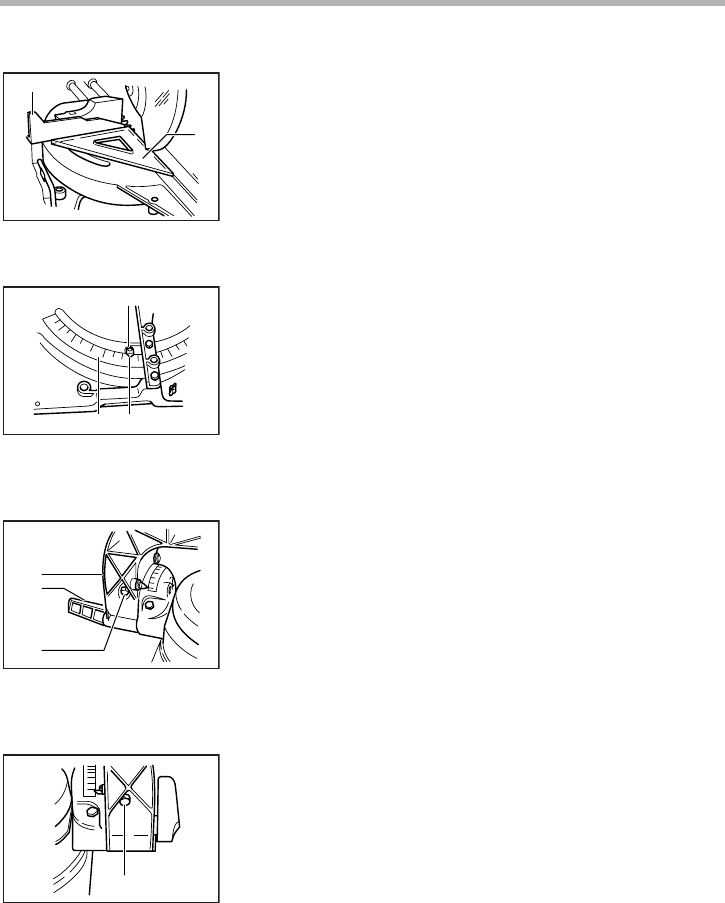
blade with the face of the guide fence using a triangular
rule, try-square, etc. Then securely tighten the hex bolts
on the guide fence in the order from the right side.
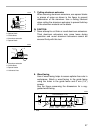
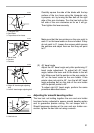
Make sure that the pointer points to 0° on the miter
scale. If the pointer does not point to 0°, loosen the
screw which secures the pointer and adjust the pointer
so that it will point to 0°.
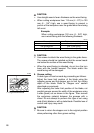
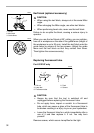
2. Bevel angle
(1) 0° bevel angle
Push the carriage toward the guide fence and
tighten the knob to secure the carriage. Lower the
handle fully and lock it in the lowered position by
pushing in the stopper pin. Loosen the lever at the
rear of the tool. Make sure that the arm is locked.
Turn the hex bolt on the left side of the arm two or
three revolutions counterclockwise. Turn the hex
bolt on the right side of the arm two or three revolu-
tions counterclockwise to tilt the blade to the left.
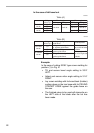
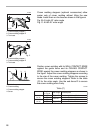
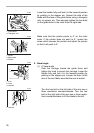
1. Guide fence
2. Triangular rule
1
2
001567
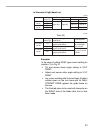
1. Screw
2. Miter scale
3. Pointer
1
32
001568
1. Arm
2. Lever
3. Hex bolt
1
3
2
001569
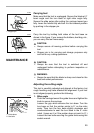
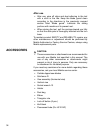
1. Hex bolt
1
001570