


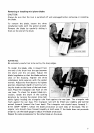


NOTE
:
A
mini planer blade has
a
cutting edge on both sides, making
it
reversible for double blade
life and greater convenience.
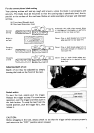
CAUTION
:
Tighten the blade installation bolts carefully when attaching the blades to the tool. A
loose installation bolt can be dangerous. Always check to
see
they are tightened securely.
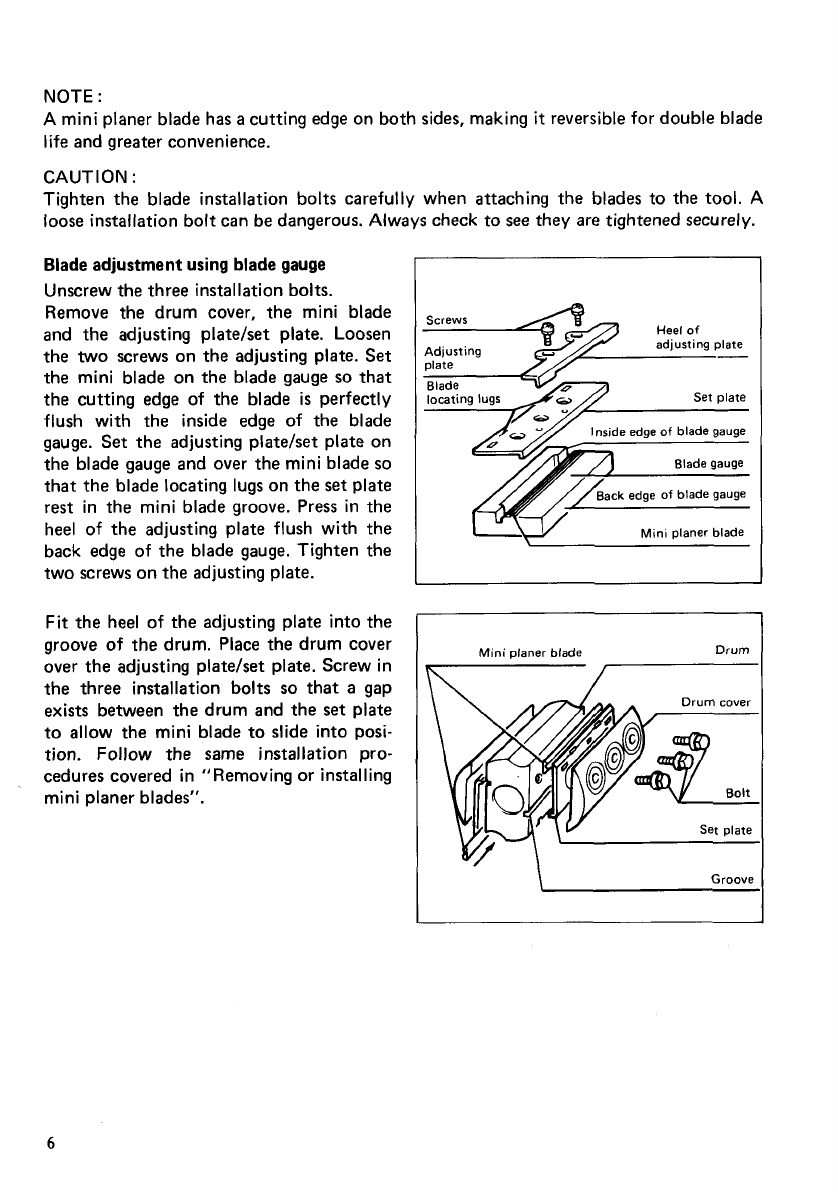
Blade adjustment using blade gauge
Unscrew the three installation bolts.
Remove the drum cover, the mini blade
and the adjusting plate/set plate. Loosen
the
two
screws on the adjusting plate.
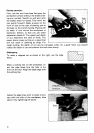
Set
the mini blade on the blade gauge
so
that
the cutting edge of the blade
is
perfectly
flush with the inside edge of the blade
gauge.
Set
the adjusting platehet plate on
the blade gauge and over the mini blade
so
that the blade locating lugs on the
set
plate
rest in the mini blade groove. Press in the
heel
of
the adjusting plate flush with the
back edge of the blade gauge. Tighten the
two screws on the adjusting plate.
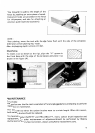
Fit the heel of the adjusting plate into the
groove
of
the
drum. Place the drum cover
over the adjusting plate/set plate. Screw in
the three installation bolts
so
that
a
gap
exists between the drum and the
set
plate
to allow
the
mini blade to slide into posi-
tion. Follow the
same
installation pro-
cedures covered in "Removing
or
installing
mini planer blades".
Heel
of
adjusting plate
Adjusting
date
Mini planer blade
7+
\
Groove
6