


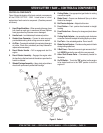
PAGE 16 — STOW CUTTER 1 SAW — OPERATION & PARTS MANUAL — REV. #6 (06/06/08)
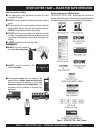
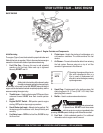
Figure 6. Engine Oil Dipstick (Oil Level)
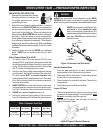
Fuel Check
Motor fuels are highly flammable and can be
dangerous if mishandled. DO NOT smoke
while refueling. DO NOT attempt to refuel the
trowel if the engine is
hot!
or
running
.
Explosive Fuel
1. Remove the gasoline cap located on top of fuel tank.
2. Visually inspect to see if fuel level is low. If fuel is low, replenish
with unleaded fuel.
3. When refueling, be sure to use a strainer for filtration. DO
NOT top-off fuel. Wipe up any spilled fuel.
NOTE
Reference manufacturer engine
manual for specific servicing
instructions.
epyTliO.4elbaT
nosaeS erutarepmeT epyTliO
remmuS rehgiHroC°52 03-W01EAS
llaF/gnirpS C°01~C°52 02/03-W01EAS
retniW rewoLroC°0 01-W01EAS
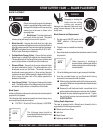
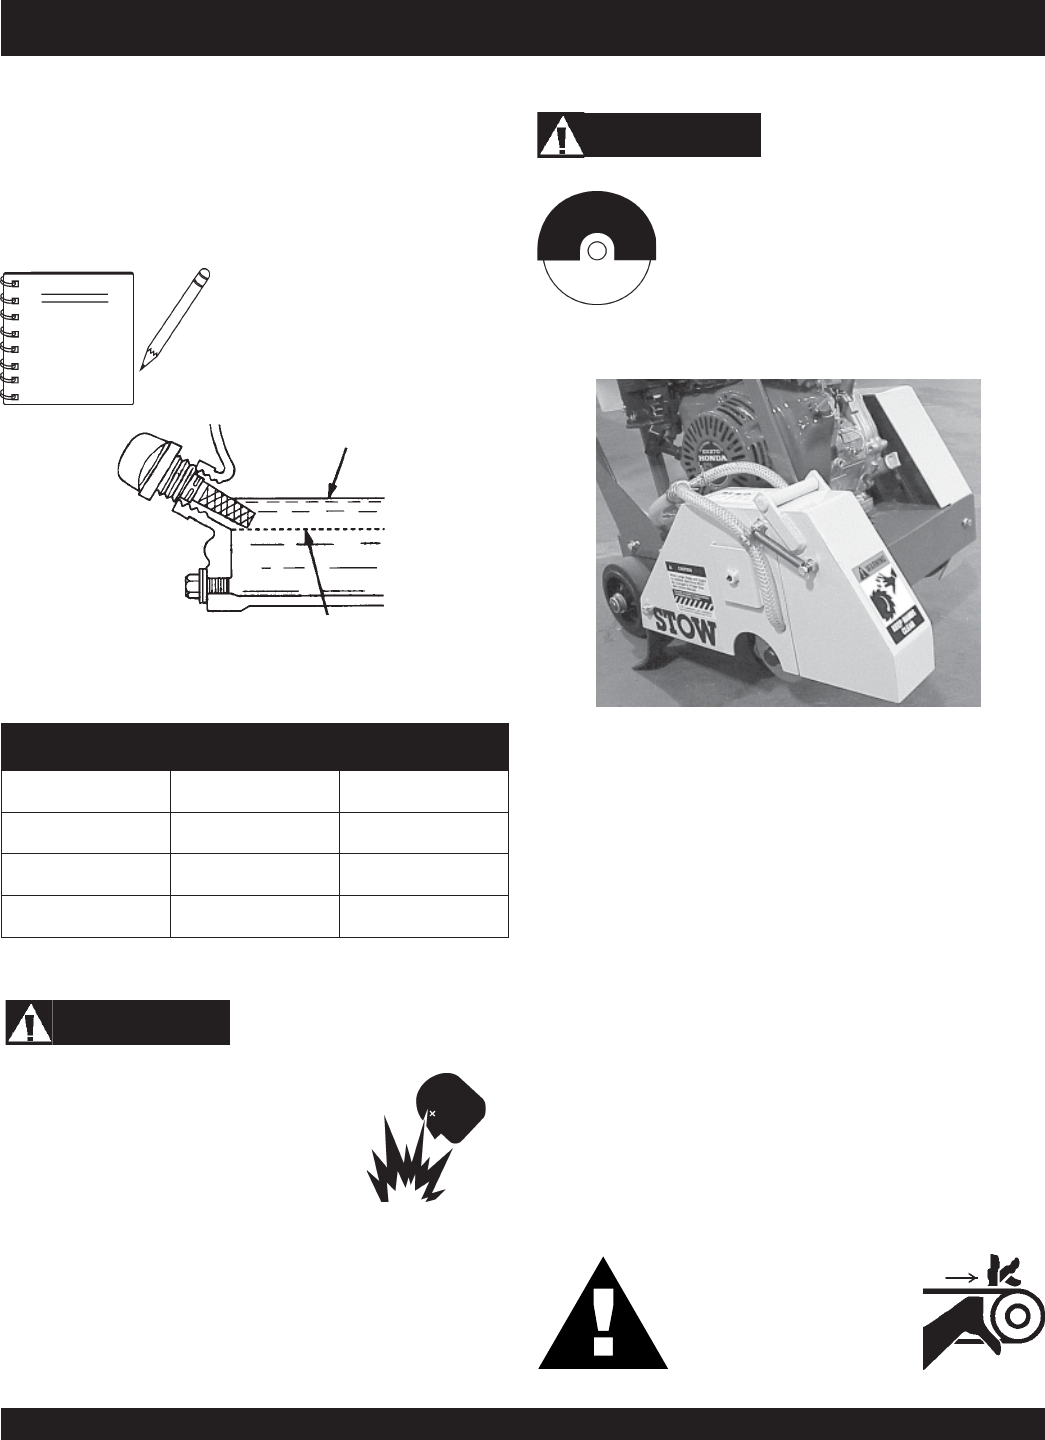
NEVER operate the saw without blade guards
and covers in place. DO NOT operate with
the front of the blade guard raised. The blade
exposure cannot exceed 180 degrees during
operation. Adhere to the safety guidelines of
the American National Standards Institute
(ANSI) B7.1 and B7.5.
WARNING
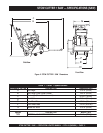
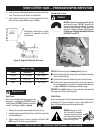
Figure 7. Blade Guard
CHECK the following on the blade guard (Figure 8):
■
Ensure the capacity of the blade guard matches the diameter
of your diamond blade.
■
Check that the guard is bolted firmly upon the saw frame.
■
Check that the spring tensioned front cover of the guard is
firmly seated with the rear section of the guard and there are
no gaps. NEVER lift the blade guard while cutting.
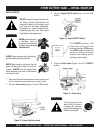
CAUTIONCAUTION
CAUTIONCAUTION
CAUTION
NEVER attempt to check
the V-belt with the engine
running. Severe injury can
occur. Keep fingers, hands,
hair, and clothing away
from all moving parts.
V-Belt Check
A worn or damaged V-belt can adversely affect the performance
of the saw. If a V-belt is defective or worn, replace ALL the V-
belts. V-belts should always be replaced in sets.
Guards And Covers
ENSURE the V-belt Cover is in place and securely fastened
during operation of the saw (Figure 8).
STOW CUTTER 1 SAW — PREPARATION/PRE-INSPECTION
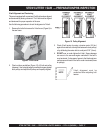
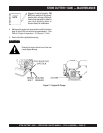
3. Insert and remove the dipstick without screwing it into the filler
neck. Check the oil level shown on the dipstick.
4. If the oil level is low (Figure 7), fill to the edge of the oil filler
hole with the recommended oil type (Table 4).