


MP1 — OPERATION AND PARTS MANUAL — REV. #3 (03/29/10) — PAGE 27
SHUTDOWN PROCEDURE
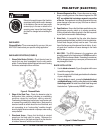
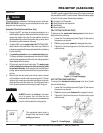
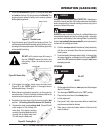
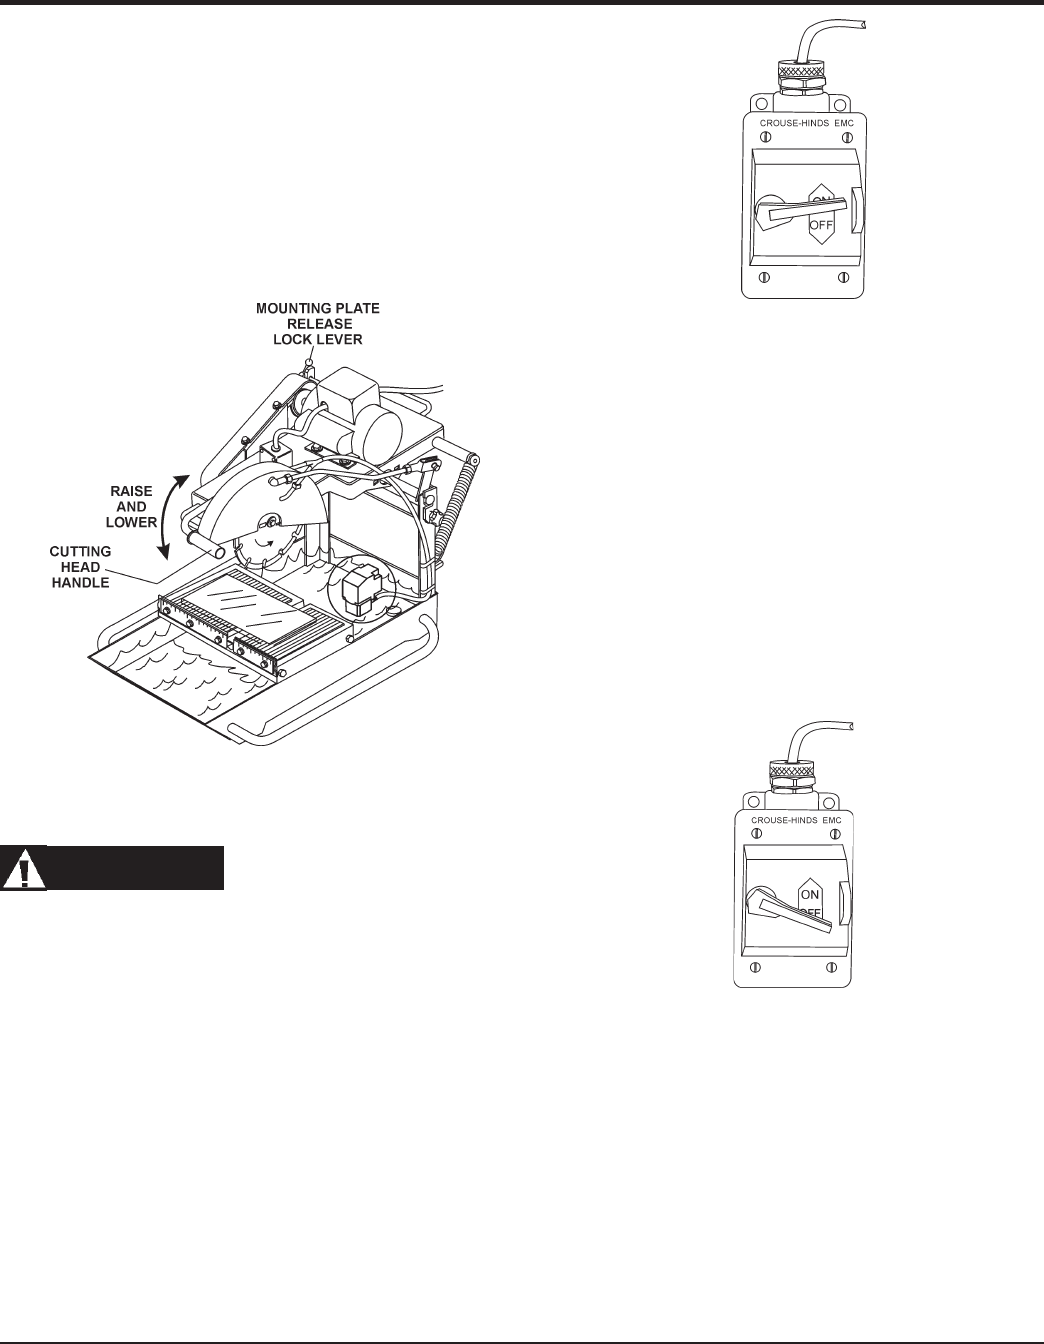
1. Place the power ON/OFF switch (Figure 23) in the OFF
position (down).
Figure 23. Power ON/OFF Switch (OFF)
2. Wait for the cutting blade to stop rotating.
3. Disconnect the saw's AC power cord from the power source.
NEVER
leave the saw connected to a power source when
unattended. This will prevent accidental starting.
4. Using a soft cloth, clean any excess debris or residue that
may have accumulated on the saw.
5. Store saw in a clean dry location where it will be out of the
reach of children.
OPERATION (ELECTRIC)
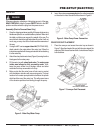
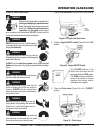
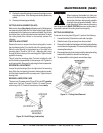
Figure 22. Power ON/OFF Switch (ON)
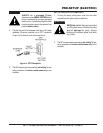
4. Turn the power ON/OFF switch (Figure 22) to the ON
position with the blade away from the material to be cut, the
cutting blade should begin to rotate. Before cutting
remember to follow all safety rules referenced in this
manual.
DANGER
ALWAYS
be alert to the fact that there is a rotating blade on the
saw and be extremely aware of your body position - especially
your hands in relationship to the rotating blade. The possibility
exists of
severe bodily harm even death
if your body comes
in contact with the rotating saw blade.
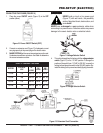
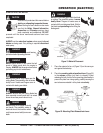
5. Push the
conveyor cart
with the material, slowly and evenly
until the cut is complete. Move the cart back and remove
the cut pieces.
6. Avoid overloading the motor when cutting. However, the electric
motors are protected with a manual-reset thermal overload
switch that will turn the saw off if the motor is overheated. In the
event that the switch is tripped, turn the "ON/OFF" switch to
the "OFF" position and allow the motor to cool before
attempting to restart.
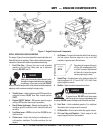
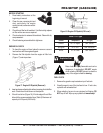
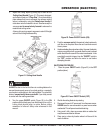
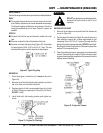
3. Adjust the cutting depth by pulling up or down on the
Cutting Head Handle
(Figure 21). This saw is designed,
and is best utilized as a "
Chop-Saw
". Once the mounting
plate release/lock lever is released, the optimum cutting
action is attained by using the
Raise/Lower Handle
to
rotate down onto the material to be cut. Simultaneously the
conveyor cart is moved slowly forward
to advance the
material and cutting action.
A heavy-duty spring supports ergonomic return0t0-height
action of the cutting head assembly.
Figure 21. Cutting Head Handle