9
OPERATIONS
MAKING THE CUT
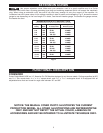
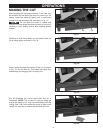
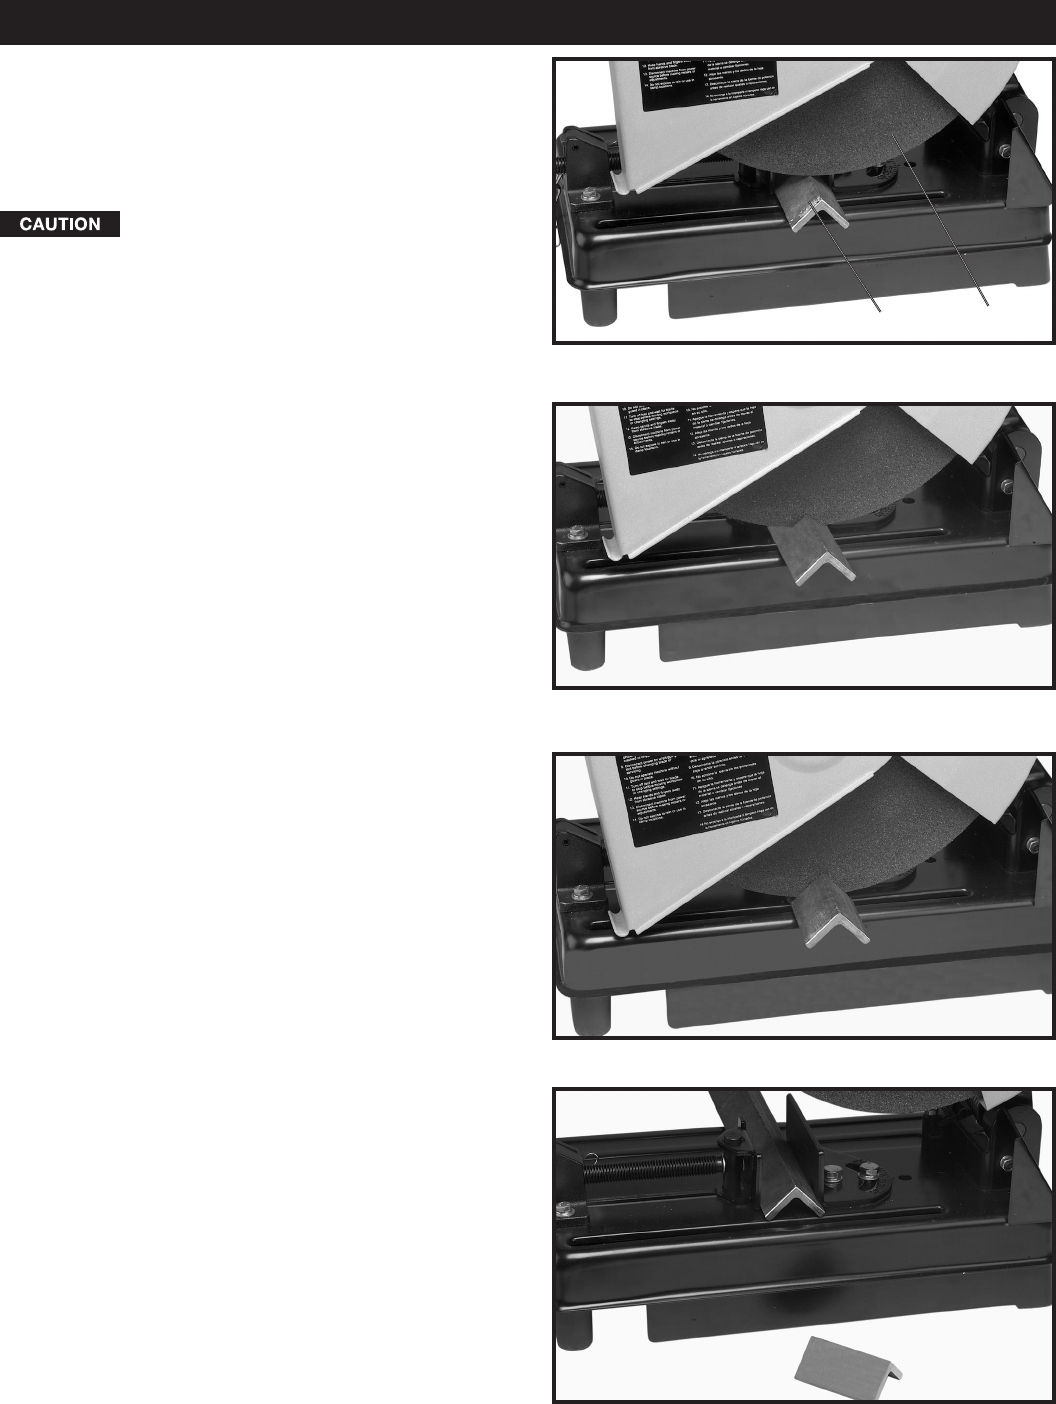
After clamping the workpiece securely in the vise, turn
the machine on and allow the motor to come up to full
speed. Lower the wheel (A) lightly until it comes into
contact with the workpiece (B), as shown in Fig. 17.
Do not allow the wheel to chatter and
jump as this may cause the wheel to wear out of round,
resulting in poor quality cutting and possible broken
wheels.
Fig. 17
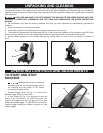
Fig. 18
Continue to push firmly down on the handle while the
cut is being made, as shown in Fig. 18.
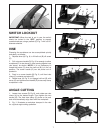
Fig. 19
When coming through the bottom of the cut, as shown
in Fig. 19, do not slow up. This keeps the metal from
overheating and dragging off in a heavy burr.
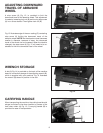
Fig. 20
Fig. 20 illustrates the cut-off piece after the cut is
completed. NOTE: The number of cuts per wheel, as
well as the quality of cut, may vary considerably with the
cutting time. Fast cuts cause the wheel to wear more
rapidly but also help to reduce discoloration and burr.
A
B


