14
TABLE TO SAW
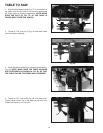
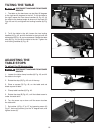
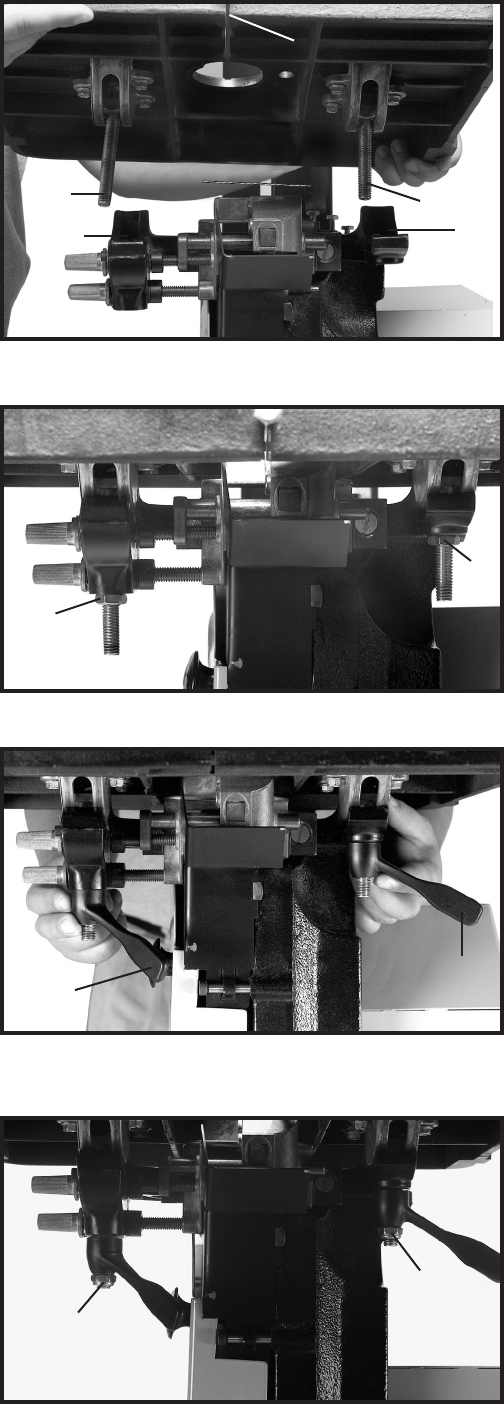
1. Align the two table studs (A) Fig. 27, in the bottom of
the table, with the two holes in the trunnion assemblies
(B). Place table on trunnion assemblies. NOTE: MAKE
SURE THE SLOT (C) FIG. 27, IN THE TABLE IS
FACING AWAY FROM THE ARM (D).
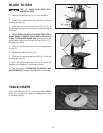
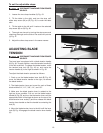
2. Thread a 7/16" jam nut (C) Fig. 28 onto each table
stud and tighten securely.
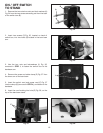
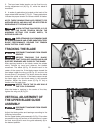
3. Place the table handle (H) on each stud as shown in
Fig. 29. NOTE: MAKE SURE THE TABLE HANDLES
ARE POSITIONED AS SHOWN IN FIG. 29, SO THAT
THE TABLE CAN BE TIGHTENED AND LOOSENED.
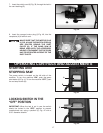
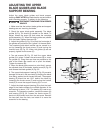
4. Thread a 7/16" locknut (D) Fig. 30, onto each stud.
Tighten each locknut up to the table handle and then
loosen each locknut a 1/2 of turn.
Fig. 27
Fig. 28
Fig. 29
Fig. 30
D
D
H
H
C
C
A
A
B
B
C
D


