


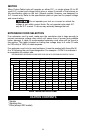
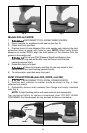
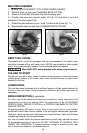

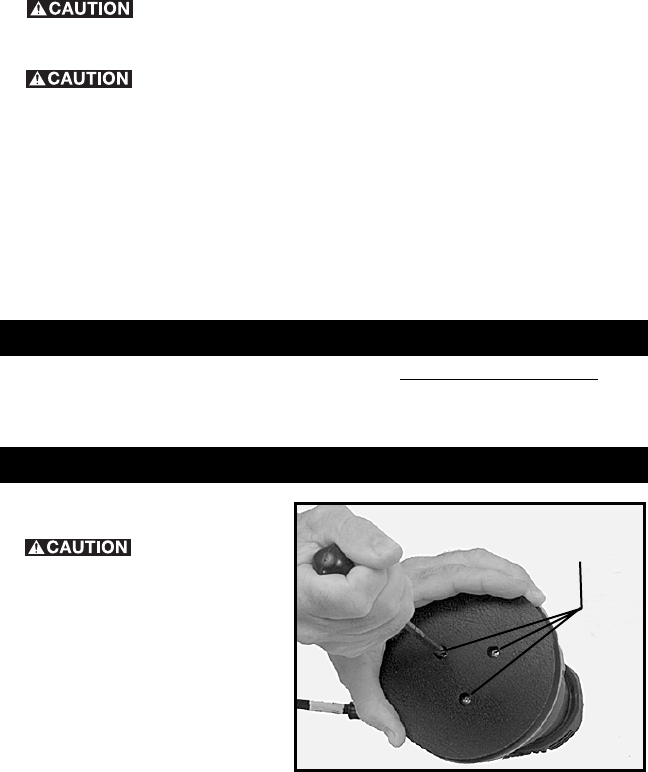
CHANGING BACK-UP PAD
1. DISCONNECT
TOOL FROM POWER SOURCE.
2. Grasp pad with hand and
use phillips screwdriver to
remove three pad retaining
screws, Fig. 9 (turn screws
counterclockwise to remove).
3. Lift pad from sander.
4. Reverse procedure to install
new pad. Tighten pad retaining
screws 25 to 30 in-lbs.
13
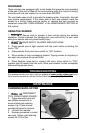
PAD BRAKE
These sanders are equipped with a pad brake that prevents over-speeding
of the pad. If the tool is lifted off the work surface while the motor is running,
the brake will limit pad rotation to no more than 400 RPM.
The pad brake uses a belt to provide the braking action. Eventually, this belt
may require replacement. If the brake fails to limit pad rotation, send the
sander to a Porter-Cable service facility or replace the belt yourself as
explained under BELT REPLACEMENT in the MAINTENANCE SECTION of
this manual.
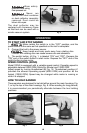
USING THE SANDER
1. CAUTION: Secure work to prevent it from moving during the sanding
operation. Friction between the sanding disc and work will try to spin work
away from sander and may cause bodily injury.
2. CAUTION: WEAR SAFETY GLASSES AND DUST MASK.
3. Place sander pad in light contact with the work before switching the
motor “ON”.
4. Grasp sander firmly and move switch to “ON” position.
5. Move sander in long overlapping strokes. Tipping sander or stopping in
one spot can produce an uneven finish.
6. When finished, keep pad in contact with work, move switch to “OFF”
position and lift sander from the work. Allow pad rotation to stop completely
before setting sander down.
MAINTENANCE
For assistance with your tool, visit our website at www.porter-cable.com for a
list of service centers or call the Porter-Cable help line at 1-800-223-7278.
TROUBLESHOOTING
Fig. 9
PAD
RETAINING
SCREWS