12
INSTALLING AND CARE OF DUST BAG
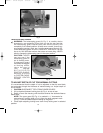
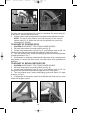
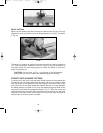
A dust bag is available as an accessory. Install dust bag as follows:
1. CAUTION: DISCONNECT TOOL FROM POWER SOURCE.
2. Swing open exhaust cover (A) Fig. 12, and clean out any sawdust that
may have accumulated.
3. Insert dust bag tube in exhaust opening and push in until seated.
4. To remove, grasp dust bag tube where it enters exhaust opening and
pull out.
5. Unzip bag and shake out sawdust. Occasionally turn bag inside out and
brush out thoroughly.
CAUTION: To avoid personal injury from flying sawdust, the
exhaust cover should be kept closed at all times the dust bag is not
assembled. NEVER insert foreign objects into exhaust opening.
VACUUM CLEANER ADAPTER
An accessory vacuum hose assembly is available for connecting the exhaust
nozzle directly to a shop type vacuum cleaner.
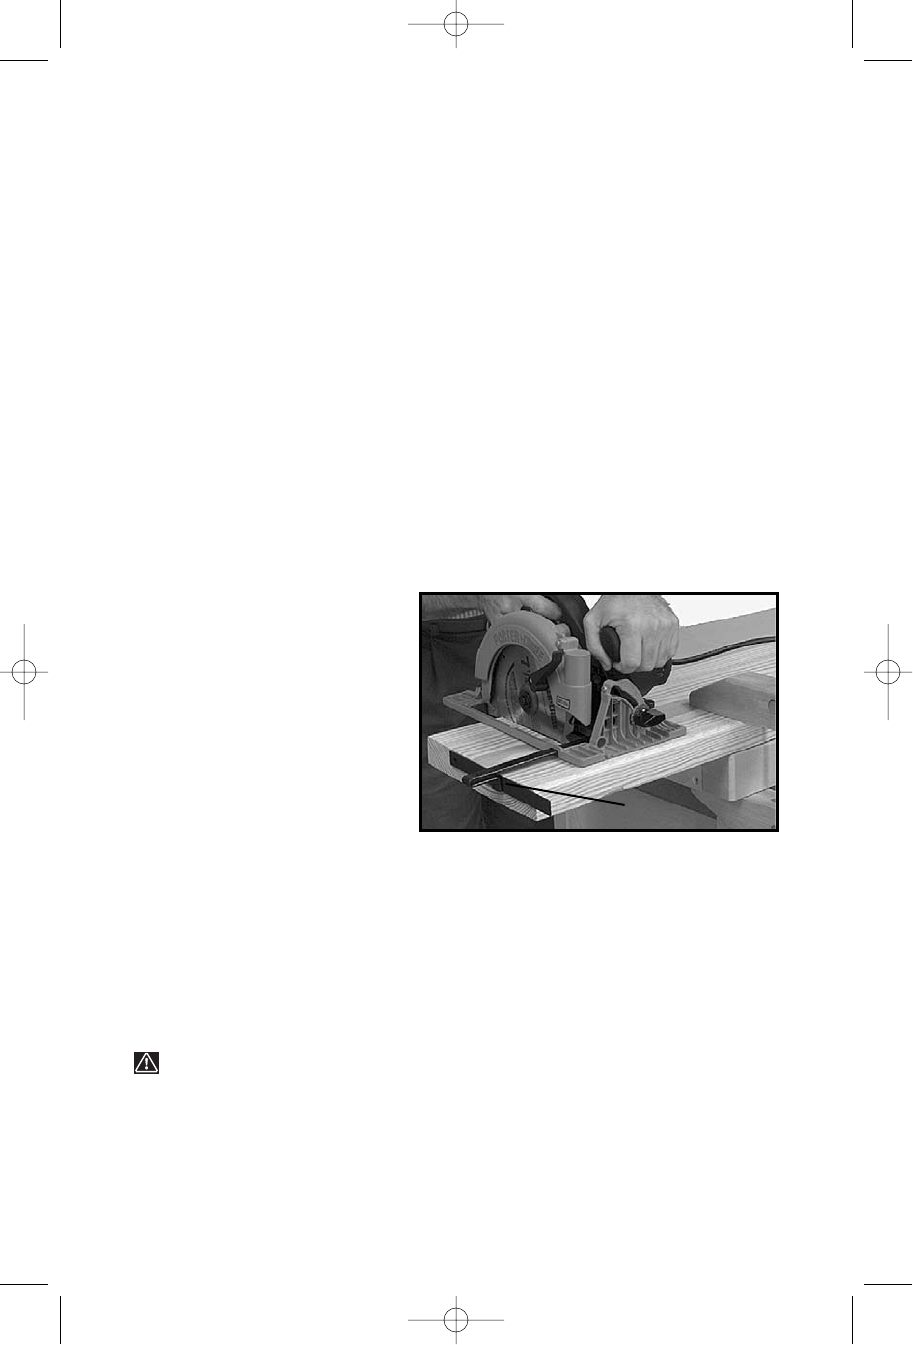
RIP GUIDE
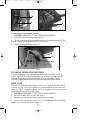
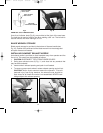
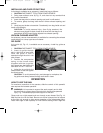
A rip guide (A), Fig. 13, is available as an accessory. Install rip guide as
follows:
1. CAUTION: DISCONNECT TOOL FROM POWER SOURCE.
2. Insert rip guide through
slot in right side of saw base.
Slide the guide in until it
extends through the slot in left
side of base.
3. Position the compression
spring to the thumb screw
(supplied with the rip guide),
and thread into the hole in the
saw base. DO NOT TIGHTEN.
4. Adjust the rip guide for the
desired width of cut and tighten
the thumb screw.
CAUTION: To avoid personal injury and damage to workpiece, the
rip guide must always extend through both slots in base.
OPERATION
HOW TO USE THE SAW
For maximum protection of the operator, effective control of this powerful
saw requires two-handed operation.
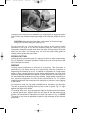
WARNING: It is important to support the work properly and to hold
the saw firmly to prevent loss of control which could cause personal
injury. Fig. 14 illustrates proper hand support of the saw.
Clamp work on a rigid support such as a bench or saw horses. See Fig. 14.
Mark the line of cut on the work. Be sure cut-off line is beyond end of support
to the right only enough to allow proper operation of the telescoping guard.
Place front edge of saw squarely on work before starting motor. Sight the
Fig. 13
A
900003 - 04-09-02.qxd 4/18/02 7:42 AM Page 12


