9
4. Release the trigger to stop the motor. Allow the tool to come to a
COMPLETE STOP before turning it over and putting it down.
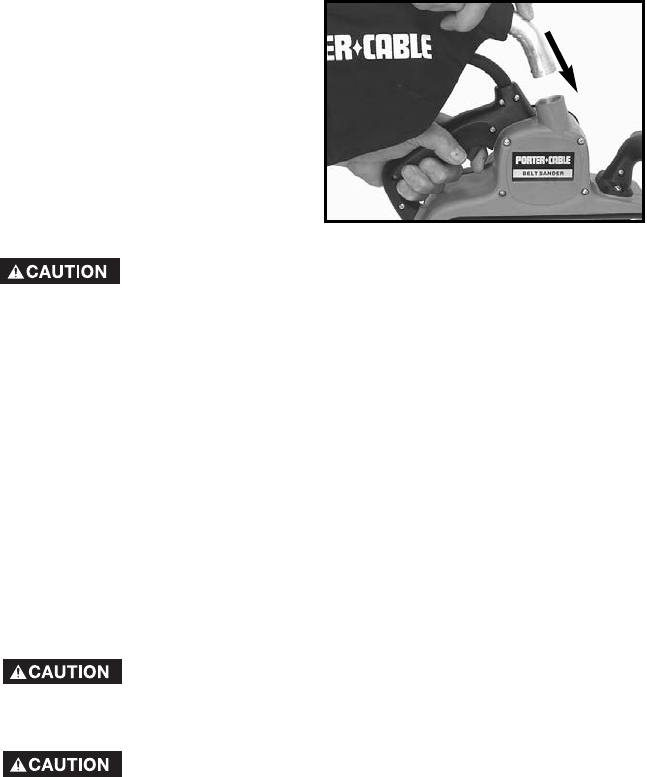
ATTACHING AND CARE OF DUST BAG
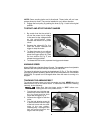
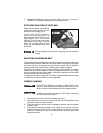
Attach the dust bag to the sander by
pushing the dust bag tube into the
sander vacuum housing (Fig. 4).
For the most efficient operation,
empty the dust bag when it is
approximately half full. Pull the dust
bag straight out of the vacuum
housing, unzip the rear of the bag,
and shake out the dust. Every so
often, turn the bag inside out and
brush the accumulated dust from
the inside.
Do not operate the tool without a dust bag or a dust collection
system.
SELECTING AN ABRASIVE BELT
The principle abrasive materials used on belts for machine sanding are aluminum
oxide and silicon carbide. Aluminum oxide is the softer of the two, but is tougher
and more suited for woods and soft (non-ferrous) metals. Silicon carbide is
extremely hard and is best suited for surfacing stone, marble, and glass.
Abrasives are classed as open-coated (with grits spaced apart), or closed-
coated (with grits close together). Closed coatings provide hard, fast cutting
action for hardwoods and dense metals, while open coatings are more suited
to soft materials and painted surfaces.
To obtain the best finish, start with a “COARSE” grade of abrasive and change
to “MEDIUM” and then to“FINE” as work progresses.
GENERAL SANDING
1. Hold the sander off the work before starting the motor.
2. Lower the sander to the work, touching the rear part of the belt first. Level
the machine when moving it forward.
3. Guide the machine over the work in overlapping strokes. Allow the sander
to do the work.
4. Avoid applying excessive pressure. The weight of the machine is usually
sufficient for a fast smooth finish. A slight increase in pressure may speed
removal of material, but too much pressure will slow the motor and
decrease removal.
Fig. 4
SECURE THE WORK and maintain a FIRM GRIP on the
sander. Friction between the sanding belt and the work will
tend to move the work backward and the sander forward.
ALWAYS be sure that the switch is OFF before connecting
the tool to the power source.


