18
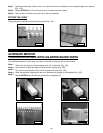
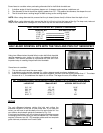
MITERING THE PINS
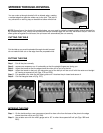
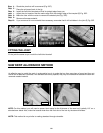
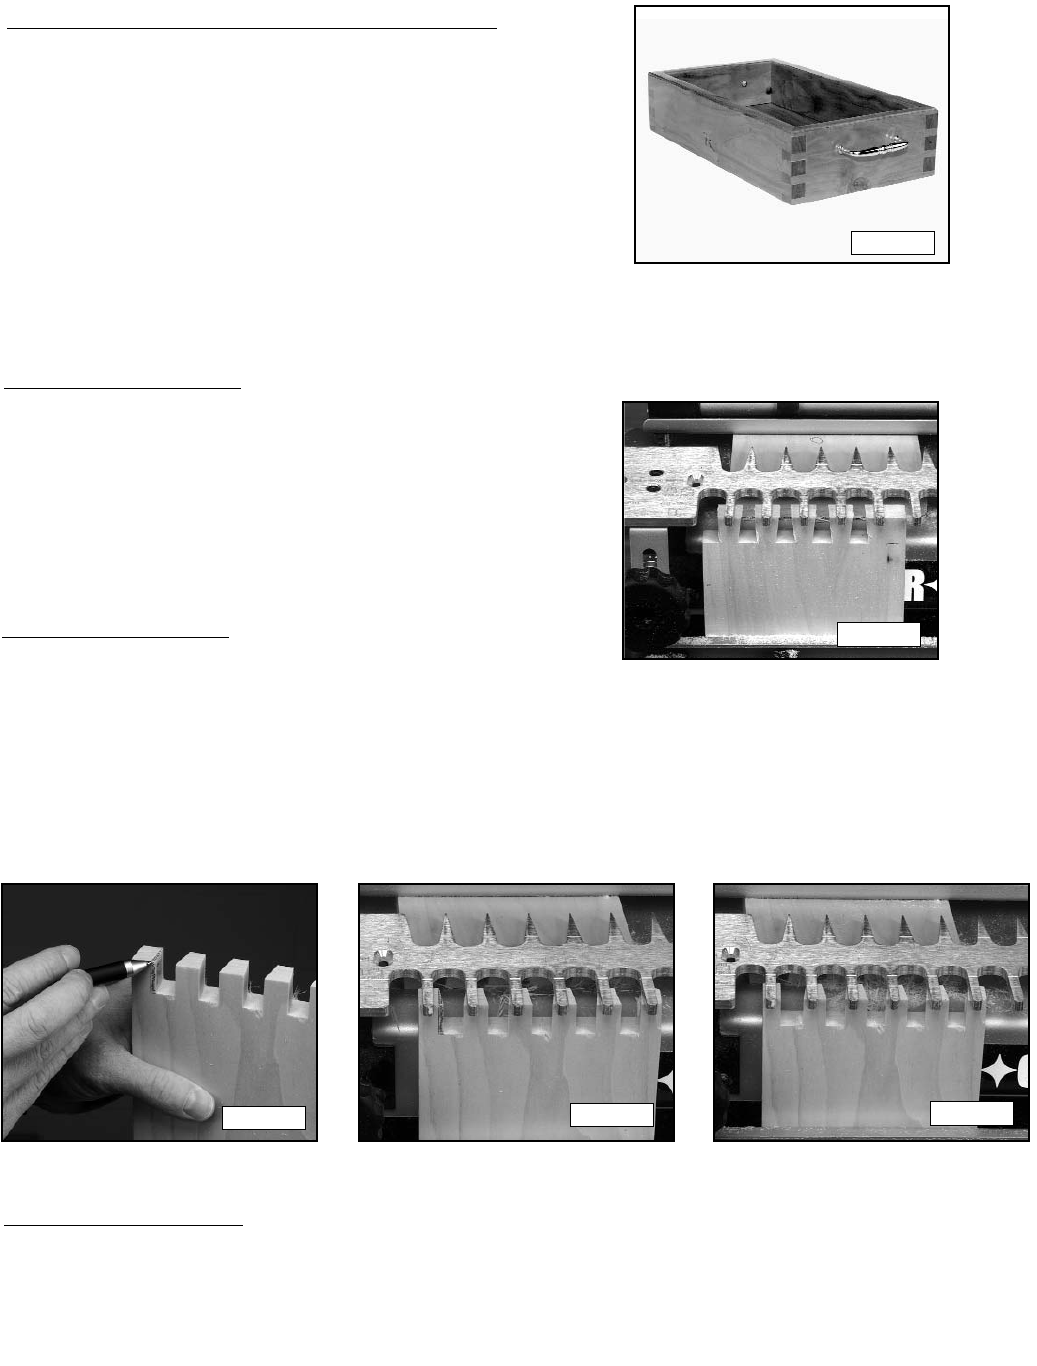
On the inside surface, use a square and pencil to draw a line from the base of the pins to the edge
where the miter will be cut (Fig. 28A).
Use a table saw with the miter gauge set to 45° to miter the squared-off half pin (Figs. 28B and
28C).
Step 1 -
Step 2 -
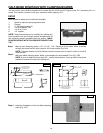
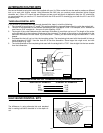
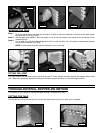
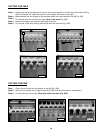
Remove the template, turn it horizontally so that the straight fingers are facing you.
Adjust the board so that the edge where the miter will be cut is to the left.
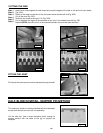
Adjust the board so that only the triangular part of the half-pin will be cut off with the router and straight
bit, leaving a squared-off pin (Figs. 27A and 27B).
For repeated cuts, slide the left offset guide until it touches the pin board and secure it.
Cut the triangular area off (Fig. 27C).
Fig. 27C
Fig. 27B
Fig. 27A
Step 1 -
Step 2 -
Step 3 -
Step 4 -
Step 5 -
CUTTING THE TAILS
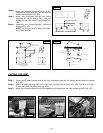
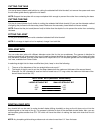
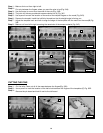
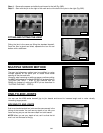
Cut the tails as you would a standard through-dovetail, except
do not make the tail cut on the edge from the proposed miter.
CUTTING THE PINS
Cut all the pins normally.
Fig. 26A
NOTE: Depending on the depth of the molded edge, you may want to make the boards slightly wider to account for
the molded depth. If so, mount the tail board so that the mitered edge will end with the thicker half-pin. With the
offset guide set against the tail board, the pin board will automatically be cut correctly.
Step 6 -
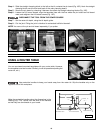
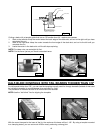
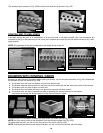
You can make a through-dovetail with a mitered edge, creating
a molded edge that goes the whole way to the joint. This joint is
very attractive on serving trays or decorative boxes without lids.
MITERED THROUGH-DOVETAIL
Fig. 25A


