26
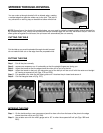
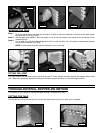
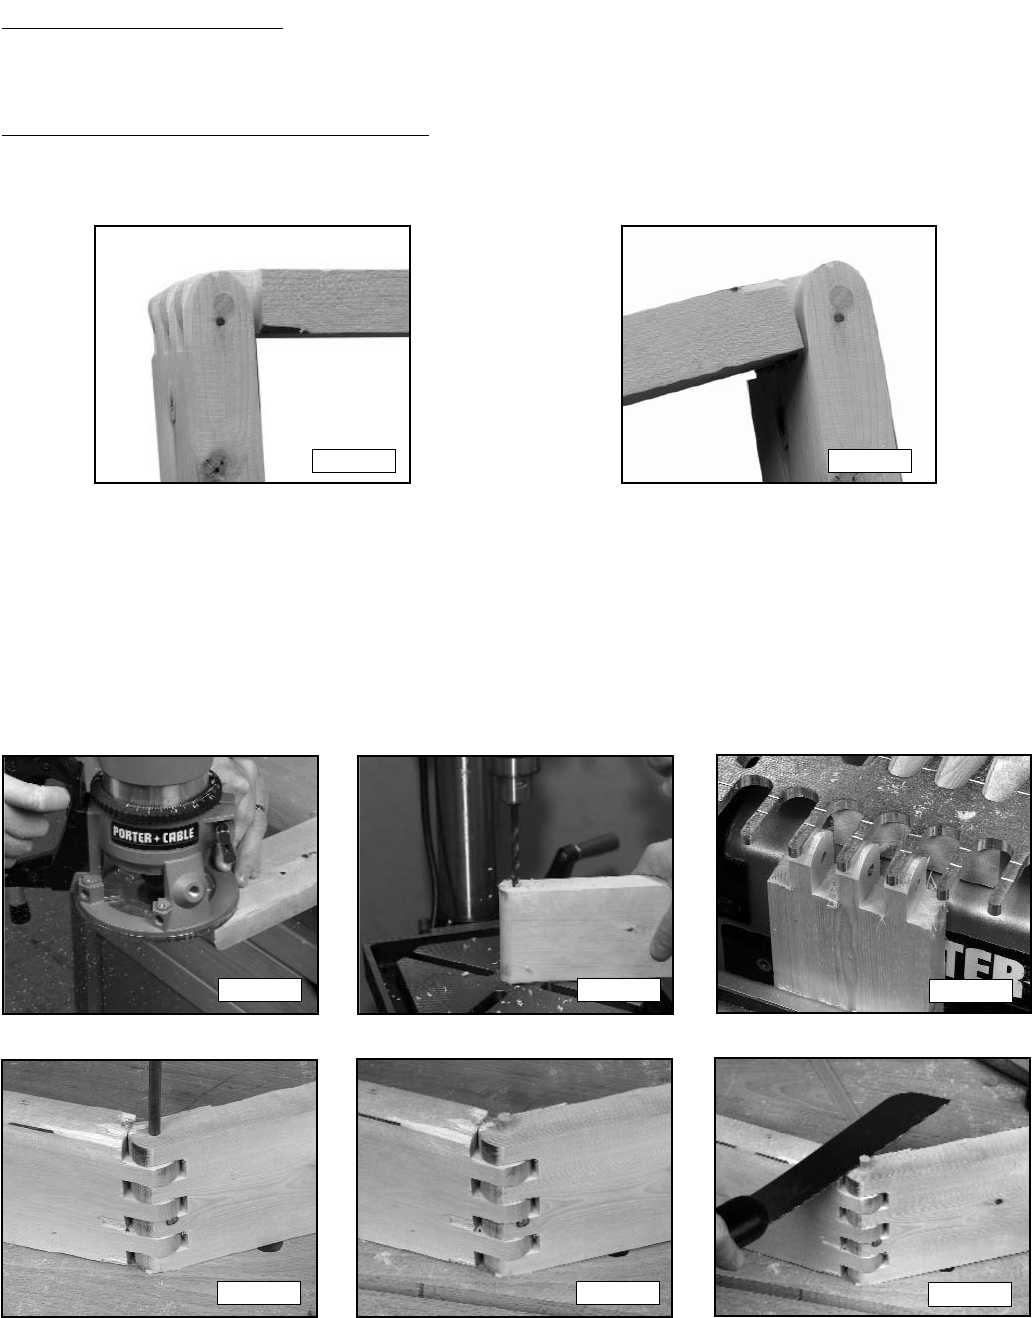
Fig. 45C Fig. 45D
Fig. 45E
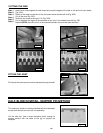
Fig. 45F Fig. 45G
Fig. 45H
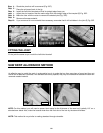
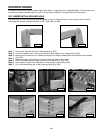
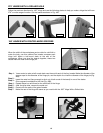
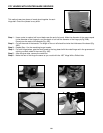
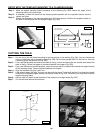
Round over the ends of the two workpieces (Fig. 45C).
Use a drill press to drill a hole in the center of each board for the hinge pin (Fig. 45D).
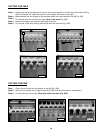
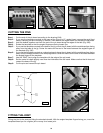
Make an end-to-end box cut. (Make the depth-of-cut slightly deeper than the thickness of the boards
(Fig. 45E).
Make the length of the hinge pin narrower than the width of the boards
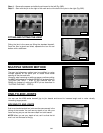
Hold the boards together, align the holes, and insert the pin (Fig. 45F).
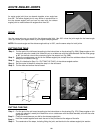
Glue wooden plugs in the workpiece to hold the pins in place.(Fig. 45G).
Cut off the protruding part of the plugs and sand (Fig. 45H).
Step 1 -
Step 2 -
Step 3 -
Step 4 -
Step 5 -
Step 6 -
Step 7-
180° HINGES WITH A DRILLED HOLE
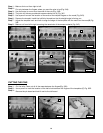
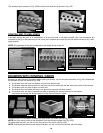
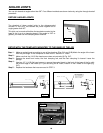
The workpiece for this simple hinge must be narrow enough to make the hole for the hinge pin with a drill bit.
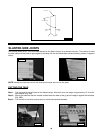
This hinge has at least a range of motion of 180° (Figs. 45A and 45B).
Fig. 45A Fig. 45B
WOODEN HINGES
A wooden hinge can be used to make hinged table leafs or hinged legs for a collapsible table. The hinge pins are
normally are made of stainless steel, but you can use other materials, including wood for that purpose.


