


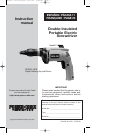
7
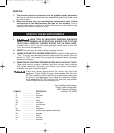
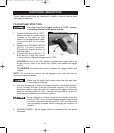
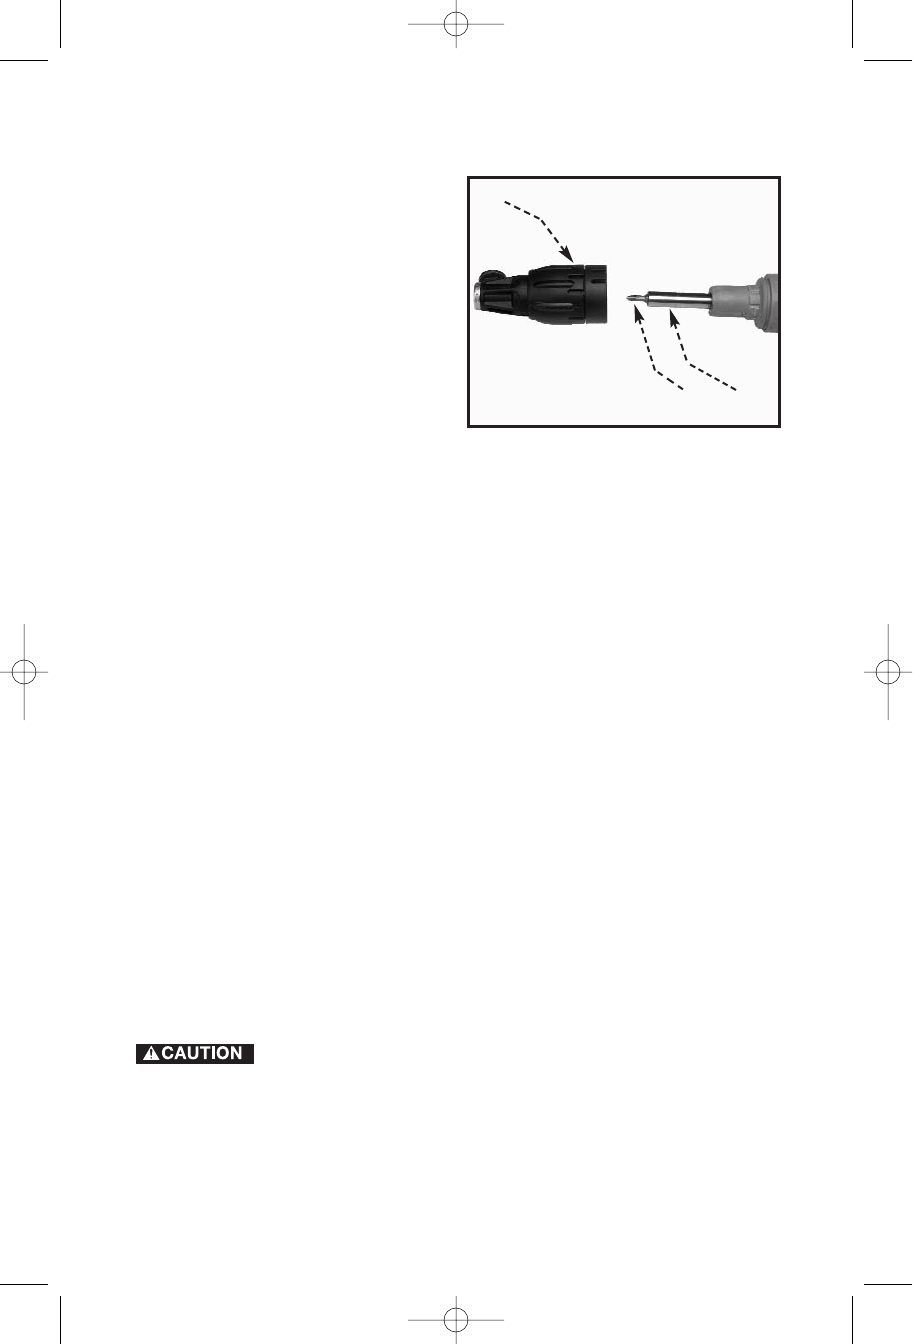
TO CHANGE BIT HOLDER
1. Pull the Depth Stop Assembly
(A) Fig. 2 from the clutch
housing.
2. Pull the bit holder (C) Fig. 2
out. If it is difficult to remove,
grip it with pliers and pull.
NOTE: Bit (D) Fig. 2 may be
removed from the bit holder by
pulling it straight out.
3. Push new bit holder into the
spindle, snapping it into place.
4. Replace Depth Stop Assembly
and adjust the depth stop.
(See “ADJUST DEPTH STOP“
below.)
Fig. 2
A
C
D
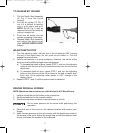
ADJUST DEPTH STOP
1. Turn the adjusting collar until the end of the bit extends 3/32" beyond
the end of the depth stop. Do not push the bit holder in. This will
engage the internal drive.
2. Drive a test fastener in a scrap workpiece. Examine the results of the
drive and make additional depth stop adjustments:
a) To increase the depth of drive, repeat STEP 1 and turn the adjusting
collar so that the end of the bit extends further than the end of the
depth stop.
b) To decrease depth of drive, repeat STEP 1 and turn the adjusting
collar so that the end of the bit is closer to the end of depth stop.
Each click of the adjusting collar results in .007" change in the
depth of drive.
3. Repeat STEPS 1 and 2 until the desired result is obtained.
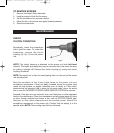
DRIVING DRYWALL SCREWS
NOTE: Maximum size screw for use with this tool is #12 Wood Screw.
1. Install a drywall bit and bit holder in the screwdriver.
2. Set the screwdriver for the correct rotation.
3. Start the screwdriver and place a drywall screw on the bit.
Do not exert pressure on the screw while performing this
operation.
4. Place the end of the screw in the desired location and remove your
fingers.
5. Apply forward pressure to the drive screw until the depth stop rests on
the surface of the work. Adjust the depth stop so that the fastener head
is sunk just below the surface of the wallboard.
911216- 12-03-03.qxd 12/3/03 8:40 AM Page 7