TO REMOVE SCREWS
1. Remove the Depth Stop Assembly.
2. Install a proper bit that fits the screw.
3. Set the screwdriver for reverse rotation.
4. Place the bit on the screw and apply forward pressure.
5. Start the screwdriver.
MAINTENANCE
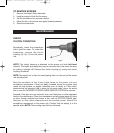
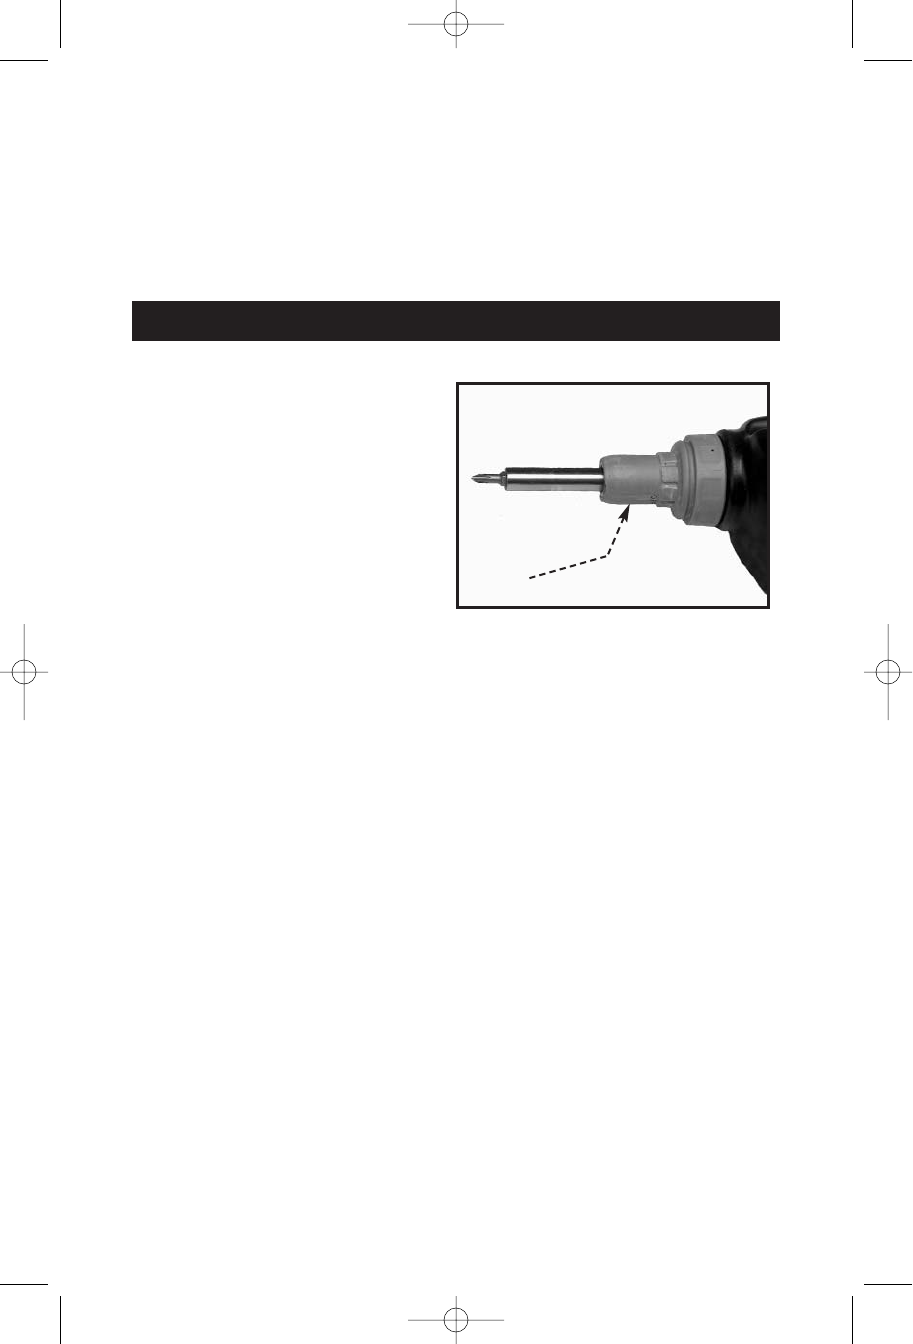
Periodically, check the screwdriver
clutch jaws for wear. To make this
inspection, remove the clutch
housing (A) Fig. 3 from the power
unit.
NOTE: The clutch housing is attached to the power unit with left-hand
threads. The depth stop assembly may be removed from the clutch housing
by pulling it straight off. Remove the clutch housing by turning the clutch
housing clockwise.
NOTE: Be careful not to lose the small spring that is in the end of the power
unit spindle shaft.
Note the condition of the 3-jaw clutch-faces on the power unit and
screwdriver mechanism. If they are badly rounded where the angular face
meets the top surface, or appear otherwise worn or faulty, or if the clutch
elements are not securely held in place by the snap rings, return the entire
tool to your AUTHORIZED PORTER-CABLE SERVICE STATION for service.
Proceed if the jaws are not seriously worn and there are no other apparent
faults in the mechanism. Clean the mechanism and all internal areas of chips
or other foreign material and brush a thin coat of PORTER-CABLE gear
lubricant on the clutch elements and surrounding areas. Attach the
screwdriver mechanism to the power unit. Confirm that the spring is in the
spindle shaft. NOTE: The housing uses left-hand threads.
Fig. 3
A
8
CHECK
CLUTCH CONDITION
911216- 12-03-03.qxd 12/3/03 8:40 AM Page 8


