


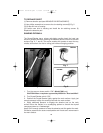
TO REPLACE SKIRT
(1) Remove abrasive pad (see ABRASIVE PAD REPLACEMENT).
(2) Use phillips screwdriver to remove the six retaining screws (B) Fig. 5.
(3) Lift the skirt out of housing.
(4) Position new skirt to housing and install the six retaining screws. (5)
Replace the abrasive pad.
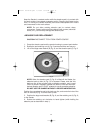
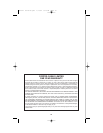
SANDING DRYWALL
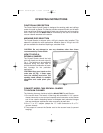
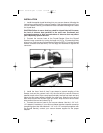
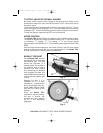
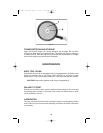
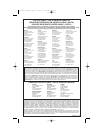
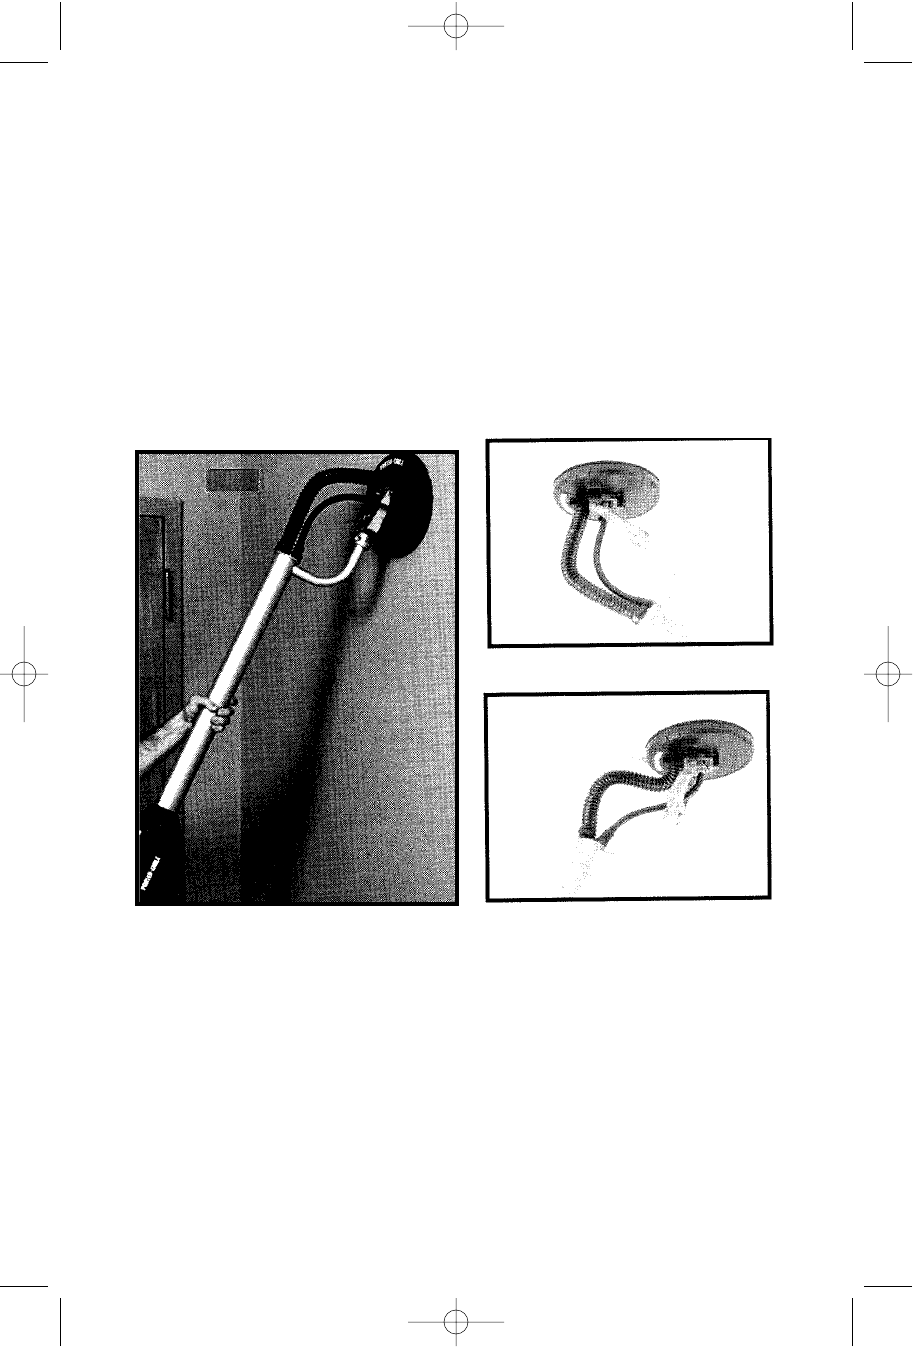
The Drywall Sander has a unique articulating sanding head. the head can
swivel in multiple directions, allowing the abrasive pad to conform to the work
surface (Figs. 6, 7, and 8). This action enables the operator to sand the top,
middle, and bottom of a wall or ceiling joint without changing position.
1. Turn the vacuum cleaner switch “ON”. (Model 7800 only).
CAUTION: Wear a respirator approved by NIOSH for “Dust and Mist”.
2. Turn Drywall Sander switch “ON”.
3. Position the Drywall Sander lightly against the work surface. Apply just
enough pressure to align the sanding head with the work surface.
4. Apply additional pressure to engage the abrasive pad on the work
surface. Move the Sander in an overlapping pattern to smooth the drywall
compound down to a “featheredge”.
Apply ONLY enough pressure to keep the abrasive pad flat against the work.
Excessive pressure can cause unacceptable swirl marks and unevenness in
the work surface.
10
Fig. 6
Fig. 7
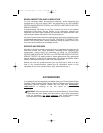
CEILING
Fig. 8
CEILING
WALL
904374- 06-26-02.qxd 7/11/02 8:12 AM Page 10