


11
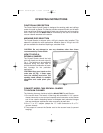
Keep the Sander in constant motion while the abrasive pad is in contact with
the work surface. Use a steady, sweeping motion. Stopping the Sander on the
work, or moving the Sander erratically can cause unacceptable swirl marks
and unevenness in the work surface.
NOTE: Do not allow rotating abrasive pad to contact sharp
protrusions. Contact with protruding objects (nails, screws, electrical
boxes, etc.), can severely damage the abrasive pad.
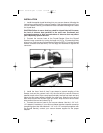
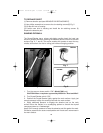
ABRASIVE PAD REPLACEMENT
CAUTION: DISCONNECT TOOL FROM POWER SOURCE.
1. Grasp the abrasive pad and the sander housing to prevent pad rotation.
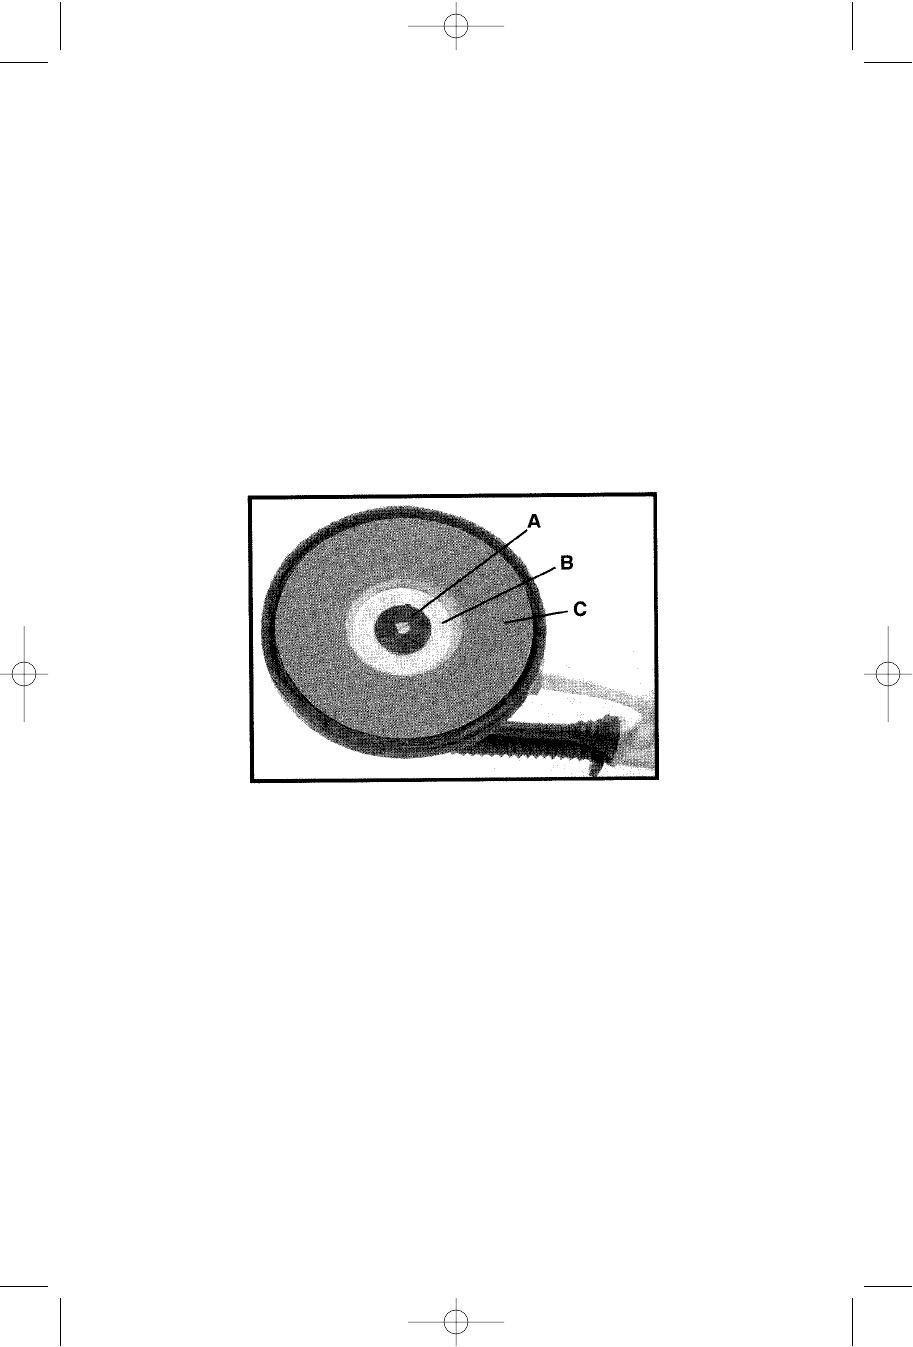
2. Rotate the pad retaining nut (A) Fig. 9 counterclockwise and remove.
3. Lift off the large metal washer (B) Fig. 9, and the abrasive pad (C) Fig. 9.
Fig. 9
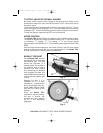
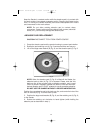
NOTE: When the abrasive pad (C) Fig. 9 is lifted off the Sander, the
abrasive back-up disc (A) Fig. 10 is exposed. Please note that this
back-up disc is also covered with an abrasive material., and is used
ONLY to prevent “slippage” between the back-up disc and the foam-
backed abrasive pad. it is NOT suitable for use as a sanding abrasive.
DO NOT USE THE SANDER WITHOUT A PROPER ABRASIVE PAD
Position the new abrasive pad to the back-up disc, and center the hole of the
disc on the hub (B) Fig. 10 of the back-up disc.
5. Position the large metal washer (B) Fig. 9, and the retaining nut (A) Fig. 9,
to the Sander.
6. Rotate the retaining nut clockwise to hand tighten (while holding the
abrasive pad as described in step 1).
904374- 06-26-02.qxd 7/11/02 8:13 AM Page 11