


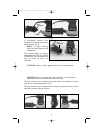
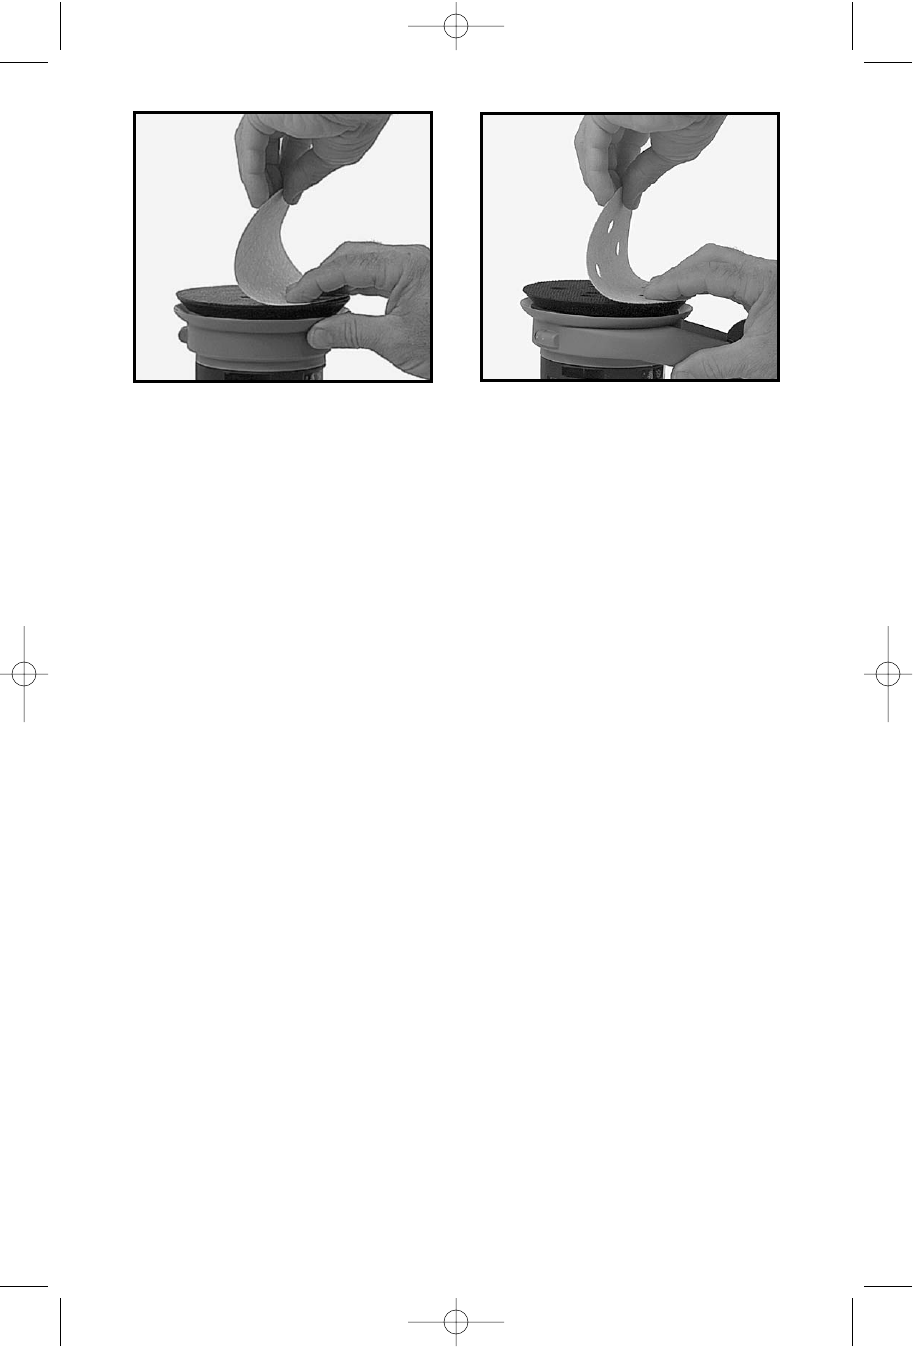
4. Tear a new abrasive disc from roll and position disc to the sander pad.
Align the dust extraction holes in paper with holes in pad (334 ONLY).
5. Press disc firmly onto pad.
6. Position machine with abrasive contacting scrap material. Start machine
and operate momentarily while exerting firm pressure to seat disc to pad.
CAUTION: Failure to properly seat disc to pad may result in disc
being thrown from pad causing personal injury.
7. To remove disc, peel disc away from pad.
NOTE: Do not store machine with an abrasive disc installed. Heat
generated by the sanding operation increases the adhesive bond
between the disc and pad. If disc is left on pad for an extended time
after use, it can become difficult to remove.
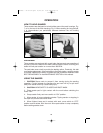
Models 333 and 333VS:
1. CAUTION: DISCONNECT TOOL FROM POWER SOURCE.
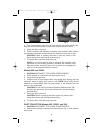
2. Place machine on workbench with pad up (see Fig. 3).
3. Clean dust from pad face.
4. Position Hook & Loop Abrasive Disc onto sander pad, aligning the dust
extraction holes in paper with holes in pad. NOTE: When using 8-hole
abrasive on model 333VS, align the hole pattern in the abrasive with the
groove in the sander pad.
CAUTION: Do not use PSA (Pressure Sensitive Adhesive) disc with
Hook & Loop pad as the disc may be thrown from the pad causing
personal injury.
5. Press disc firmly onto pad.
CAUTION: Failure to properly seat disc to pad may result in disc
being thrown from pad causing personal injury.
6. To remove disc, peel disc away from pad.
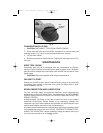
DUST COLLECTOR (Models 333, 333VS and 334)
1. CAUTION: DISCONNECT TOOL FROM POWER SOURCE.
2. Position dust collector to sander nozzle as shown in Fig. 4. Seat collector
onto nozzle.
8
Fig. 2
Fig. 3
900006 - 02-07-02.qxd 10/15/02 2:25 PM Page 8