


11
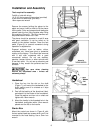
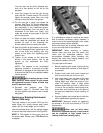
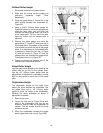
Pulley Alignment
The pulleys should be in line for proper belt
operation.
1. Remove the belt guard and place a straight
edge against the faces of both pulleys
(Figure 13).
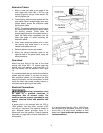
2. If the straight edge does not lie flat on both
pulley faces, open the rear panel and loosen
the four hex nuts on the motor plate (see
Figure 12) with a 12mm wrench.
3. Nudge the motor left or right until the pulleys
are in alignment.
4. Tighten hex nuts and replace covers.
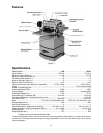
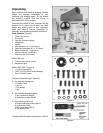
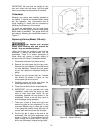
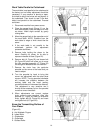
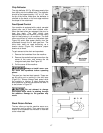
Table Rollers
Your planer is supplied with two table rollers
(Figure 14) which turn as the stock is fed into the
machine, thus reducing friction. It is not possible
to give exact dimensions on the proper height
setting of the table rollers because each type of
wood behaves differently. As a general rule,
however, when planing rough stock the table
rollers should be set at high position. When
planing smooth stock the rollers should be set at
low position.
NOTE: When raising the roller higher above the
table, the range is from zero to 0.006" (Figure
15).
Figure 15
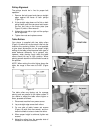
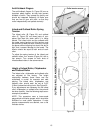
The table rollers are factory set for average
planing and are parallel to the table surface. If
you desire to adjust the table rollers higher or
lower, proceed as follows:
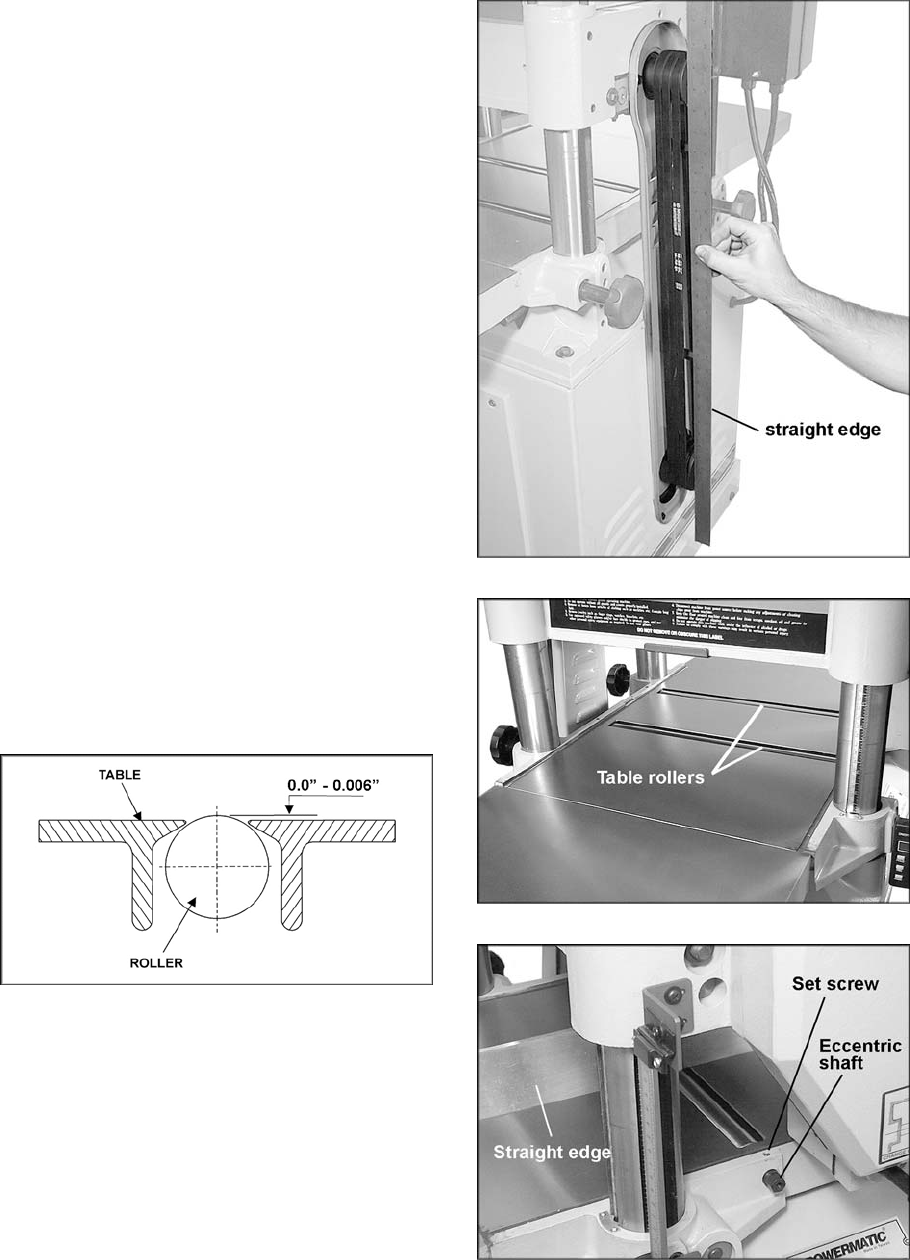
1. Disconnect machine from power source.
2. Lay a straight edge across both rollers.
3. On one side of table, loosen set screws
(Figure 16) with 3mm hex wrench, and turn
eccentric shafts to raise or lower the rollers.
4. When proper height is achieved, tighten set
screws.
5. Adjust the rollers from the opposite side of
the table in the same manner.
Figure 13
Figure 14
Figure 16