


1. Read instructions: Carefully read
through this operator’s manual
BEFORE OPERATING the new air
compressor. It contains information
about operation and maintenance of
the unit.
2. Drain tank daily: Depressurize system
prior to draining tank. Open tank
drain valve and drain moisture from
tank. This helps prevent tank corro-
sion and keeps oil and moisture out
of the compressed air system. Be
sure to close tank drain valve tightly
before operating compressor.
3. Change air filter: Never run compres-
sor without an air filter nor with a
clogged air filter. Replace with a new
filter when the element is dirty.
Operating Your Air Compressor
13
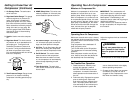
Moisture in compressed air will form into
droplets as it comes from an air com-
pressor pump. When humidity is high or
when a compressor is in continuous use
for an extended period of time, this mois-
ture will collect in the tank. When using a
paint spray or sandblast gun, this water
will be carried from the tank through the
hose, and out of the gun as droplets
mixed with the spray material.
IMPORTANT: This condensation will
cause water spots in a paint job, espe-
cially when spraying other than water
based paints. If sandblasting, it will
cause the sand to cake and clog the gun,
rendering it ineffective.
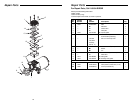
A filter in the air line, located as near to
the gun as possible, will help eliminate
this moisture.
For Trouble-Free Operation
Moisture in Compressed Air
Make sure the tank drain valve is closed,
the regulator knob is turned fully counter-
clockwise, and the On/Off switch is in the
OFF position.
Plug compressor into a dedicated 15
Amp (minimum) circuit.
Turn On/Off switch to the ON position.
The compressor will now start building
pressure.
After compressor reaches cut-off pres-
sure, install a hose (with the desired air
tool attached) into the outlet fitting.
Adjust the regulator knob to the desired
pressure.
The compressor is now ready to operate.
Operating Your Air Compressor
Do not over-pressurize any air
tool. Consult air tool instruc-
tions for proper air tool pres-
sure.
!
WARNING:
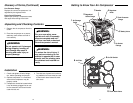
Getting to Know Your Air
Compressor (Continued)
12
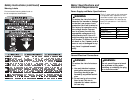
1. Air Storage Tanks. The tanks store
air for later use.
2. Regulated Outlet Gauge. This gauge
shows at-a-glance, air pressure at
outlet. Air pressure is measured in
pounds per square inch (PSI). Most
tools have maximum pressure ratings.
Never exceed the maximum pressure
rating of the tool you are using. Be
sure this gauge reads ZERO before
changing air tools or disconnecting
hose from outlet.
3. Handle. Used to move the compres-
sor.
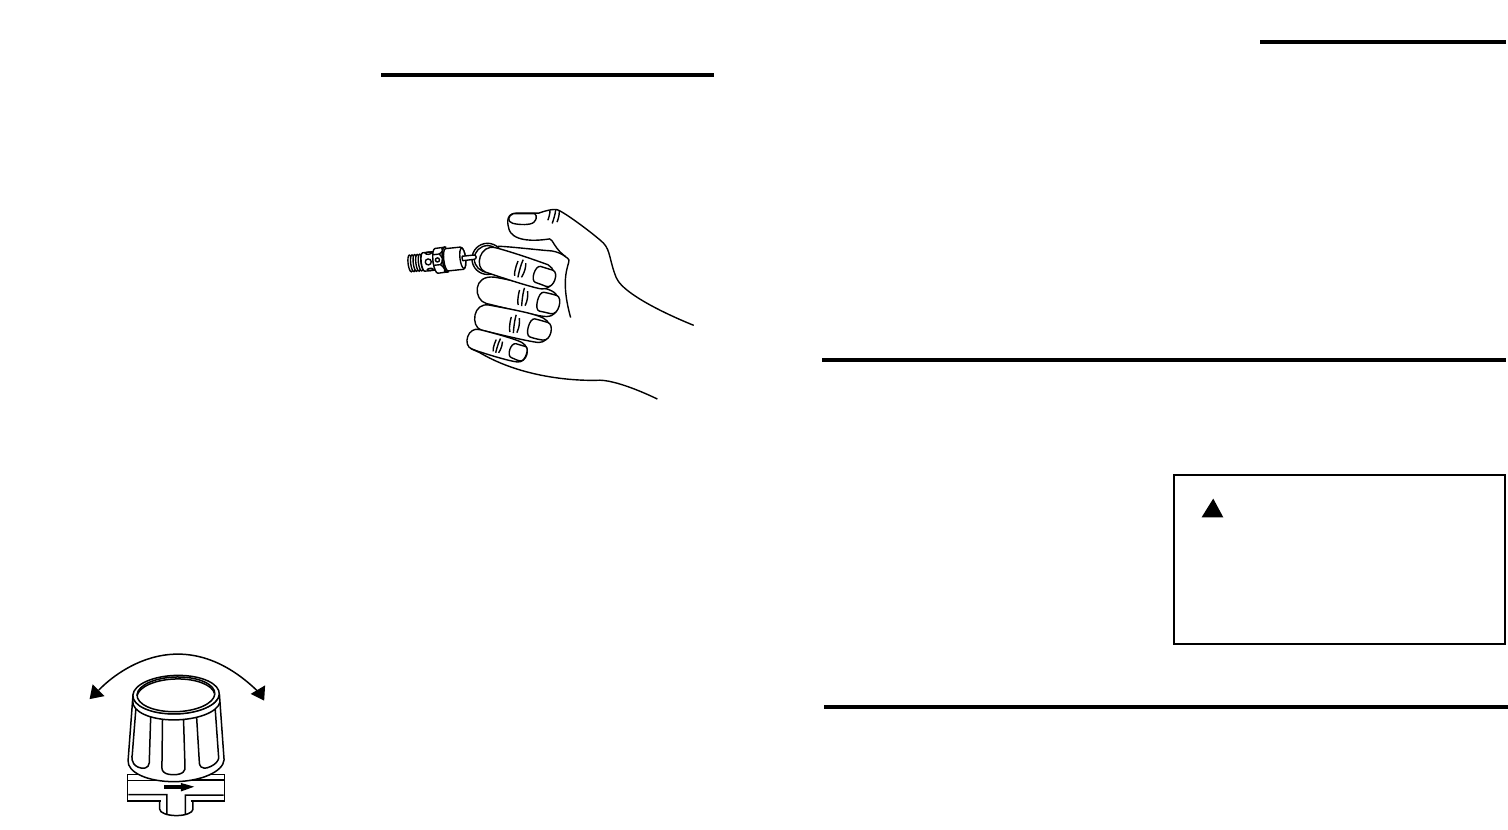
4. Regulator Knob. This knob controls
air pressure to an air operated tool or
paint spray gun. Turning the knob
clockwise increases air pressure at
the outlet. Turning counterclockwise
will lower air pressure at the outlet.
Fully counterclockwise will shut off the
flow of air completely.
5. Tank Pressure Gauge. Gauge shows
pressure in air receiver indicating
compressor is building pressure prop-
erly.
6. ASME Safety Valve. This valve auto-
matically releases air if the tank pres-
sure exceeds the preset maximum.
7. Air Outlet Fittings. These fittings are
1/4” universal-style quick connect fit-
tings and allow rapid tool changes.
8. Air Filter. The air filter keeps dirt and
debris from entering the compressor
pump and reduces compressor noise.
9. On/Off Switch. This switch allows
manual control of the compressor.
Note that when the switch is turned
on, the compressor will automatically
start and stop depending on tank
pressure.
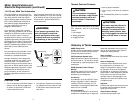
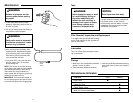
10.Tank Drain Valve. The tank drain
valve allows moisture to be removed
from the tank.
Close
Open