17
OPERATION
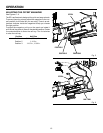
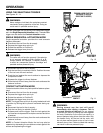
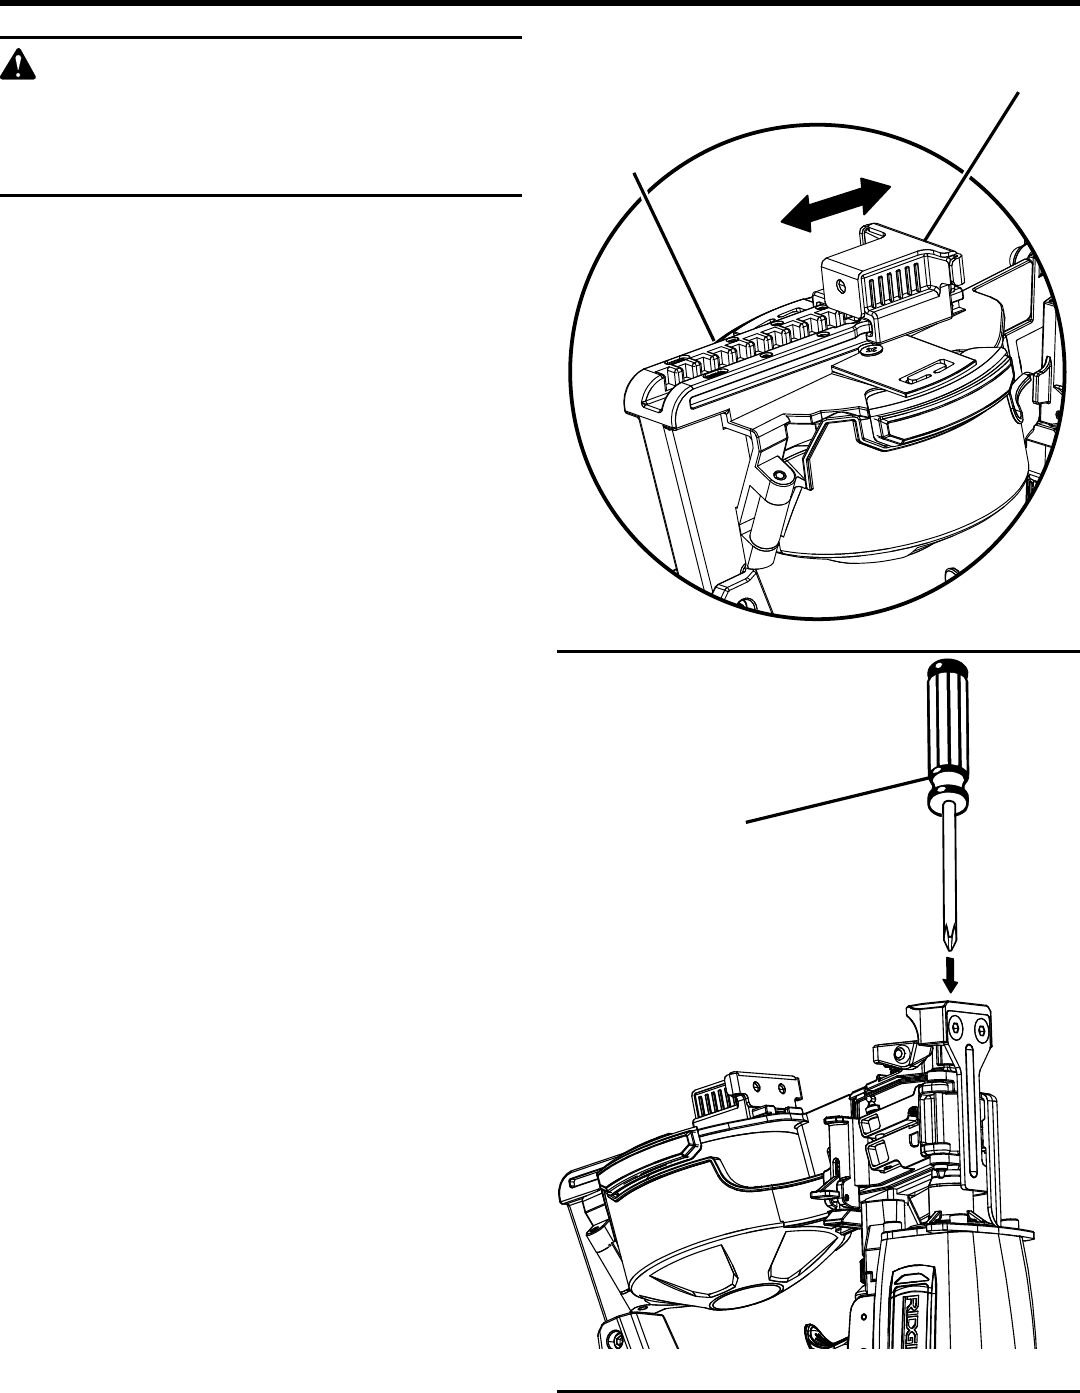
Fig. 13
WARNING:
Disconnect the tool from the air supply before
adjusting the shingle guide, removing nails, or
clearing a jammed fastener. Failure to do so could
result in serious personal injury.
USING THE SHINGLE GUIDE
See Figure 13.
The shingle guide on the front of the nailer features tool-free
adjustment. It is used to place a shingle the desired distance
from the front edge of the previous row of shingles.
n Disconnect the tool from the air supply.
n With the nose of the tool pointed away from you, depress
the buttons on the sides of the spacing selector.
n Slide the guide to the desired measurement.
n Release the buttons.
n Reconnect the tool to the air supply.
REMOVING NAILS
n Disconnect the tool from the air supply.
n �Open the feeder cover and magazine cover (see “Loading
the Tool with Nails”).
n Lift the nail strip from the spool and remove the remaining
coil of nails.
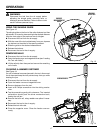
CLEARING A JAMMED FASTENER
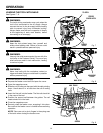
See Figure 14.
If a nail or fastener becomes jammed in the tool, disconnect
the air hose and keep the tool pointed away from you while
clearing the jam.
n Disconnect the tool from the air supply.
n Open the feeder cover and magazine cover.
n �Remove fasteners from the tool.
n Insert a #2 Phillips screwdriver into the driving mecha-
nism.
n Tap the screwdriver gently with a hammer. The inserted
screwdriver should push the driver mechanism back,
freeing the nail jam.
n Remove the bent nail, using needle-nose pliers if neces-
sary.
n Reconnect the tool to the air supply.
n Reload the tool with nails.
n Close the magazine cover. Close the feeder cover se-
curely.
SPACING
SELECTOR
Fig. 14
SCREWDRIVER
SHINGLE
MEASUREMENT
GUIDE


