


10
11
OPERATION
WARNING:
Exercise caution when using this tool. Careless ac-
tions, for even a fraction of a second, can result in
serious personal injury.
WARNING:
Always wear safety goggles or safety glasses with
side shields when operating this tool. Failure to do
so could result in dust, shavings, or loose particles
being thrown into your eyes, resulting in possible
serious injury.
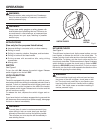
APPLICATIONS
(Use only for the purpose listed below)
n Hammer drilling in concrete, brick, or other masonry.
n Drilling in wood.
n Drilling in ceramics, plastics, fiberglass, and laminates.
n Drilling in both soft and hard metals.
n Driving screws with screwdriver bits, using driving
accessories.
n Mixing paint.
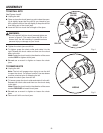
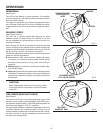
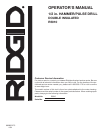
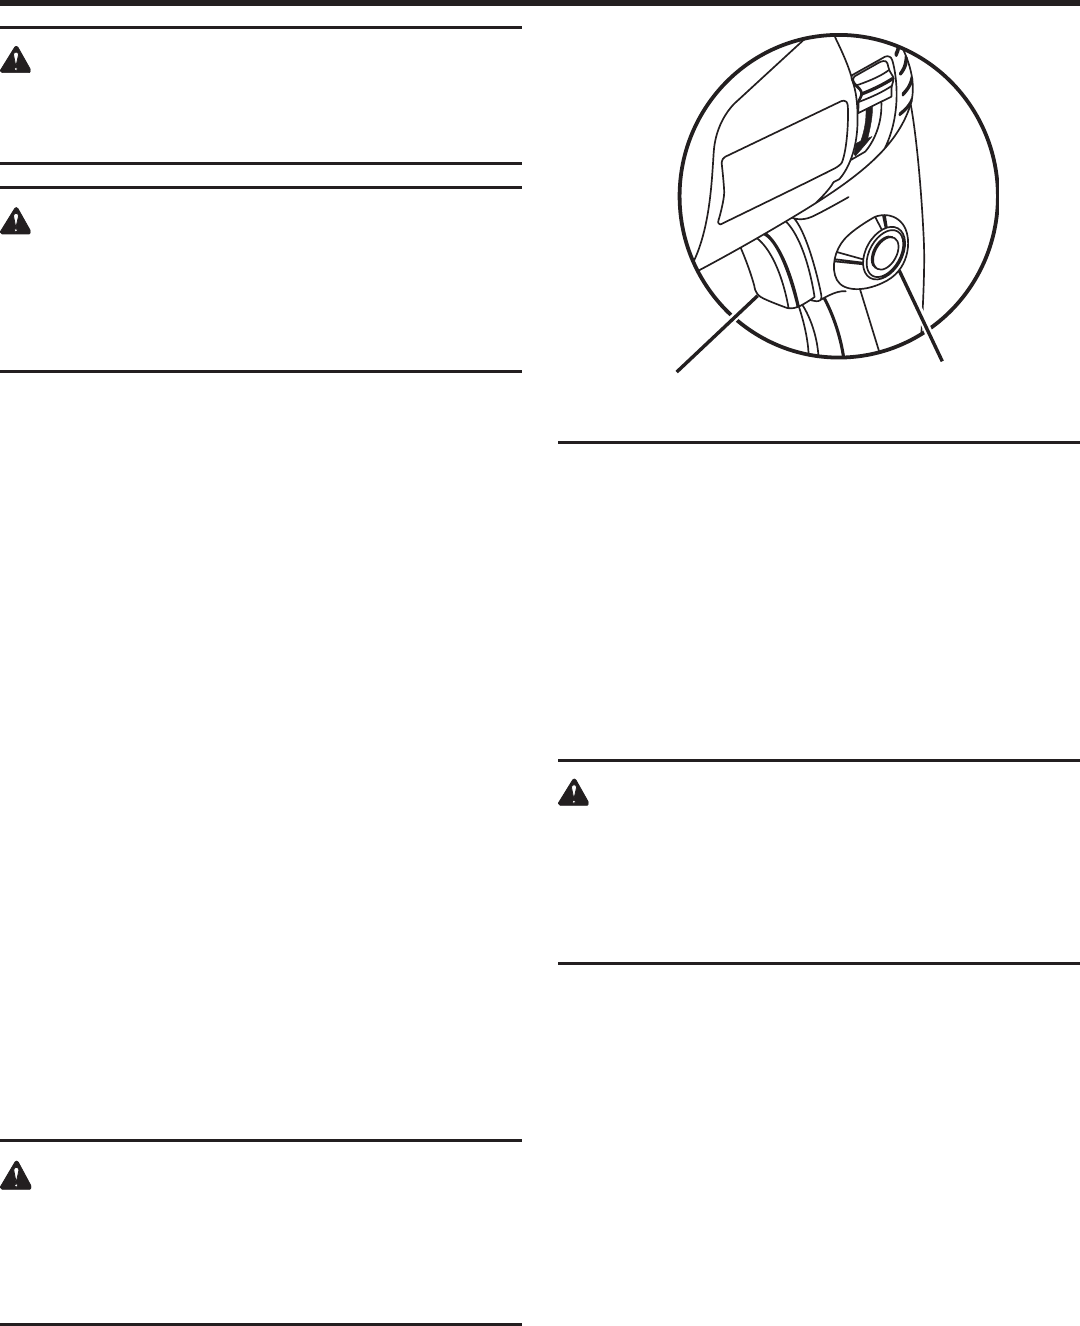
SWITCH
See Figure 6.
To turn the drill ON, depress the switch trigger. Release
switch trigger to turn the drill OFF.
LOCK-ON BUTTON
See Figure 6.
The drill is equipped with a lock-on feature, which is conve-
nient when continuous drilling for extended periods of time is
required. To lock-on, depress the switch trigger, push in and
hold the lock-on button located on the side of the handle,
then release switch trigger. Release lock-on button and the
drill will continue running.
To release the lock, depress the switch trigger and re-
lease.
If you have the lock-on feature engaged during use and the
drill becomes disconnected from power supply, disengage
the lock-on feature immediately.
WARNING:
To avoid loss of control or serious personal injury,
when drilling in lock-on mode, keep your hand po-
sitioned on the switch and use the auxiliary handle.
This will allow you to to stop the drill immediately in
case binding occurs.
Fig. 6
SWITCH TRIGGER
LOCK-ON
BUTTON
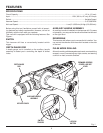
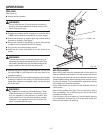
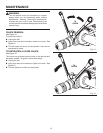
KEYLESS CHUCK
See Figure 4.
This drill has a keyless chuck. As the name implies, you can
hand tighten or release the drill bit in the chuck jaws. To
loosen, grip the chuck collar and turn the chuck body coun-
terclockwise. To tighten, grip the chuck collar and turn the
chuck body clockwise. The arrows shown in figure 3 indicate
which direction to rotate the chuck body in order to GRIP
(tighten) or RELEASE (unlock) the drill bit. To lock or unlock
the chuck, turn the chuck collar opposite the direction of the
arrows while gripping the chuck body.
WARNING:
Do not hold the chuck body with one hand and use
the power of the drill to tighten chuck jaws on drill
bit. The chuck body could slip in your hand or your
hand could slip and come in contact with a rotating
drill bit. This could cause an accident resulting in
serious personal injury.