


10
ASSEMBLY
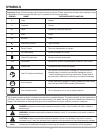
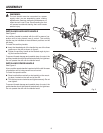
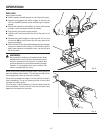
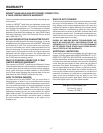
Fig. 4
TO INSTALL BITS
See Figure 4.
Unplug the drill.
Insert the chuck key and twist counterclockwise as
shown in figure 4.
Insert the drill bit into the chuck the full length of the
jaws.
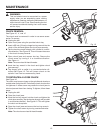
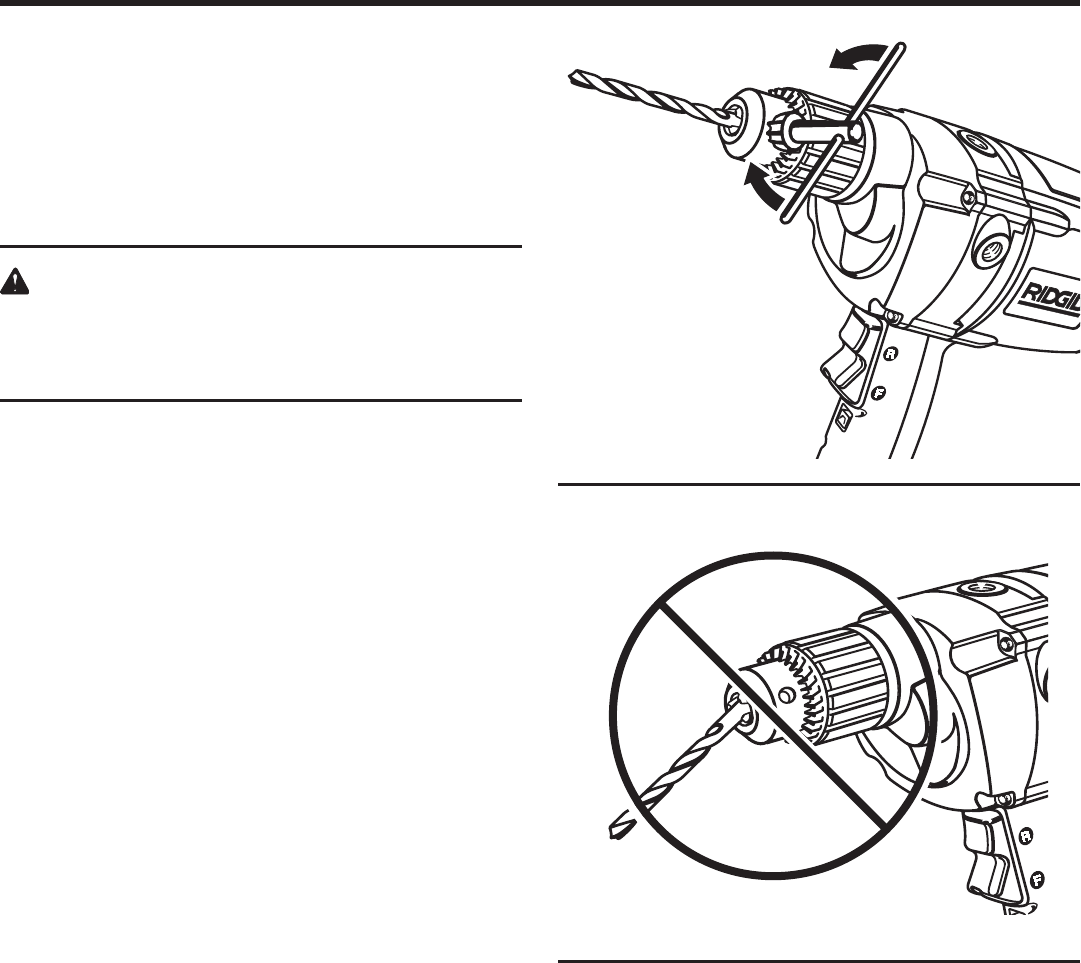
WARNING:
Do not insert drill bit into chuck jaws and tighten as
shown in figure 5. This could cause the drill bit to
be thrown from the drill resulting in possible serious
personal injury or damage to the chuck.
Tighten the chuck jaws securely on the drill bit, using
the chuck key provided. Do not use a wrench to tighten
or loosen the chuck jaws. For best performance, repeat
this for the remaining two key holes.
Remove the chuck key and return it to the storage
area.
TO REMOVE BITS
Unplug the drill.
Loosen the chuck jaws using the chuck key provided.
See “To Install Bits.”
Remove the drill bit from the chuck jaws.
Remove the chuck key and return it to the storage
area.
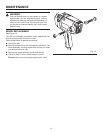
CHUCK KEY
A chuck key has been provided for use when installing or
removing bits. It is also used when removing the chuck. (See
chuck removal section.)
When not in use, the chuck key can be placed in the key
strap.
Fig. 5
WRONG