


14
15
OPERATION
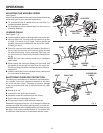
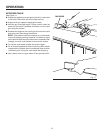
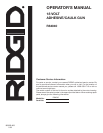
APPLYING CAULK
See Figure 11.
n �Prepare the surface by removing any dust, dirt, or remnants
of old caulk. Make sure the area is clean and dry.
n Adjust caulk gun speed to application needs.
n Hold the gun at a slight angle. If filling a crack, insert the
spout into the crack, if possible; otherwise, run the caulk
gun along the surface.
n Squeeze the trigger on the caulk gun and move the caulk
gun at an even pace along the surface.
NOTE: If the bead of caulk is too narrow, re-cut the nozzle
to provide a larger opening. However, it is better to apply
a thin bead of caulk and add a little more if necessary than
to apply too much and attempt to remove the excess.
n To end the caulk bead, release the switch trigger.
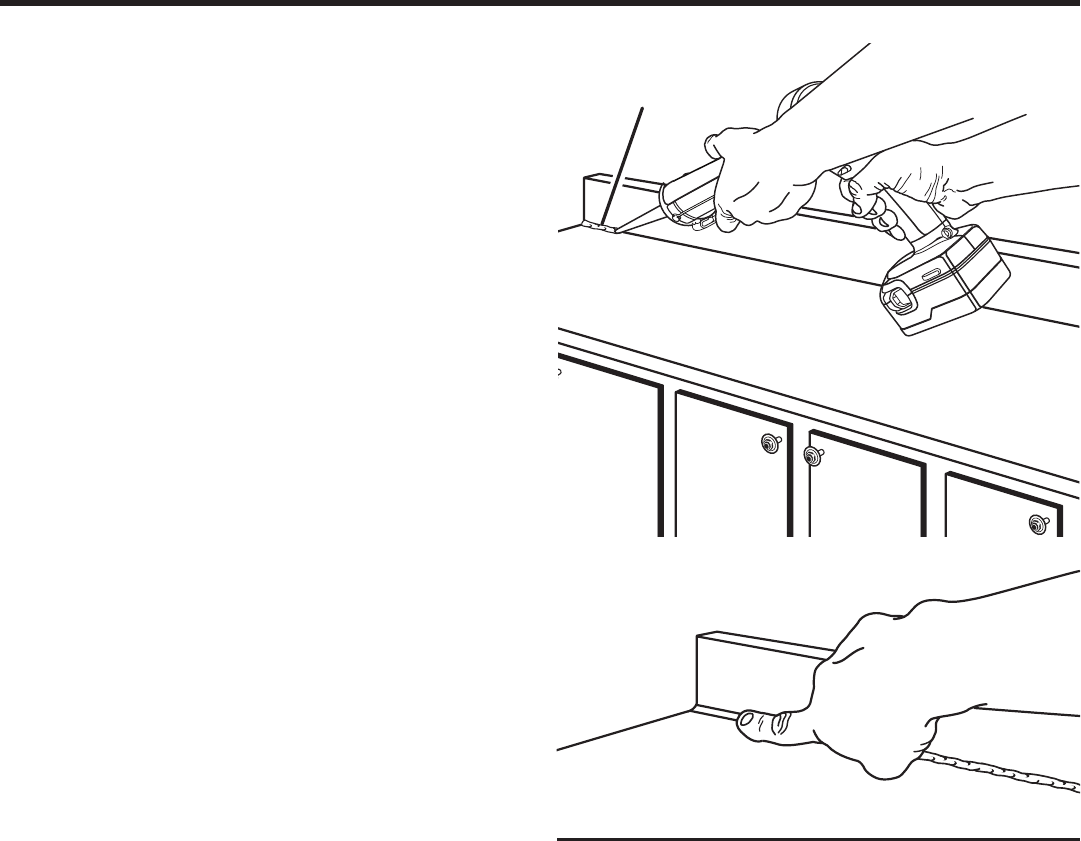
n For a finished appearance and to help the caulk adhere
to application surfaces, draw a moistened finger or other
“smoothing tool” along the caulk bead after applying.
n Use a damp towel or rag to clean off any excess caulk.
Fig. 11
CAULK BEAD