Page 16
GENERAL
Keep the bench grinder clean. Remove dust from working
parts and beneath the grinder frequently.
Make sure the bench grinder operates properly. Check
screws, nuts, and bolts for tightness.
EXTENSION CORDS
The use of any extension cord will cause some loss of
power. To keep the loss to a minimum and to prevent tool
overheating, use an extension cord that is heavy enough to
carry the current the tool will draw.
A wire gage size (A.W.G.) of at least 16 is recommended for
an extension cord 25 feet or less in length. When working
outdoors, use an extension cord that is suitable for outdoor
use. The cord's jacket will be marked WA.
WARNING:
Check extension cords before each use. If damaged,
replace immediately. Never use tool with a damaged cord
since touching the damaged area could cause electrical
shock resulting in serious injury.
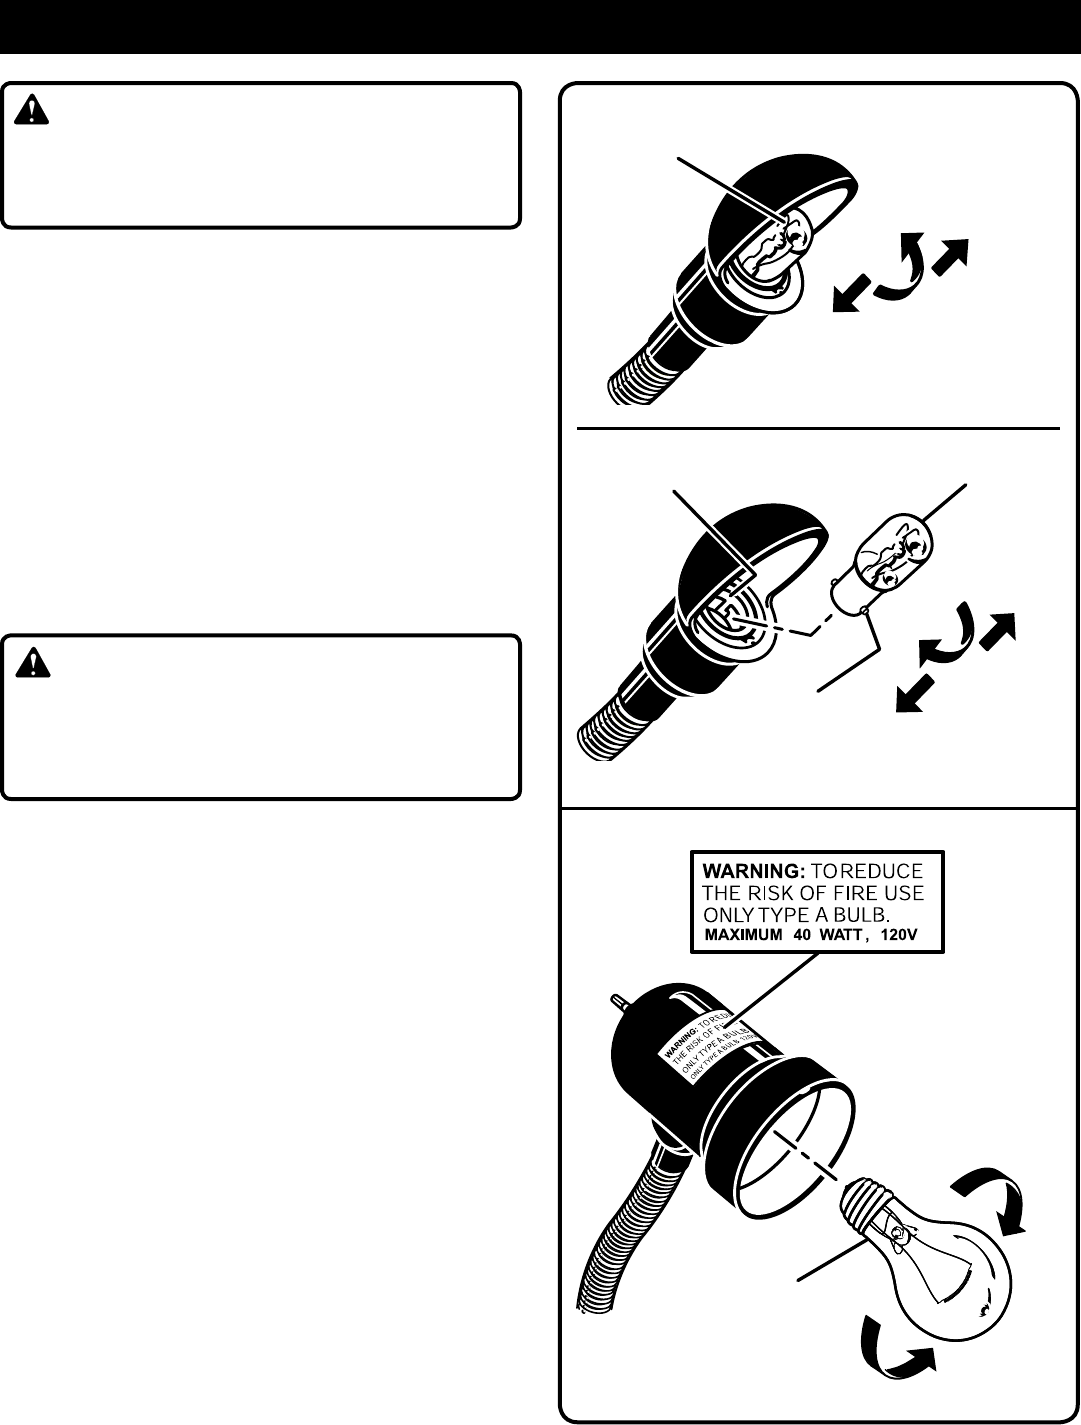
WORKLIGHT BULB REPLACEMENT
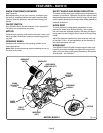
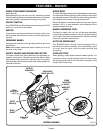
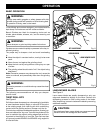
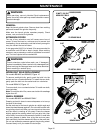
For models BGH625 and BGH825, Figure 12.
To remove worklight bulb, gently push the bulb into the
socket and turn counterclockwise. To install the new bulb,
gently push the bulb into the socket and turn clockwise.
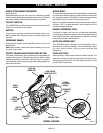
For model BGH615, Figure 13.
To remove bulb, turn counterclockwise. To install new bulb,
turn clockwise.
Note: To avoid the risk of fire, never use a bulb with a wattage
higher than 40.
WHEEL DRESSER
For models BGH625 and BGH825 ONLY.
Dressing a wheel is done to renew sharpness or to true up
the face of the wheel.
Set the work rest of the bench grinder at a slight angle and
brace the wheel dresser against it. Do not make contact with
the grinding wheel until after you have turned on the motor
and the wheel is rotating at full speed. Press the dresser
slightly against the rotating wheel until you get a bite, then
move slowly from side to side across the wheel. A small bite
and many passes is better than a big bite and one pass.
Work cautiously, hold the dresser with force on the work rest.
Do not use excessive pressure against the grinding wheel.
Proceed slowly until you master the technique.
TO REMOVE BULB
10 WATT, 120 VOLT
WORKLIGHT BULB
10 WATT, 120 VOLT
WORKLIGHT BULB
Fig. 12
TO
INSTALL BULB
TO
REMOVE BULB
40 WATT
WORKLIGHT
BULB
Fig. 13
WARNING:
When servicing, use only identical Ryobi replacement
parts. Use of any other part may create a hazard or cause
product damage.
TAB
SLOT
BGH615
BGH625/BGH825
TO INSTALL BULB
MAINTENANCE


